It’s time to embrace the beauty of the winter season with stunning nail art designs that reflect the magic of a winter wonderland. You can transform your nails into a canvas of icy blues, sparkling whites, and glistening silvers, capturing the essence of snowflakes, festive ornaments, and cozy holiday vibes. In this post, you’ll discover various creative nail art ideas that you can easily replicate at home or suggest to your favorite nail technician, ensuring your fingertips are as festive as your winter wardrobe.
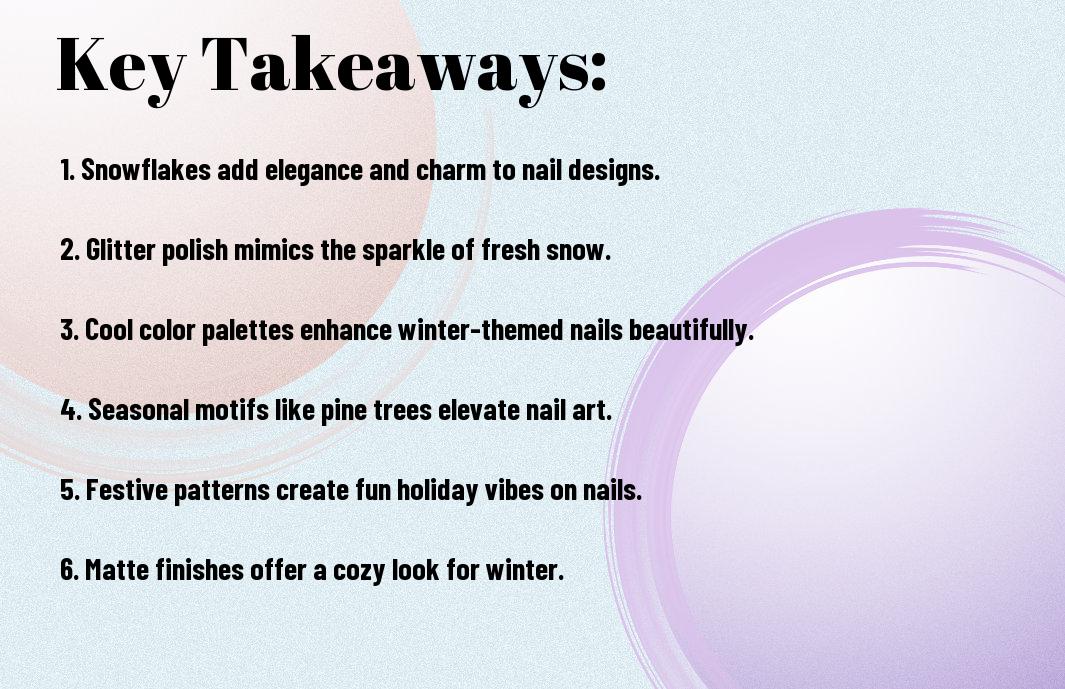
Key Takeaways:
- Theme Inspiration: Experiment with various winter motifs such as snowflakes, Christmas trees, and icicles to create festive nail designs.
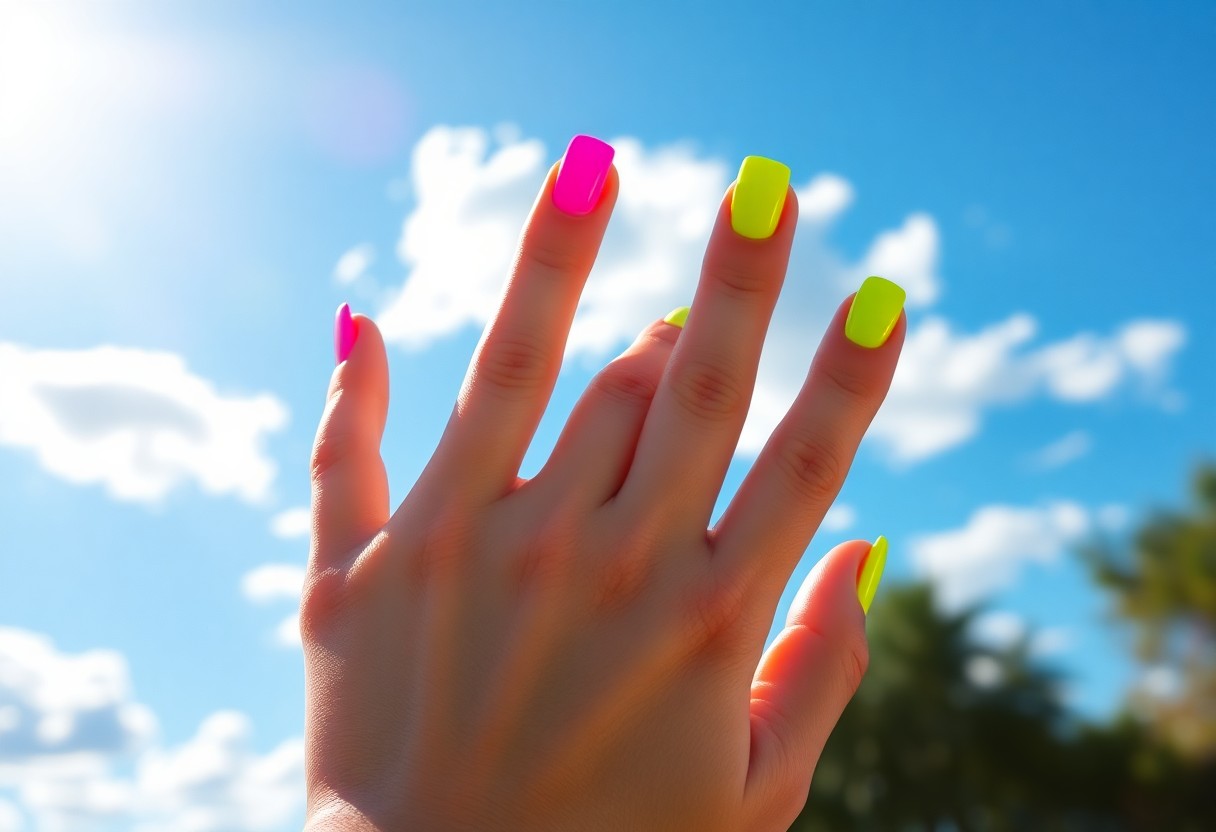
- Color Palette: Utilize cool tones like blues, whites, and silvers, along with pops of red or green for a vibrant holiday touch.
- Techniques: Incorporate techniques like gradient effects, glitter accents, and stamping to enhance the visual appeal of your winter nail art.
Essential Tools for Winter Nail Art
A successful winter nail art session requires the right tools to bring your creative visions to life. Whether you’re a beginner or an experienced nail artist, having the appropriate supplies can make a significant difference in the outcome of your designs. Your toolkit should include basic nail care items, as well as specialized tools that enable you to execute intricate patterns and holiday themes that capture the magic of winter.
Nail Art Supplies
Essential nail art supplies include a quality base coat, colors that reflect winter hues like icy blues and snowy whites, and a top coat for that glossy finish. You’ll also want to have striping brushes, dotting tools, and nail tape handy, as these items allow for precision and creativity in your designs. Don’t forget to stock up on any embellishments or stickers to enhance the winter wonderland feel!
Recommended Tools and Equipment
Nail art tools are the key to perfecting your winter designs. Investing in high-quality brushes, sponges, and drills can elevate your skills significantly. You may also want to consider nail polish remover and cleaning brushes to keep your workspace organized, ensuring that you can focus entirely on creating your winter masterpiece.
Supplies like a UV lamp are beneficial for those who enjoy gel nail art, allowing for longer-lasting designs. Palette trays are excellent for mixing colors, while an assortment of small nail art brushes can help you achieve detail. Additionally, a fan or nail dryer can speed up your drying time, making it easier to layer multiple colors quickly and efficiently. By gathering these important tools and supplies, you will be well-prepared to look into your winter nail art adventures!
Winter-Themed Nail Art Designs
Assuming you’re looking to jazz up your winter wardrobe, winter-themed nail art designs can add a fun and festive touch to your hands. From intricate snowflake designs to playful Christmas motifs, there are various ways to express your holiday spirit through nail art. Embrace the beauty of the season with stunning colors and creative shapes that reflect the charm of winter.
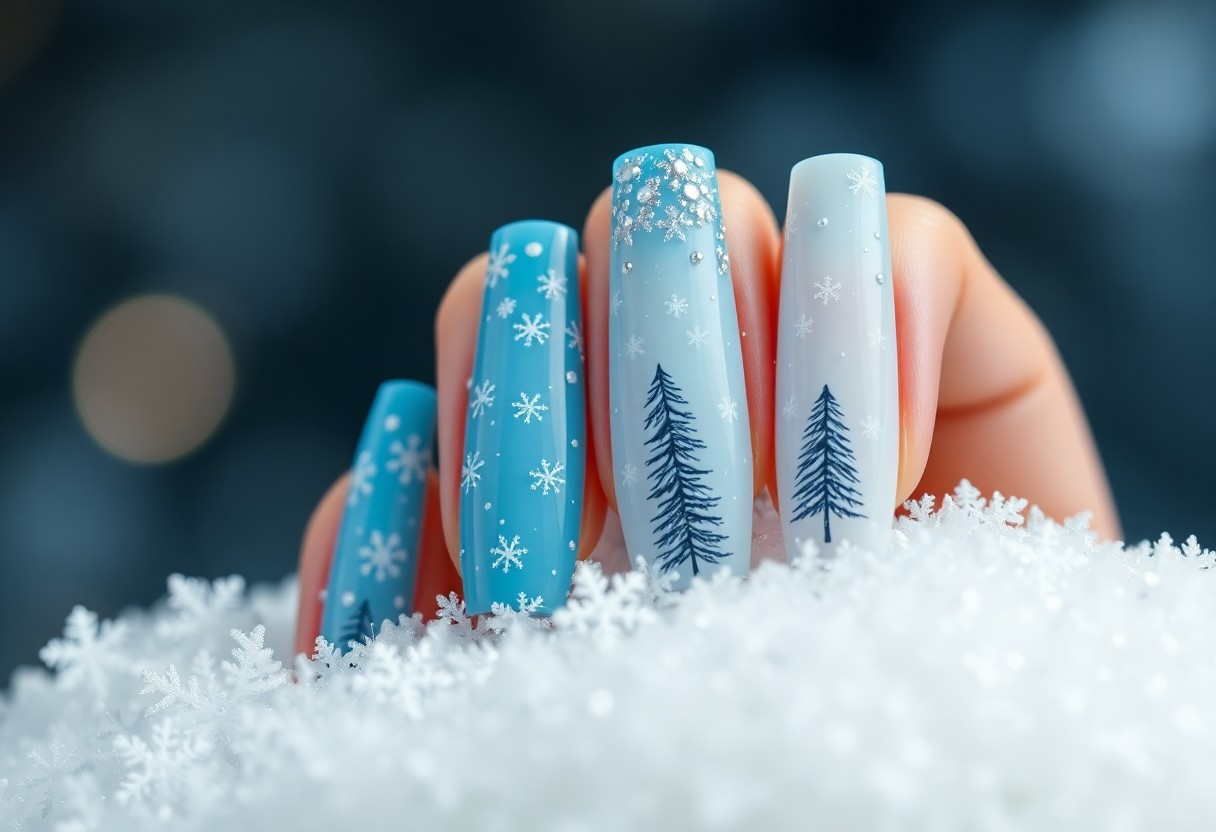
Snowflake Patterns
On your nails, delicate snowflake patterns can create a whimsical winter atmosphere. Use a light blue or icy white background to set the stage, and carefully paint intricate snowflake designs with a fine-tip brush. These patterns can be accentuated with glitter or rhinestones, giving your nails a magical sparkle that mimics falling snow.
Christmas Designs
On the other hand, Christmas designs can be a joyful expression of the holiday season. Festive symbols like Christmas trees, mistletoe, and candy canes can be painted onto your nails, bringing cheer with every gesture. You can use a combination of bold reds, greens, and golds to make your Christmas nail art pop against the winter backdrop.
Patterns associated with Christmas nails can bring a sense of joy and creativity to your look. Incorporate playful icons like Santa hats, reindeer, or ornaments to create a festive atmosphere that showcases your love for the season. Mixing and matching these designs on different nails adds a unique touch, transforming your manicure into a holiday masterpiece.
Frosted Tips
Christmas is the perfect time to try frosted tips, giving your nails a chic and modern look suitable for any winter occasion. This design combines a classic French manicure with a twist, utilizing soft white or silver shades at the tips while blending into a nude or pastel base. The effect mimics frosty snow, enchanting anyone who sees your nails.
- Experiment with different colors for the base and tips for a personalized touch.
- Add some glitter or shimmer for a festive flair.
- Consider matte finishes for a stylish contrast.
Assume that this unique design will have everyone admiring your nails.
Indeed, frosted tips can elevate your winter nail game effortlessly. You can achieve this look by applying a thin layer of white or silver polish to the tips, blending it gently down the nail for a frosted look. Incorporating nail art stickers or tiny rhinestones on the tips can enhance the overall elegance.
- Choose colors that reflect your own style.
- This design is suitable for both short and long nails.
- Layering different tones can create depth and interest.
Assume that this design will keep you stylish throughout the winter season.
Color Palettes for Winter Nails
Unlike other seasons, winter nails embrace a blend of icy pastels and deep jewel tones that capture the essence of a frosty wonderland. When you’re looking for inspiration, check out these stunning Winter Wonderland Nails to elevate your nail game this season!
Classic Winter Colors
At the heart of winter nail art are classic colors such as rich burgundy, deep navy blue, and crisp white, reminiscent of snow-capped mountains. These hues can be combined to create bold designs or used as a chic, minimalist look that speaks to the beauty of the season.
Trending Shades for the Season
Before you choose your winter nail palette, consider the trending shades that are making waves this season, like soft lavender, icy blue, and earthy taupe. These contemporary colors offer a fresh take on winter aesthetics, providing versatility for any occasion.
Hence, you can effortlessly mix and match these trending shades to create a unique and stylish winter look. Experimenting with patterns, textures, and finishes—like matte or shimmer—will allow you to express your creativity while keeping your nails in vogue. Embrace this season’s trends to ensure that your winter nails stand out wherever you go!
Techniques for Perfect Winter Nail Art
Keep in mind that mastering various techniques can elevate your winter nail art game. Whether you prefer using tools or your own artistic flair, practicing different methods will help you achieve stunning designs. Explore stamping, freehand painting, and applying nail decals to create intricate patterns that capture the magic of winter. Each technique offers unique possibilities, allowing your creativity to flow freely.
Stamping and Freehand Art
Above all, you’ll find that combining stamping and freehand techniques can bring your winter designs to life. Stamping provides uniform patterns, while freehand art allows for personal expression. Develop your skills in both areas by starting with simple designs and gradually tackling more complex creations. This versatility will ensure your nail art remains fresh and exciting throughout the season.
Tips for Applying Nail Decals
Techniques for applying nail decals can significantly enhance your nail art experience. Start by prepping your nails with a base coat to ensure the decals adhere properly. When applying, use tweezers for precision and make sure the surface is dry. Additionally, seal your designs with a topcoat to protect them and enhance shine. Follow these tips:
- Choose high-quality decals for better durability.
- Align decals carefully before pressing down.
- Trim excess decal if necessary for a perfect fit.
The results will leave you with eye-catching designs that capture the essence of winter.
Decals
Decals offer an array of options for creating stunning winter nail art effortlessly. Opt for decals that reflect the season, like snowflakes, reindeer, or cozy sweaters, to imbue your nails with festive spirit. Prior to applying, ensure your nails are clean and prepped for the best adhesion. Consider using a topcoat over the decals for added protection and longevity. Follow a few guidelines:
- Keep your nails dry before applying decals.
- Apply decals onto a smooth surface for better results.
- Use a gentle touch to avoid tearing the decals.
The outcome will showcase your artistry while delighting anyone who sees your nails.
Nail Care Tips for Winter
For maintaining healthy nails during the winter, it’s necessary to adopt a robust nail care routine. Follow these tips:
- Moisturize your hands and cuticles regularly
- Limit exposure to water
- Use gloves when outdoors
- Opt for gentle nail products
Knowing these tips will ensure your nails remain strong and beautiful even in the coldest months. Check out It’s a winter wonderland for sure for more nail inspiration!
Moisturizing and Hydration
To keep your nails and cuticles well-hydrated, invest in a quality moisturizer that you can apply daily. During winter, the dry air can lead to cracked skin and brittle nails, so it’s necessary to lock in moisture. Opt for hand creams that are rich in necessary oils or shea butter for effective nourishment.
Protecting Your Nails from Cold Weather
Along with moisturizing, you need to shield your nails from harsh winter elements. Always wear gloves when venturing outside, as cold air can weaken your nails and lead to breakage. Additionally, avoid exposing your hands to hot water for extended periods, as this can strip natural oils and contribute to dryness.
In addition to wearing gloves, consider using a nourishing base coat before applying nail polish. This not only protects your nails from discoloration but also adds an extra layer of moisture. Try to keep your nails trimmed and neat to prevent snagging in gloves or clothing, enhancing protection. Consistently nurturing your nails will combat the damaging effects of winter, keeping them healthy and vibrant.
Seasonal Nail Art Inspiration
Now that winter is here, it’s time to embrace the magic of the season with creative nail art. You can draw inspiration from the stunning icy landscapes, twinkling holiday lights, and festive motifs. Whether you prefer delicate snowflakes, vibrant holiday colors, or cozy sweater patterns, there are endless options to elevate your winter manicure. Allow your nails to reflect the beauty of the season and showcase your personal style with unique designs that make a statement.
Celebrity Winter Nail Trends
Beside the seasonal inspirations, celebrity nail trends provide an exciting glimpse into what’s hot this winter. A-list stars are embracing bold colors and intricate designs, so don’t hesitate to take cues from your favorite icons. From simple chic to extravagant glitter, these trends can help you decide how to best express your festive spirit through your nails.
Social Media Influencers to Follow
Nail art enthusiasts like you can gain fresh ideas by following social media influencers who specialize in seasonal nail designs. These creators share their unique techniques and trending looks that inspire your own artistry. Engaging with their content not only provides practical tips but also keeps you updated on the latest styles to try.
In addition to following influencers for tips, you’ll discover a wealth of tutorials and nail art challenges that motivate you to experiment with your winter designs. These influencers highlight not only seasonal themes but also innovative techniques, such as marbling, 3D embellishments, and color blending, to enhance your nail game. Following these creators fosters a sense of community while enhancing your creativity, making your winter nail journey even more enjoyable.
To wrap up
With these considerations, you can easily create stunning winter wonderland nail art that reflects the beauty of the season. From delicate snowflakes to cozy knitted patterns, the possibilities are endless. Experiment with different colors and textures to make your designs truly unique. Don’t hesitate to incorporate festive elements, allowing your creativity to shine as you celebrate winter. By following these ideas, you will be sure to impress with beautiful nail art that embodies the spirit of winter.
FAQ
Q: What are some popular themes for Winter Wonderland nail art?
A: Popular themes for Winter Wonderland nail art often include snowflakes, icicles, frosty patterns, winter animals like penguins and polar bears, and holiday elements such as Christmas trees and ornaments. These themes can be combined with cool color palettes like icy blues, whites, and silvers to create a magical winter effect.
Q: How can I create a snowflake design on my nails?
A: To create a snowflake design, start with a base coat of light blue or white polish. Allow it to dry completely before using a thin nail art brush or a dotting tool to add delicate snowflake patterns in white or silver. You can also use a stamping plate for more intricate designs. Finish with a top coat to seal your art and add shine.
Q: Are there any specific nail polish brands recommended for winter nail art?
A: Several nail polish brands are known for their quality and variety of winter colors. Essie, OPI, and China Glaze often have collections that feature winter-themed shades. Look for polishes with a good pigmentation, long-lasting formula, and a glossy finish. Additionally, glitter polishes can enhance your winter look with sparkle.
Q: What tools do I need for creating Winter Wonderland nail art?
A: To create detailed Winter Wonderland nail art, you will need imperative tools such as a base coat, top coat, colored nail polishes, a thin nail art brush or dotting tools, and a nail stamp kit if you prefer stamping. A sponge is also useful for techniques like gradient ombre effects that can complement your winter designs.
Q: How do I properly remove intricate nail art designs?
A: To effectively remove intricate nail art, soak a cotton ball in acetone-based nail polish remover and place it on your nail for a few minutes to dissolve the polish. After soaking, gently wipe the nail with the cotton ball, being careful not to scrub to avoid damaging your natural nails. If the design is particularly stubborn, wrapping your nails in foil with the cotton ball can help speed up the removal process.