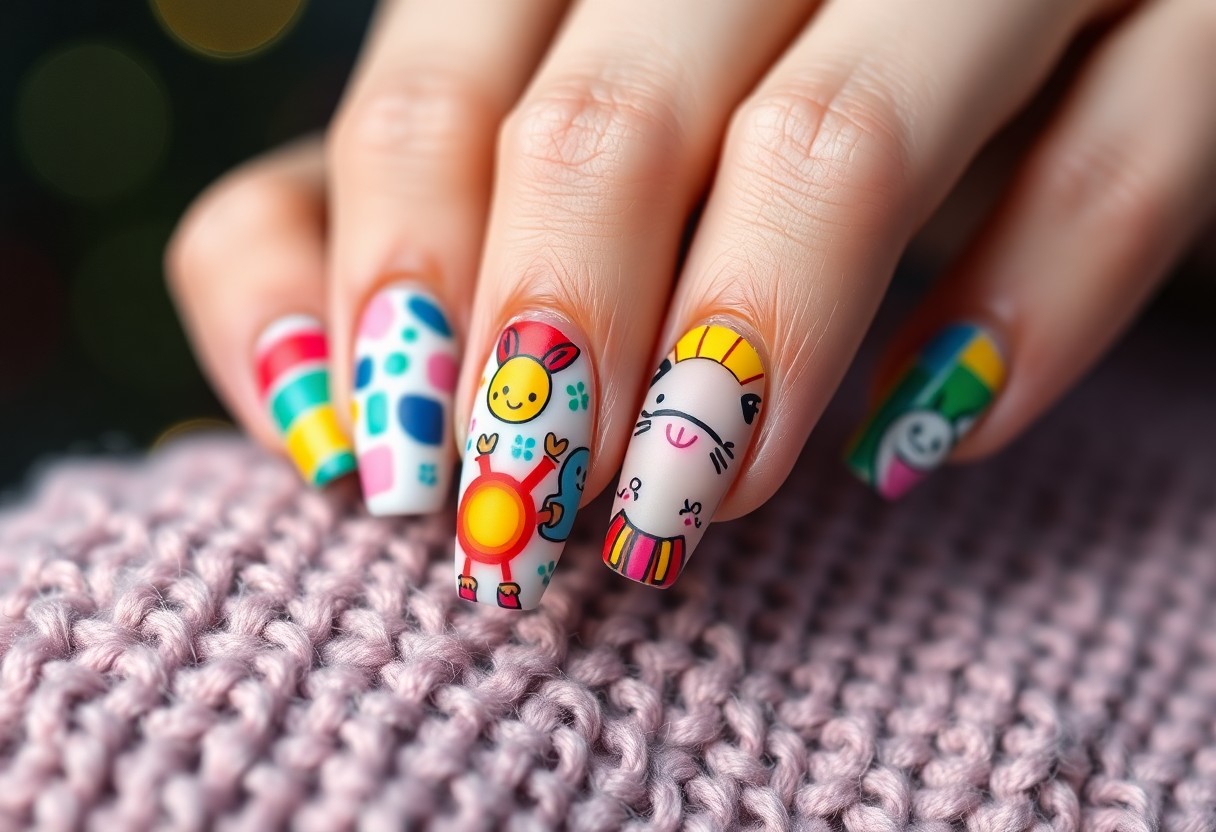
Just when you think your nail game can’t get any wilder, animal print nail art steps in to elevate your style. This trendy design allows you to express your personality while embracing the natural beauty of the animal kingdom. Whether you’re a fan of leopard spots or zebra stripes, you can easily add a fierce flair to your fingertips. In this post, you’ll learn imperative tips and techniques to master animal print nail art, ensuring that your manicures always stand out in the crowd.

Key Takeaways:
- Versatility: Animal print nail art can be adapted to suit various styles and occasions, making it a versatile choice.
- Technique: Mastering different techniques, such as stamping or freehand painting, can enhance the quality of your animal print designs.
- Color Combinations: Experimenting with unexpected color combinations can make your animal print nails stand out even more.
The History of Animal Print in Fashion
The history of animal print in fashion is a captivating journey that reflects humanity’s fascination with nature and the wild. From the elite circles of ancient civilizations adorning themselves with fur and hides to the runway shows of modern designers, animal prints have consistently captured attention. Their allure lies in their ability to convey power, glamour, and a connection to the untamed world, making them a timeless classic in the ever-evolving landscape of fashion.
Origins of Animal Prints
On the ancient battlegrounds of tribal cultures, animal prints were first utilized as symbols of status and strength. You would find warriors wearing the skins of fierce beasts to intimidate foes and demonstrate prowess. Over the centuries, these motifs transitioned from functional items to luxurious fashion statements, embraced by royals and aristocrats who sought to reflect their wealth and sophistication.
Evolution in Nail Art
Prints have seamlessly transitioned into nail art, captivating your imagination with their versatility. What once adorned clothing and accessories has now been reimagined for manicures, allowing you to express your style through various animal-inspired designs. This shift demonstrates how the trend adapts to contemporary culture, integrating bold patterns like leopard spots, zebra stripes, or even snake scales into your nail looks, adding a wild touch to your overall aesthetic.
Indeed, as fashion continues to evolve, so does the interpretation of animal prints in nail art. You now have the freedom to explore a plethora of colorful options, from minimalist designs featuring muted tones to vibrant hues that demand attention. The introduction of innovative nail techniques, such as stamping and water marbling, has made these designs more accessible than ever, allowing you to experiment and unleash your creativity while staying in tune with cutting-edge trends.
Popular Animal Print Designs
Clearly, animal print nail art has become a must-try trend that allows you to express your wild side. From fierce leopards to elegant zebras, there are various designs to choose from. You can explore the basics of leopard print with this HOW TO: Leopard Print Nail Art Tutorial // Talonted Lex.
Leopard Print
Prints inspired by the iconic leopard are undoubtedly a favorite among enthusiasts. This striking design features spots in earthy tones, allowing you to mix and match colors to suit your preference. The contrast of black against a golden or brown background exudes a bold and edgy aesthetic, perfect for making a statement with your manicure.
Zebra Stripes
Prints resembling zebra stripes add a chic touch to your nail art. This design employs bold black and white stripes that can be easily customized in terms of nail shape and length, giving you versatility and flair.
In fact, zebra stripes are not only visually appealing, but they also offer a unique way to showcase your personality. You can play with different shades, like pastel colors or neon hues, to create a fresh take on this classic design. This striking contrast allows your nails to stand out effortlessly while complementing any outfit.
Snake Skin
Along with the classic wild prints, snake skin patterns provide a more textured and exotic alternative for your nails. These designs incorporate intricate scales that can be mimicked using various nail art techniques, adding depth and interest to your overall look.
Zebra print designs can often inspire creativity when you decide to inject a playful twist into your nail art. Whether you choose to use subtle colors or bold contrasts, the elegance of these stripes will capture attention and elevate your style, making every nail a statement piece.
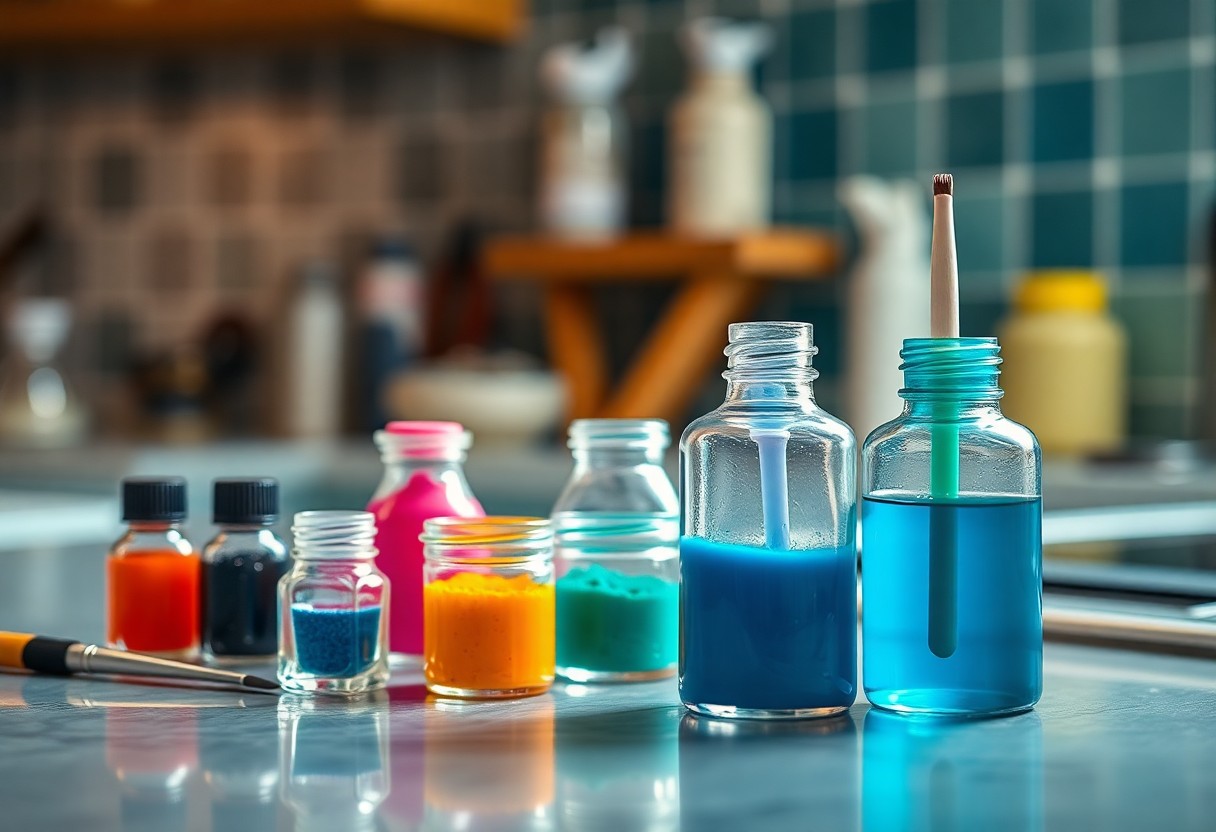
Tools and Materials Needed
Unlike traditional nail art, creating animal print designs requires a few specialized tools and materials to help you achieve those stunning patterns. You’ll need nail polish in your selected colors, brushes for precision, stencils for guidance, and a good top coat to seal your work. Collecting the right items will set the stage for your creative expression and make your nail art endeavors a lot more enjoyable.
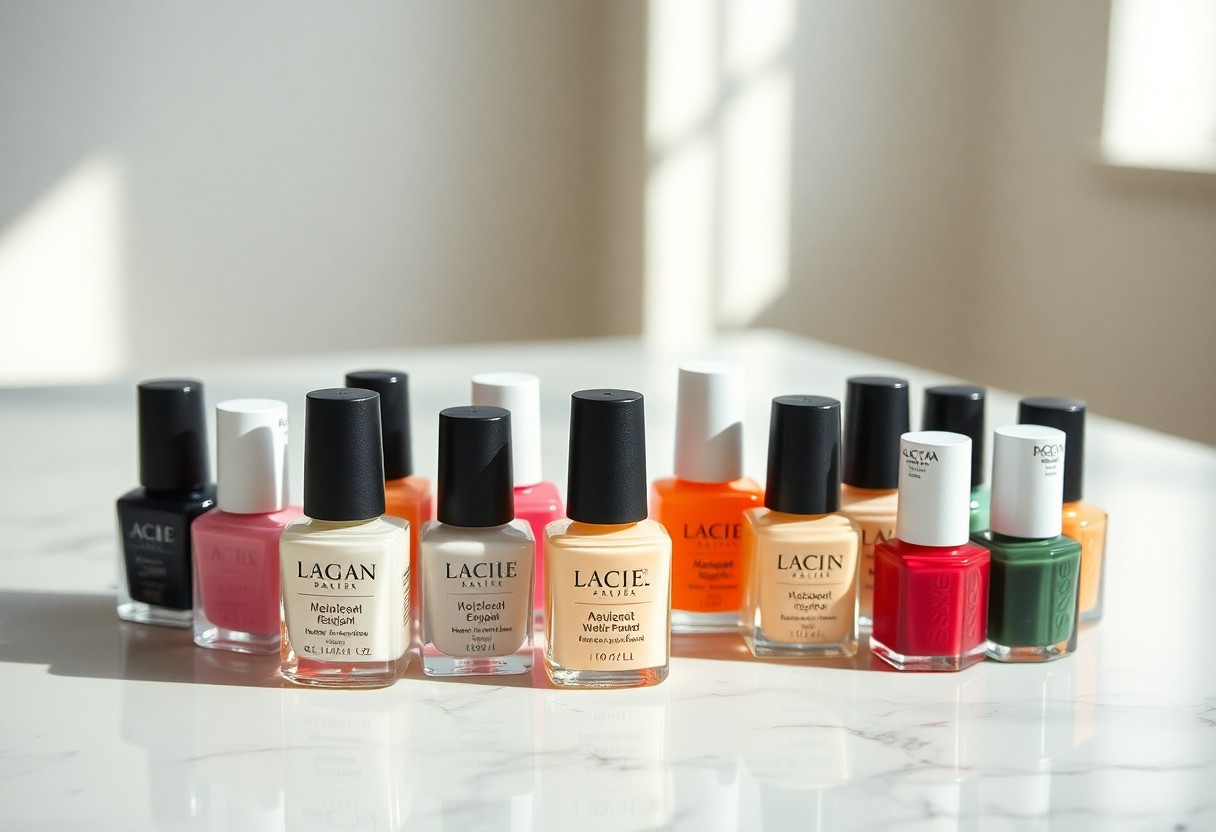
Nail Polish Colors
Needed are a variety of nail polish colors that reflect the animal prints you wish to replicate. Classic options include earthy tones like browns, blacks, and tans for leopard or cheetah prints, while vibrant colors like hot pink or electric blue can be used for a modern twist on traditional designs. Choose shades that resonate with your personal style and the statement you want to make.
Brushes and Stencils
Beside nail polish, having the right brushes and stencils makes a significant difference in your nail art process. Fine-tipped brushes allow you to create intricate details and patterns, while sponge applicators can help achieve gradient effects. Stencils are incredibly useful if you’re aiming for consistency and precision, ensuring that each nail matches perfectly.
With a set of brushes that vary in size and shape, you’ll have the flexibility to experiment with different designs. A thin striper brush is perfect for creating fine lines, while a wider brush works well for filling in larger areas. Stencils can take your designs to the next level—simply apply them to your nails and paint over for an effortless, uniform look.
Top Coats and Treatments
With the right top coats and treatments, you can ensure your nail art stands out and lasts longer. A high-quality top coat not only adds shine but also protects your designs from chipping. Additionally, consider using strengthening treatments that can enhance nail health, allowing you to sport your fabulous animal prints with confidence.
To ensure that your nail art maintains its vibrancy and stays intact, applying a top coat is imperative. It acts as a barrier against daily wear and tear while adding a glossy finish. If you’re prone to chips, look for long-lasting or gel top coats that provide extra protection and durability, so you can enjoy your stunning nail art for an extended period.
Step-by-Step Application Techniques
To achieve the perfect animal print nail art, follow these structured application techniques. This will help you create stunning looks with ease.
| Techniques | Description |
|---|---|
| Prep Your Nails | Start with clean, shaped nails. Use a base coat to protect your natural nails. |
| Choose Your Colors | Select a base color and an animal print color that complement each other. |
| Apply Base Coat | Paint your nails with the base color and let it dry completely. |
| Create the Print | Using a nail art brush or dotting tool, create your animal print design. |
| Seal Your Design | Finish with a top coat to add shine and longevity to your nail art. |
Simple Designs for Beginners
One of the best ways to start with animal print nail art is by opting for simple designs. Patterns like leopard spots or zebra stripes are easy to recreate and don’t require intricate skills. You can combine just two colors, making it a perfect introduction to the trend.
Advanced Techniques for Experts
Below is a more sophisticated approach to animal print nail art that allows you to showcase your creativity and precision. Mastering these techniques can transform your nail art into stunning works of art.
- Use a stamping kit for intricate designs.
- Experiment with ombre effects beneath your print.
- Incorporate textured finishes for a unique look.
- Layer colors for more depth in your designs.
- Add glitter or embellishments for an extra touch.
| Techniques | Description |
|---|---|
| Stamping | Apply nail polish on a stamping plate and transfer the design with a scraper. |
| Ombre | Create a gradient effect using a cosmetic sponge before applying prints. |
| Textured Finishes | Incorporate textured top coats to add dimension, enhancing the animal theme. |
| Layering | Apply multiple colors to create a complex design pattern for a striking effect. |
| Glitter & Embellishments | Add sparkle using glitter polish or rhinestones to make the design pop. |
Techniques like stamping and incorporating textures not only elevate your designs but also allow you to express your artistic flair. Each method requires practice, so take your time to perfect your skills and enjoy the process of designing your own stunning animal print nail art.
Tips for Long-lasting Animal Print Nail Art
Once again, achieving long-lasting animal print nail art requires proper preparation and maintenance. Here are some tips to ensure your nails stay stunning for longer:
- Start with a clean nail surface.
- Use a high-quality base coat to protect your nails.
- Seal your design with a top coat for added durability.
- Avoid excessive exposure to water and harsh chemicals.
- Reapply the top coat every few days for extra shine and protection.
Any diligent effort you put into these steps will enhance the lifespan of your fierce nail art.
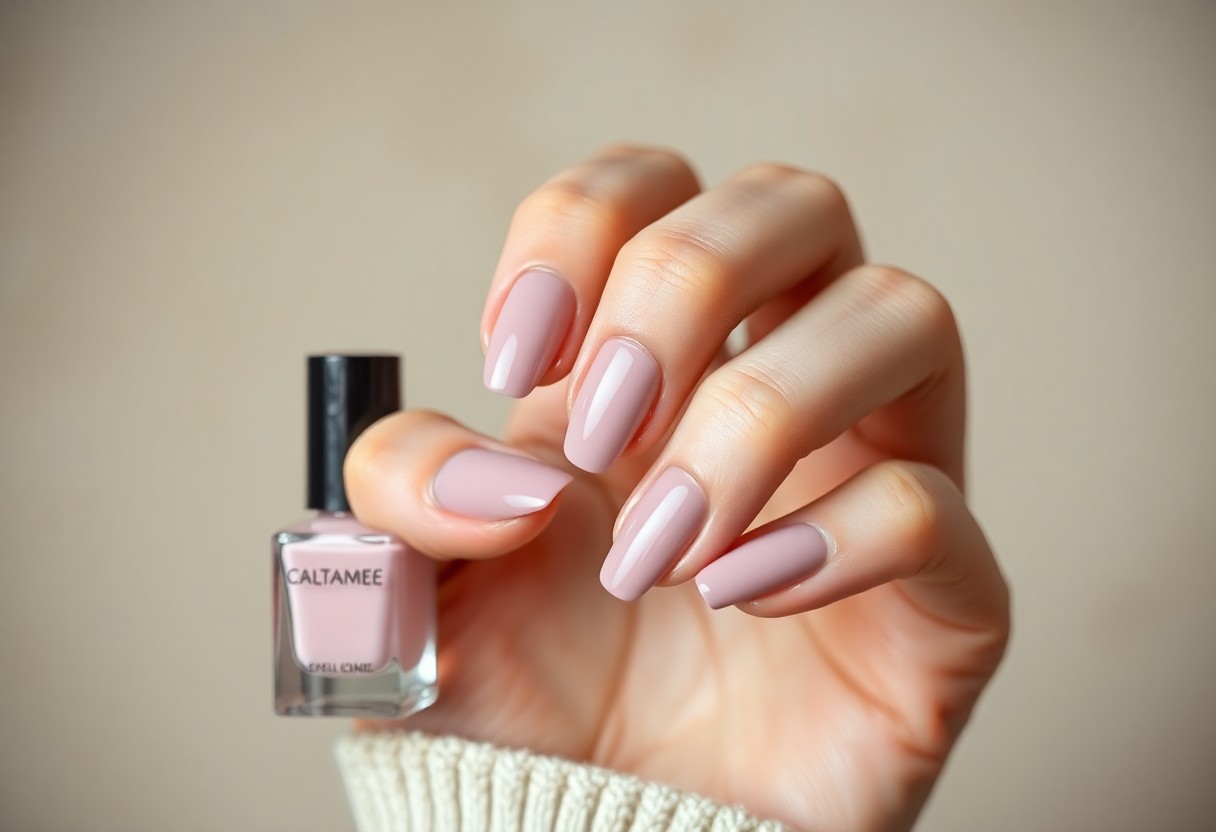
Preparing Your Nails
At the beginning of your nail art journey, ensure your nails are clean and well-shaped. Gently push back your cuticles and file your nails to your desired length. A smooth and tidy nail bed provides a perfect canvas for your animal print design. Applying a base coat not only protects your nails but also aids in color adherence.
Aftercare and Maintenance
Aftercare plays a significant role in maintaining the vibrancy and integrity of your animal print nail art. Regularly apply cuticle oil to keep your nails and cuticles hydrated, which prevents breakage and peeling. Additionally, avoid using your nails as tools, as this can chip your design. Staying hydrated and maintaining a balanced diet will also contribute to stronger nails overall.
Understanding how your nails react to different environments will help you take proactive measures. For example, when doing dishes or cleaning, consider wearing gloves to protect your manicure. Incorporating regular touch-ups on any chips, as well as keeping your nails moisturized, will ensure the striking look of your animal prints lasts as long as possible.
Trending Animal Print Nail Art Styles
Now that animal prints have made their bold comeback, you can effortlessly elevate your nail art game with trending styles. From classic leopard spots to zebra stripes, incorporating these daring designs can add a unique flair to your everyday look. Mixing and matching different animal prints can create a striking effect, empowering you to showcase your personality through your nails. Whether you opt for subtle accents or a full-on jungle theme, these styles are sure to keep your manicure ahead of the curve.
Seasonal Variations
Along with traditional designs, seasonal variations can enhance your animal print nails. In the spring and summer, lighter colors and pastel shades can create a fun twist on classic prints. As fall approaches, richer hues like deep browns and vibrant oranges can mimic the autumn landscape while giving a nod to animal prints. For winter, think sleek black and white designs or metallic accents to add a touch of glam to your seasonal festivities.
Celebrity Inspirations
Around the world, celebrities are embracing animal print nail art, making it a must-try trend for your beauty routine. From bold leopard patterns sported by stars on the red carpet to subtle snake print designs that you might see in everyday street style, their innovative approaches can inspire your next nail art adventure. Each celebrity offers a unique take, allowing you to mix high fashion with your personal style.
Variations in animal print nail art can take cues from your favorite celebrities who often set the trends. Stars like Kylie Jenner and Rihanna frequently showcase edgy designs that seamlessly blend elegance with an adventurous spirit. You can take inspiration from their looks—consider opting for intricate designs or eye-catching color combinations. Following celebrity trends not only keeps your manicure fresh but also allows you to embrace your own unique style while capturing the essence of your favorite icons.
Conclusion
Upon reflecting on the vibrant world of animal print nail art, you can confidently embrace this trend to showcase your unique style. By experimenting with various techniques and designs, you can add a wild flair to your manicure. For inspiration, check out 10+ Animal Print Nail Ideas & How to Do Animal Print Nail Art to elevate your nail game. Let your nails be an expression of your personality and creativity!
FAQ
Q: What types of animal prints can I consider for my nail art?
A: There are numerous animal prints that you can incorporate into your nail art, including but not limited to leopard, zebra, snake, and cow prints. Each has its unique style: leopard print tends to be bold with spots, zebra has that iconic stripe pattern, snake print often features a textured look, and cow print offers a playful, splotchy aesthetic. You can choose one or mix and match different styles for a more eclectic look.
Q: What supplies do I need to create animal print nail art at home?
A: To get started with animal print nail art, you’ll need a base coat, various nail polish colors (typically a neutral base color and darker shades for the print), nail art brushes or dotting tools, and a top coat for a lasting finish. Additionally, nail tape can be useful for creating clean lines. Consider using nail decals or stencils if you prefer a quicker method. Having a steady hand and some patience will also help achieve clean and precise designs.
Q: Are there any tips for ensuring my animal print nail art lasts longer?
A: To prolong the life of your animal print nail art, start with a good quality base coat to protect your nails. After applying your design, seal it with a high-quality top coat, which will add shine and durability. Avoid exposing your nails to harsh chemicals or excessive water and always carry a travel-sized top coat to touch up any chips. If possible, opt for gel polish which is often more resilient compared to regular polish.