Over time, pampering your feet at home can be a rewarding experience that saves you money and provides a spa-like feel. You can achieve beautiful, well-groomed feet by following this comprehensive step-by-step guide. From preparing your tools to the final polish, you’ll discover everything you need to know to give yourself the perfect pedicure. No experience is required; just gather your supplies and set aside some time to focus on your self-care. Get ready to elevate your at-home pedicure game!
Key Takeaways:
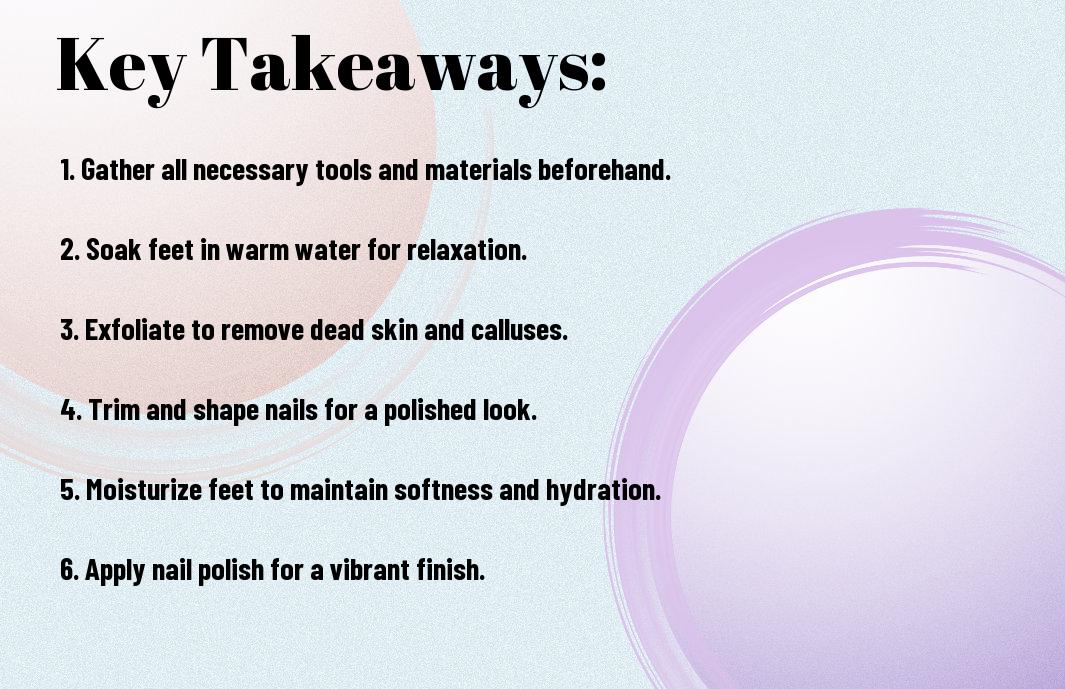
- Preparation: Gather all necessary tools and products, including nail clippers, a foot file, and moisturizing lotion, to create an efficient and enjoyable pedicure experience.
- Soaking: Soak your feet in warm water with Epsom salt or necessary oils to soften skin and prepare for exfoliation, ensuring a smoother result.
- Finishing Touches: Complete your pedicure by applying a base coat, nail polish, and top coat for long-lasting effects, and don’t forget to moisturize your feet afterward.
Essential Tools for Your At-Home Pedicure
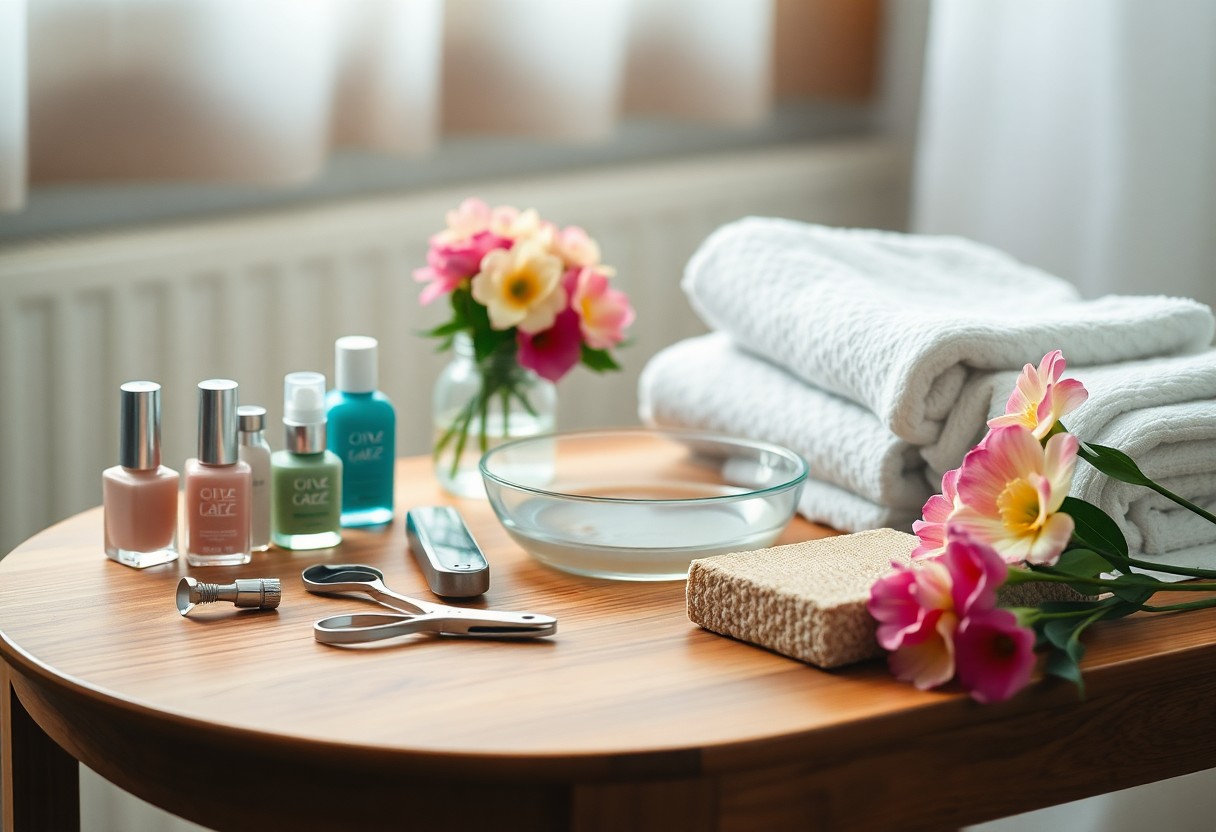
Before you begin your at-home pedicure, it’s important to gather all the necessary tools. Having the right items on hand not only makes the process smoother but also ensures that you achieve salon-quality results. Make sure you have a foot soak, a foot file, nail clippers, a buffer, and your favorite nail polish. Don’t forget to include a moisturizer and towels to ensure you have everything you need for a relaxing experience.
Nail Care Essentials
Along with your foot care tools, you’ll also need some nail care necessarys. Start with quality nail clippers to trim your nails effectively, followed by a file to shape them. A buffer will give your nails a healthy shine, while cuticle pushers and nippers will help keep your cuticles neat and tidy. These tools will provide a solid foundation for your pedicure and promote healthy nail growth.
Treatment Products
AtHome, selecting the right treatment products can enhance your pedicure experience significantly. Incorporate foot scrubs, exfoliators, and deep moisturizers into your routine to target specific needs, such as calluses or dry skin.
Considering the state of your feet is necessary when choosing treatment products. If you suffer from dry or cracked heels, opt for a rich foot cream, while exfoliating scrubs can remove dead skin and reveal soft, smooth feet. Additionally, using a soothing foot mask can provide extra hydration, making your pedicure not just a cosmetic treatment but also a nourishing experience.
Preparing Your Feet
Assuming you want to give yourself a beautiful pedicure, the first step is preparing your feet. Proper preparation sets the foundation for a successful at-home pedicure. Start by gathering all necessary supplies and find a comfortable spot to sit. You can find expert advice on How to Give Yourself a Professional Pedicure at Home, which can enhance your pedicure experience. A little effort in preparation will go a long way in delivering salon-worthy results.
Soaking Techniques
Before getting started with your pedicure, soak your feet in warm, soapy water for about 10-15 minutes. This not only relaxes your muscles but also helps to soften the skin. You may add Epsom salts, imperative oils, or foot soak solutions for added benefits. Ensure you have a comfortable basin that can hold enough water, and enjoy this soothing step to prepare your feet for the next stages of your pedicure.
Exfoliating for Smooth Skin
Between soaking and continuing with your pedicure, exfoliation is vital for smooth skin. Use a pumice stone or foot scrub to gently buff away dead skin on your heels and soles. Concentrate on areas that tend to be rough and dry to ensure all surfaces are soft and even. Exfoliation not only enhances the appearance of your feet, but it also helps to prevent calluses from developing.
Due to the wear and tear your feet endure, it is imperative to incorporate regular exfoliation into your pedicure routine. By consistently removing dead skin, you promote better circulation and skin renewal. Consider using a foot scrub with natural ingredients like sugar or salt, combined with moisturizing oils, for a nourishing experience. This will leave your feet looking fresh and feeling rejuvenated, setting you up for a great manicure afterward.
Nail Care Process
Despite the common assumption that nail care isn’t important, taking the time to pamper your nails can significantly enhance your pedicure experience. A good nail care routine not only improves the appearance of your nails but also contributes to their overall health. Understanding how to trim, shape, and care for your cuticles will lay a solid foundation for beautiful at-home pedicures.
Trimming and Shaping Nails
Along with giving your feet a polished look, trimming and shaping your nails helps to prevent hangnails and other nail problems. Use nail clippers to cut your nails straight across and avoid cutting too short. Then, shape your nails by gently filing the edges for a smooth finish. This will help to create an appealing appearance and promote healthier nail growth.
Cuticle Care
Against the backdrop of your nail care routine, paying attention to your cuticles is important for maintaining nail health and appearance. The cuticles serve to protect the nail bed from infections, but they can become dry and ragged without proper care.
This care process involves softening the cuticles by soaking your feet in warm, soapy water for 5-10 minutes. After soaking, use a cuticle pusher or orangewood stick to gently push back the cuticles without applying excessive force. For a polished finish, apply cuticle oil to keep them hydrated and healthy. Regular maintenance of your cuticles not only ensures a neat look but also contributes to the overall strength of your nails.
Moisturizing and Massage
Many people underestimate the importance of moisturizing and massaging your feet as part of your at-home pedicure. After soaking and exfoliating, it’s vital to apply a high-quality foot cream or lotion to lock in moisture and nourish your skin. Follow this with a gentle foot massage, which helps relax your muscles, improves circulation, and enhances the overall beauty of your feet.
Best Products for Hydration
Against dry and cracked skin, choosing the right products can transform your feet. Look for creams that contain ingredients like shea butter, coconut oil, or glycerin, as these deeply hydrate and protect your skin from harsh elements. Consider applying a thick overnight foot mask for an extra boost of moisture.
Techniques for Foot Massage
An effective foot massage doesn’t require any special tools or techniques—just your hands and some patience. Start by applying pressure to the soles of your feet using your thumbs, moving in circular motions to relieve tension. You can also squeeze and knead each toe gently, which not only feels delightful but can improve blood flow.
And don’t forget to focus on the arch of your foot, as it often holds a lot of tension. You can use your knuckles to apply deeper pressure, or even roll a tennis ball under your foot for a wonderful release. Encouraging relaxation in your feet can positively impact your entire body, leaving you feeling rejuvenated.
Nail Polish Application
Once again, this part of the pedicure is where you can express your creativity and style. Start by ensuring your nails are completely dry and free of any oils or residue. Apply a base coat to protect your nails and enhance the longevity of your polish. Follow with thin layers of your chosen nail polish, allowing each layer to dry before applying the next, and finish with a top coat for a glossy and durable finish.
Choosing the Right Colors
An array of colors awaits you when selecting nail polish for your at-home pedicure. Consider seasonal shades, your personal style, and the occasion for which you are prepping your toes. Whether opting for vibrant hues or subtle pastels, choose colors that make you feel confident and match your overall look.
Step-by-Step Application Tips
Step by step, securing a flawless nail polish application involves precision and care. Follow these tips to ensure a perfect finish:
- Buff your nails to a smooth surface.
- Apply a thin base coat to prevent staining.
- Use three strokes for even color application.
- Seal with a top coat for shine and longevity.
- Clean up edges with polish remover if necessary.
The effort you put into your nail polish application will greatly enhance the look of your pedicure.
Step-by-Step Application Tips
| Tip | Description |
| Buffing | Preparation ensures a smooth base for polish. |
| Thin Layers | Thin layers help in achieving a streak-free finish. |
| Drying Time | Be patient and let each layer dry completely. |
| Cleanup | Use a brush or Q-tip dipped in remover for cleanup. |
Application is key to achieving those salon-quality results at home. Start with a clean slate, and as you apply, keep the brush strokes consistent and even. It’s all about maintaining a steady hand and a keen eye for detail.
- Apply polish using a steady hand.
- Work from the center of the nail outwards.
- Avoid overloading the brush with polish.
- Finish with a generous coat of top coat.
- Allow ample time for drying to avoid smudges.
The application process can feel tedious, but it makes all the difference in the final result!
Application Steps
| Step | Action |
| 1 | Start with clean, dry, and buffed nails. |
| 2 | Apply a base coat for protection. |
| 3 | Use your chosen color for natural coverage. |
| 4 | Seal with a top coat for extra shine. |
Aftercare and Maintenance
Now that you’ve perfected your at-home pedicure, proper aftercare is important to maintain the health and longevity of your feet. Keep your toenails trimmed and moisturized to prevent dryness and cracking. Opt for breathable footwear to avoid fungal infections, and consider using a foot mask or scrub weekly for added hydration. Regularly check your feet for any changes or concerns, as early detection can prevent more significant issues down the line.
Keeping Your Feet Healthy
Above all, maintaining healthy feet goes beyond just aesthetics. Daily cleanliness, proper hydration, and the right footwear are key components in keeping your feet in great condition. Incorporate foot exercises to improve circulation and flexibility, and don’t hesitate to seek professional help for any persistent issues. With a little care, your feet will thank you.
Frequency of At-Home Pedicures
To ensure your feet look and feel their best, aim for at-home pedicures every 2 to 4 weeks, depending on your nail growth and lifestyle. Frequent maintenance will help you stay on top of any rough spots or calluses, keeping your feet smooth and healthy. You can always adjust the frequency based on seasonal changes or special occasions when you want your feet to shine.
Even if you choose to do your pedicures every month, consider giving your feet a little extra attention when the weather changes or when you’ve been more active. If you spend a lot of time outdoors or in open-toe shoes, bi-weekly sessions might be beneficial. Listen to your body and adjust your routine to fit your needs, ensuring that you always put your best foot forward.
Final Words
With these considerations in mind, you can elevate your at-home pedicure experience to a professional level. By following the step-by-step guide provided, you ensure that your feet are not only aesthetically pleasing but also receive the care they deserve. Investing time in your self-care routine can enhance your well-being and boost your confidence. So grab your tools, relax, and enjoy the pampering process as you give your feet the attention they need and deserve.
FAQ
Q: What supplies do I need for an at-home pedicure?
A: To perform an at-home pedicure, you’ll need a few important supplies. Gather a foot soak, nail clippers, a nail file, cuticle remover, a pumice stone or foot file, moisturizing lotion, nail polish (if desired), and a clean towel. Optional items include a foot scrub and a foot mask for additional pampering.
Q: How do I properly soak my feet before a pedicure?
A: Soaking your feet is an important step that softens the skin and prepares your nails for grooming. Fill a basin or tub with warm water and add Epsom salts, important oils, or a foot soak solution for relaxation and cleansing. Soak your feet for about 10-15 minutes, ensuring the water is comfortable and not too hot.
Q: What is the best way to treat calluses during a pedicure?
A: After soaking your feet, gently scrub callused areas using a pumice stone or a foot file. Focus on the heels and balls of the feet where calluses typically build up. Be sure to avoid over-scrubbing, which can lead to irritation. After exfoliating, apply a rich moisturizer to keep the skin soft and hydrated.
Q: How can I keep my nail polish from chipping?
A: To increase the longevity of your nail polish, start by applying a base coat to create a smooth surface and protect your nails from staining. After applying the color, follow up with a top coat to seal it in and add shine. Allow each layer to dry thoroughly before applying the next. Additionally, try to avoid exposing your nails to excessive water or harsh chemicals immediately after your pedicure.
Q: How often should I perform at-home pedicures?
A: The frequency of at-home pedicures can vary depending on your personal preference and foot condition, but generally, a monthly routine is suitable for most people. However, if you have dry skin or build-up, you might consider doing a pedicure every two weeks. Adjusting your schedule based on your needs and lifestyle will ensure that your feet remain healthy and well-maintained.