Many new nail enthusiasts find themselves overwhelmed by the abundance of products and techniques available on the market. In this guide, you will learn the imperative practices for maintaining healthy, beautiful nails, tailored specifically for beginners like you. From understanding different nail types to mastering the best care routines, this comprehensive exploration will empower you to nurture your nails effectively while building confidence in your abilities. Dive in and discover how to elevate your nail care game effortlessly!
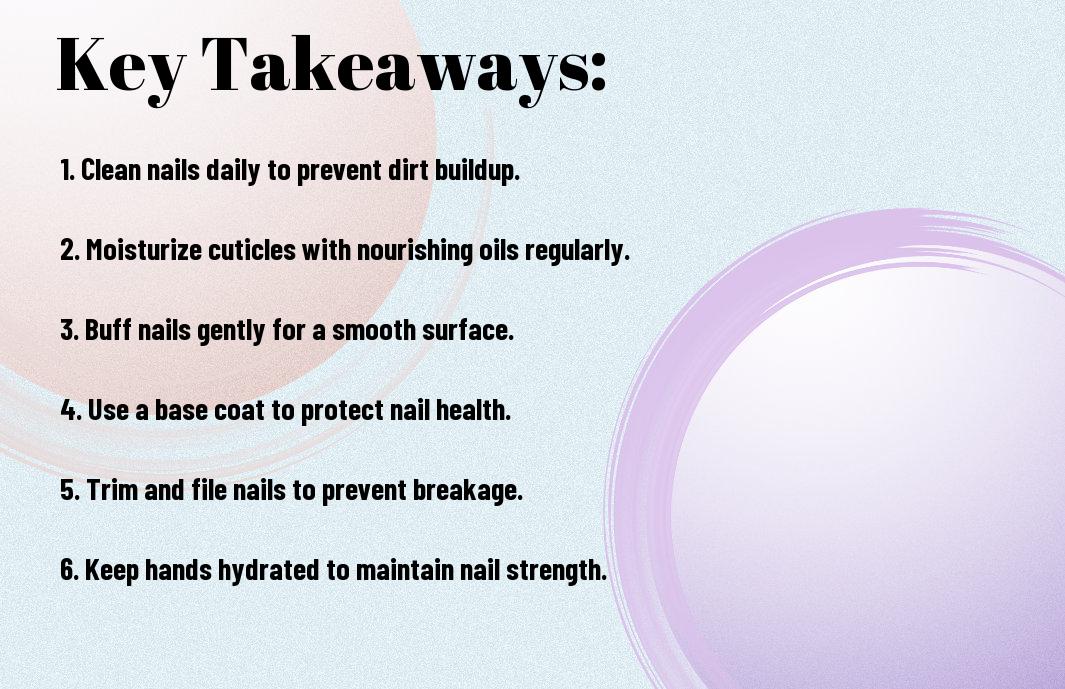
Key Takeaways:
- Basic Tools: Familiarize yourself with crucial nail care tools like clippers, buffers, and cuticle pushers for effective maintenance.
- Nail Hygiene: Regularly clean and moisturize your nails and cuticles to prevent infections and promote healthy growth.
- Technique Matters: Practice proper filing and trimming techniques to avoid damage and maintain the shape of your nails.
Understanding Nail Anatomy
Your nails are more than just a decorative feature; they serve vital functions and understanding their anatomy can help you take better care of them. Familiarize yourself with the vital components of your nails by checking out The Ultimate Guide To Basic Nail Care: Essentials And Tips. This knowledge empowers you to maintain nail health and spot potential issues early.
Structure of the Nail
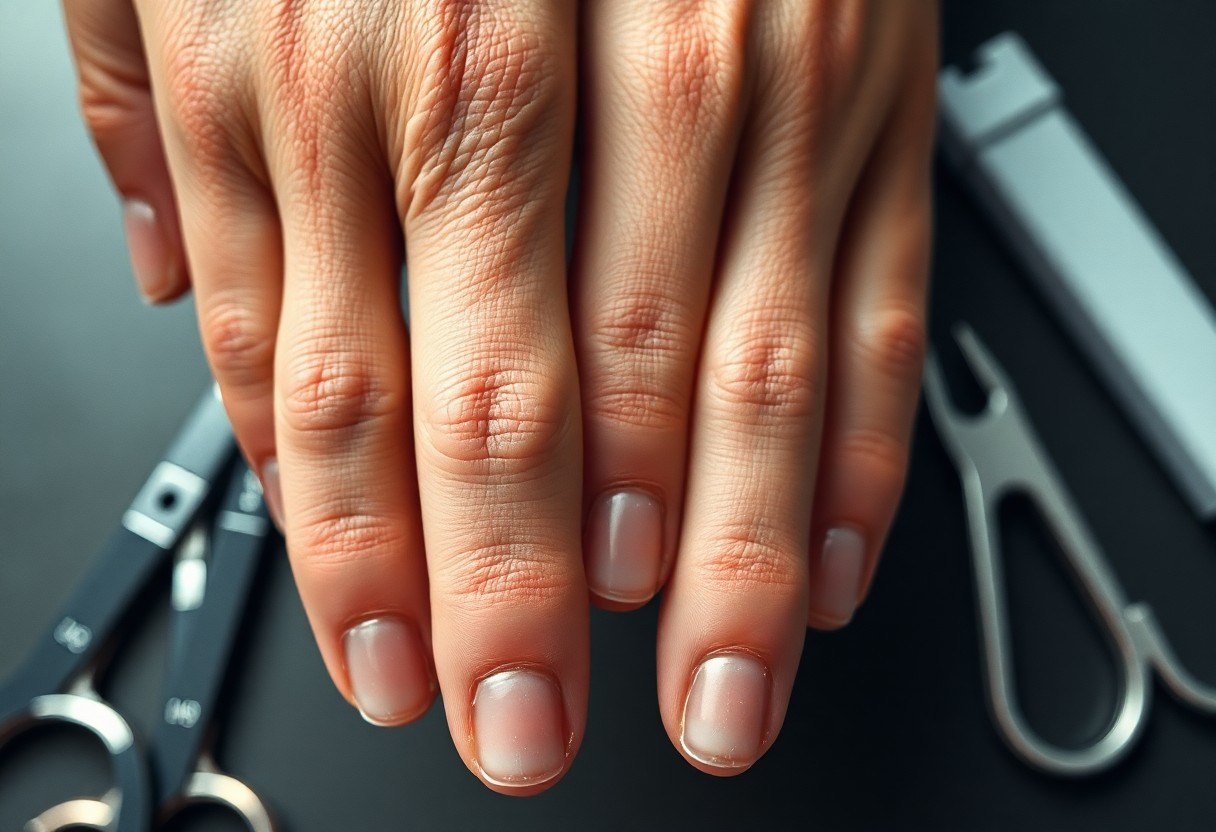
To truly appreciate your nails, it’s vital to understand their structure. Each nail consists of several parts, including the nail plate, nail bed, cuticle, and matrix, which all play a role in nail health and growth. The nail plate is the hard surface you see, while the nail bed supports it and keeps it attached to your finger or toe.
Common Nail Conditions
Any issues with your nails can indicate underlying health problems. Being aware of common nail conditions, such as fungal infections, nail psoriasis, and ingrown nails, can help you address problems before they escalate. Proper hygiene and nail care routines can significantly reduce the risk of these conditions.
Common nail conditions can arise from various factors, including genetics, diet, and environmental exposures. You might encounter signs like discoloration, brittleness, or unusual shapes. Addressing these issues early can save you discomfort and promote healthier nails in the long run. Paying attention to changes in your nails can not only improve their appearance but also signal when it’s time to seek medical advice.
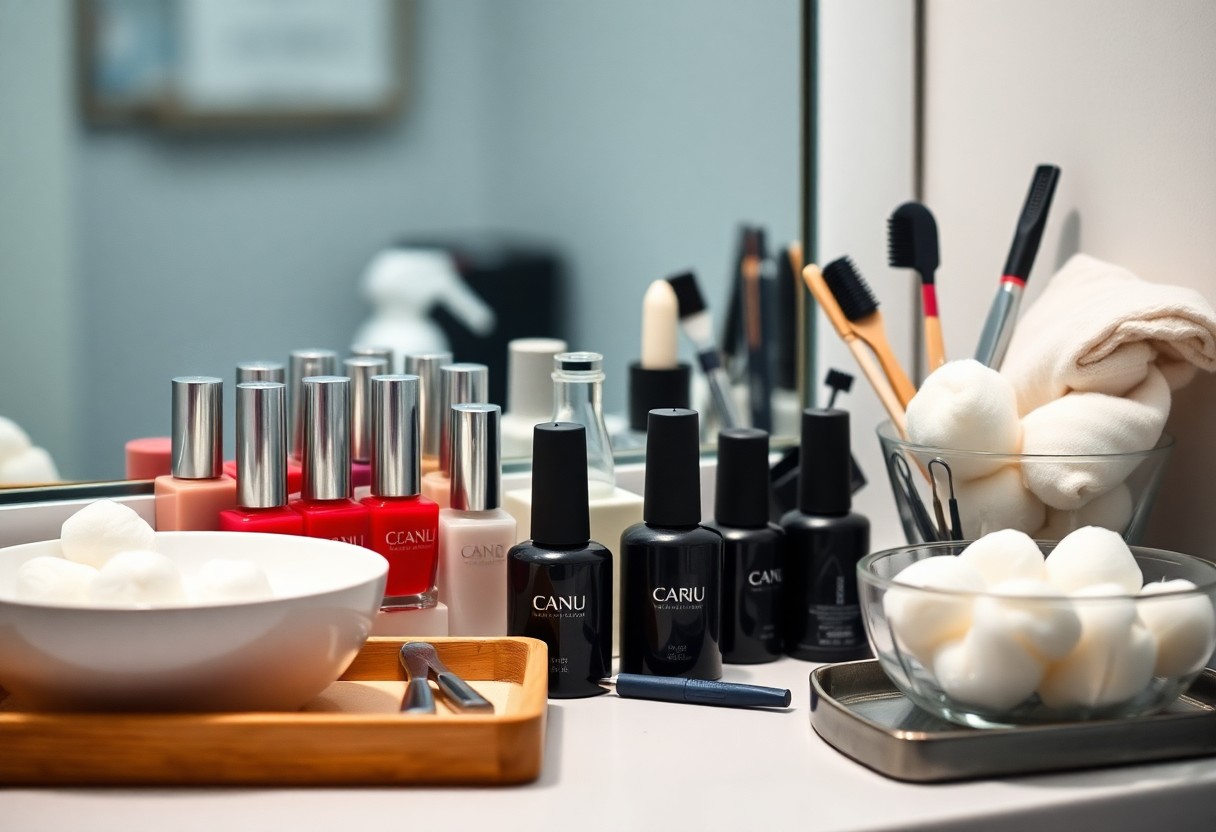
Essential Nail Care Tools
There’s a versatile toolkit you need to achieve beautiful nails at home. Having the right nail care tools not only simplifies your routine but also ensures you achieve professional-looking results. From clippers to buffers, each tool plays a significant role in maintaining the health and appearance of your nails. Understanding these tools will empower you to take your nail care to the next level and create a personalized beauty regimen.
Must-Have Tools for Beginners
Nail clippers, a file, cuticle pusher, and a buffer are important for beginners. Nail clippers help you trim your nails to your desired length, while a file allows you to shape them and smooth rough edges. A cuticle pusher keeps your cuticles neat, preventing hangnails, and a buffer adds the finishing touch by giving your nails a polished shine. These tools will set the foundation for great nail care.
How to Maintain Your Tools
Essential to your nail care routine is keeping your tools in good condition. Proper maintenance prolongs their lifespan and ensures optimal performance. Regularly clean your tools with disinfectant to prevent the buildup of bacteria, and dry them thoroughly after washing. Store them in a cool, dry place to avoid rust and damage. With a little care, your nail care tools will always be ready for use.
Beginners should take the time to develop a routine for tool maintenance to enhance their nail care experience. After each use, clean your clippers, files, and pushers to eliminate any debris or bacteria. Using a small brush for detailed cleaning can help reach tricky areas. Additionally, regularly inspect your tools for signs of wear and replace any that are damaged. By establishing these guidelines early on, you will promote the longevity of your tools and ensure your nail care routine stays effective.
Basic Nail Care Routine
For successful nail care, establishing a basic routine is necessary. This includes regular cleaning, trimming, and moisturizing your nails to maintain their health and appearance. A consistent routine not only enhances the look of your nails but also prevents issues such as breakage and infections. Follow these steps to ensure your nails stay strong and beautiful.
Step-by-Step Nail Care Process
StepbyStep, here’s a simple table to guide you through your nail care process:
| Step | Description |
| 1 | Soak your nails in warm, soapy water for a few minutes. |
| 2 | Gently push back your cuticles with a cuticle stick. |
| 3 | Trim your nails to your desired length using nail clippers. |
| 4 | File your nails to smooth any rough edges. |
| 5 | Apply a moisturizer or cuticle oil to nourish your nails. |
Frequency of Nail Care
Care for your nails regularly to maintain their health and beauty. It’s generally recommended to perform this routine every one to two weeks, depending on your nail growth and lifestyle factors. Adjusting the frequency gives you the best results without overwhelming your nails.
For instance, if you frequently engage in activities that may lead to nail damage, such as gardening or heavy cleaning, you might find that you need to pay more attention to your nails. On the other hand, if your nails are less exposed to potential wear, a bi-weekly routine could suffice. Tailor your nail care regimen to fit your individual lifestyle for optimal nail health.
Nail Health Tips
Keep your nails healthy by adopting simple habits that promote their strength and appearance. Prioritize the following tips:
- Moisturize your nails and cuticles regularly.
- Use gloves when doing household chores.
- Avoid biting your nails or picking at your cuticles.
- Limit exposure to harsh chemicals.
- Schedule regular manicures to maintain nail health.
Recognizing the importance of these practices will help ensure your nails remain vibrant and strong.
Nutrition for Healthy Nails
Nails thrive on a balanced diet rich in vitamins and minerals. Ensure your meals include biotin, zinc, and protein to promote nail strength. Incorporate foods like fish, nuts, leafy greens, and eggs into your diet, as they can significantly contribute to healthier nails. Staying hydrated is equally important, so drink plenty of water to maintain optimal nail health.
Avoiding Common Nail Care Mistakes
On your journey to perfect nails, it’s imperative to avoid pitfalls that can harm their health. Neglecting to properly hydrate your nails and cuticles can lead to dryness and breakage, while overusing nail products can weaken them. Always file nails in one direction and steer clear of using your nails as tools, as these habits can lead to damage.
At your nail care routine’s core, making small adjustments can yield significant results. Be mindful not to skip base coats before applying polish, as they protect your nails from staining and damage. Moreover, resist the urge to cut your cuticles; instead, gently push them back. Over time, these simple changes will help you avoid common mistakes and maintain strong, healthy nails that look their best.
Manicures and Pedicures
Despite the variety of at-home nail care options available, a professional manicure or pedicure can elevate your nail care routine significantly. These treatments not only enhance the appearance of your nails but also offer relaxation and stress relief. Regular visits to a nail salon can help you maintain healthy nails while allowing skilled technicians to care for any underlying issues that you may overlook at home, ensuring your hands and feet look their best.
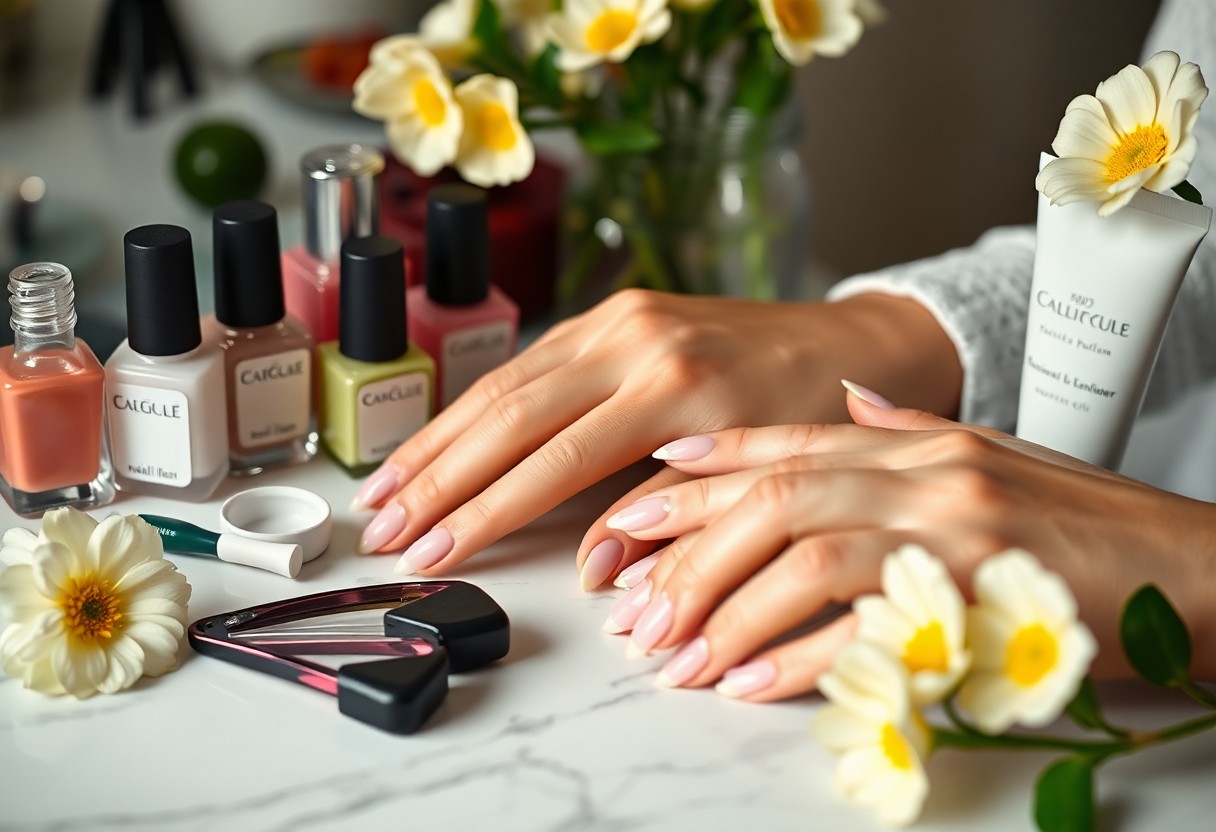
DIY Techniques for Beginners
By starting with simple DIY techniques, you can create beautiful manicures and pedicures at home without feeling overwhelmed. Begin with cleaning your nails, trimming cuticles, and shaping them as desired. Follow up with a nourishing base coat, your favorite nail polish color, and a protective top coat for a lasting finish. Don’t forget to hydrate your skin by applying cuticle oil and moisturizing cream. With practice, you’ll become more comfortable and confident in achieving salon-quality results right at home.
When to Seek Professional Help
For certain nail health issues or when you’re feeling less confident about your skills, it’s best to seek professional help. Nail technicians are trained to handle various concerns, from stubborn hangnails and ingrown toenails to fungal infections. They have the expertise to ensure that your nails are treated correctly while providing the best care possible.
A visit to a professional is advisable if you notice persistent pain, discoloration, or any unusual changes in your nails. If you are unsure about your technique or if you want to try a more complex design, professionals can offer guidance and flawless execution. Prioritizing your nail health allows you to enjoy both beautiful nails and peace of mind, ensuring your hands and feet are always looking their best.
Nail Art for Beginners
Now that you’ve mastered the basics of nail care, it’s time to explore nail art! Experimenting with different designs can be a fun way to express your personality and creativity. You don’t need to be an artist to create beautiful nails—there are various simple techniques and patterns you can try that will elevate your manicure without overwhelming you.
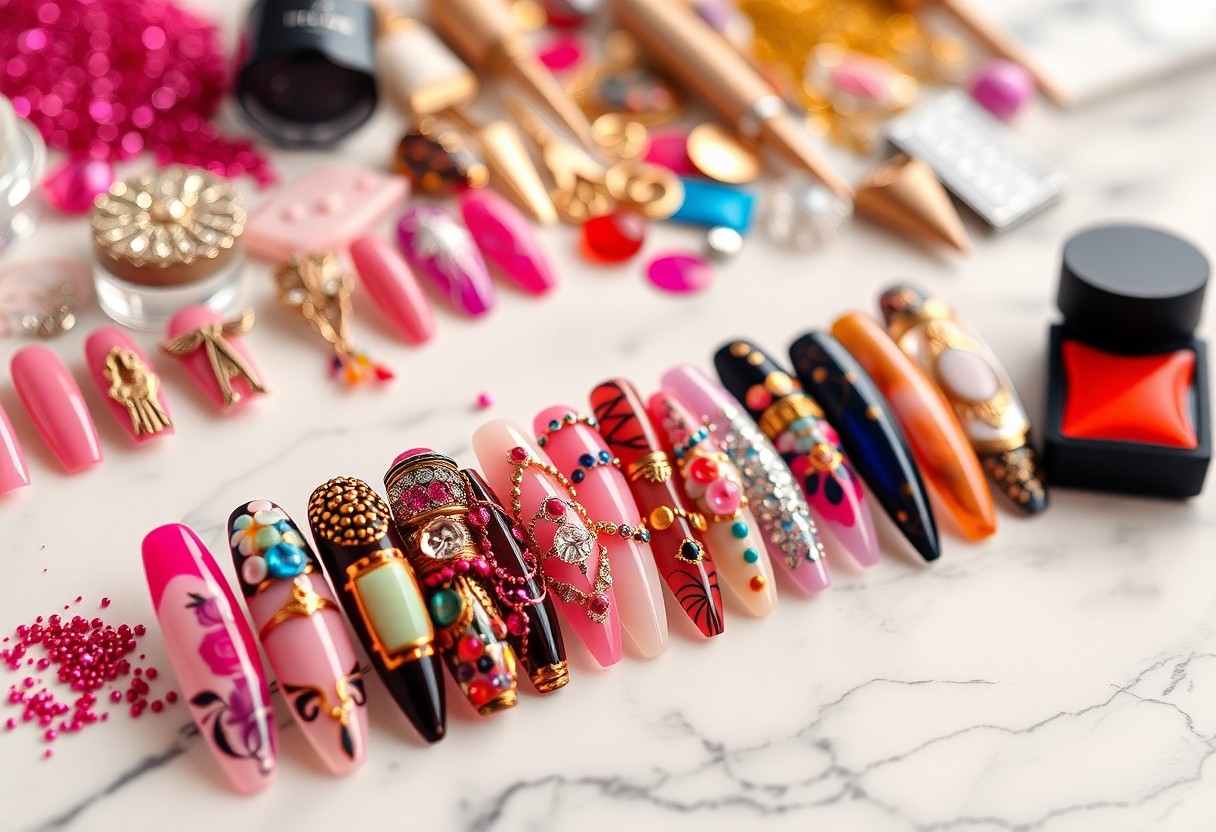
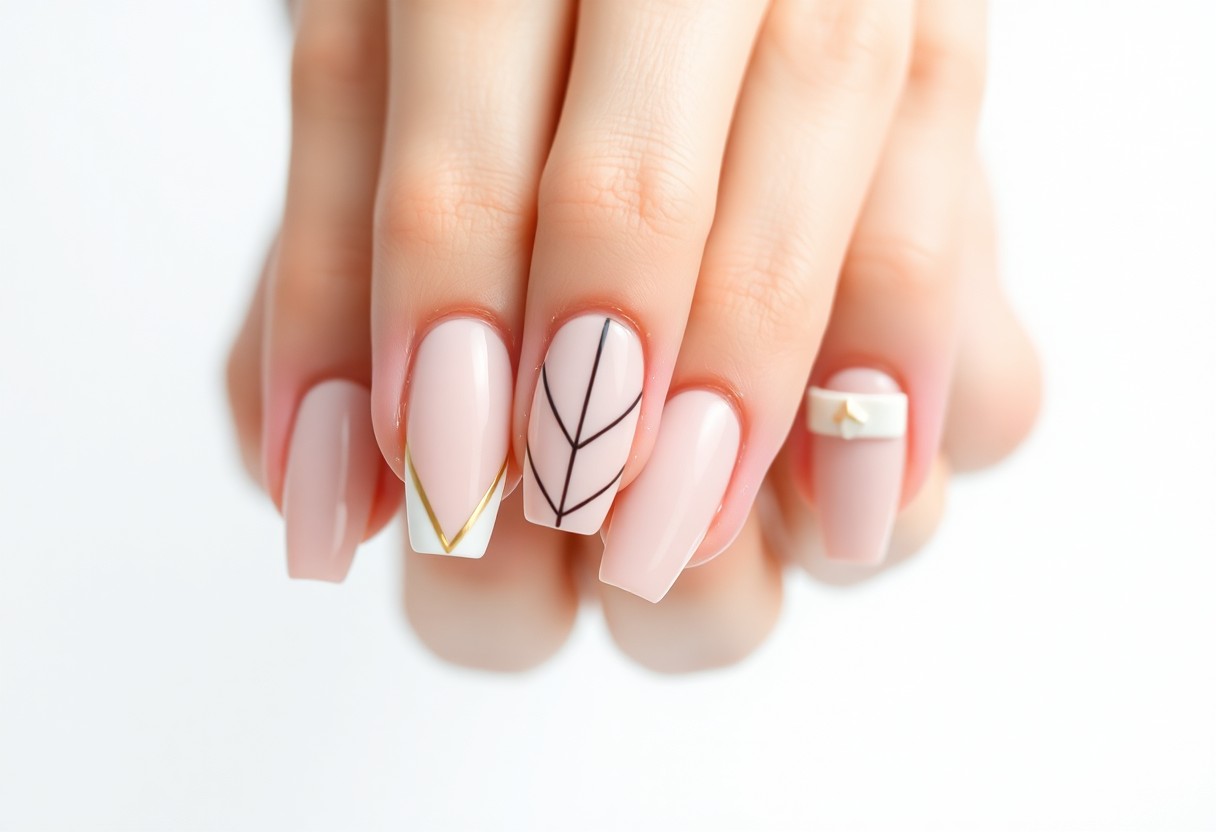
Simple Designs to Try
Any beginner can create eye-catching nail designs with a little practice. Start with easy stripes, polka dots, or even a classic French manicure. You can also use scotch tape to achieve clean, geometric shapes, allowing you to build your skills gradually while enjoying the process of customization.
Tools and Supplies Needed
Behind every great nail art project are the right tools and supplies. Basic necessarys include nail polish in various colors, a base and top coat, a dotting tool, a thin brush for details, and some scotch tape for designs. With these items, you’ll be well-equipped to unleash your creativity and try out various designs.
Also, consider investing in a clean nail file and buffer to shape and prep your nails before applying any art. Crafting an organized workspace with good lighting will make it easier for you to focus on your designs. You might also want to grab some nail stickers or decals for quick and stylish additions. Keeping your workspace tidy and stocked with necessary items will boost your confidence and make the process enjoyable!
To wrap up
Ultimately, mastering nail care starts with understanding the basics and implementing a consistent routine that suits your lifestyle. By investing time in choosing quality products, practicing proper techniques, and maintaining healthy habits, you can achieve beautiful nails that reflect your personal style. Don’t underestimate the importance of regular maintenance; your nails deserve the best care to thrive. With the knowledge from this guide, you’re well on your way to becoming confident in your nail care journey.
FAQ
Q: What are the crucial tools needed for nail care?
A: For nail care, you will need a few basic tools: a good quality nail clipper, a nail file (preferably a glass or crystal file), cuticle pushers, and a buffer. Additionally, having a moisturizer or cuticle oil is beneficial for keeping your nails and surrounding skin hydrated. If you plan to paint your nails, nail polish remover and cotton pads are also crucial.
Q: How often should I trim and file my nails?
A: It’s recommended to trim your nails every 1-3 weeks, depending on how quickly your nails grow and your personal preference for their length. Filing should be done after trimming to shape your nails and prevent snags or breaks. A weekly check is ideal to maintain their shape and health.
Q: What can I do to keep my nails healthy?
A: To maintain healthy nails, ensure that you’re eating a balanced diet rich in vitamins and minerals, especially biotin, zinc, and protein. Stay hydrated by drinking plenty of water, and avoid using nails as tools for opening packages or scratching. Regularly moisturizing your hands and nails helps to prevent dryness, and it’s wise to avoid harsh chemicals whenever possible.
Q: Is it necessary to apply a base coat before nail polish?
A: Yes, applying a base coat is advisable. A base coat creates a barrier between your nails and the nail polish, which helps prevent staining and yellowing of your nails. Additionally, a base coat can improve the adherence of the polish, leading to a longer-lasting manicure.
Q: How can I remove gel or acrylic nails safely at home?
A: To safely remove gel or acrylic nails at home, start by filing the top layer of the product to break the seal. Then, soak a cotton pad in acetone, place it on your nail, and wrap it in aluminum foil to keep it in place. Allow it to sit for about 15-20 minutes. Afterward, gently push off the softened product with a cuticle pusher. If it stubbornly remains, reapply the acetone-soaked pad and wait a little longer. Finish by moisturizing your nails and hands afterwards to restore hydration.