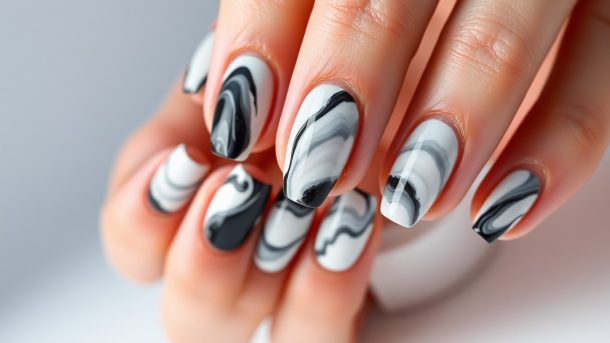
Marble nail art can elevate your manicure, giving it a stylish and eye-catching look. With just a few simple techniques, you can achieve stunning marble designs right at home. In this guide, I’ll walk you through five easy steps that will help you create beautiful marble nails with minimal effort. Whether you’re a nail art novice or an experienced enthusiast, you’ll find this process straightforward and enjoyable. Gather your tools, and let’s get started on your journey to mastering this chic nail art trend!
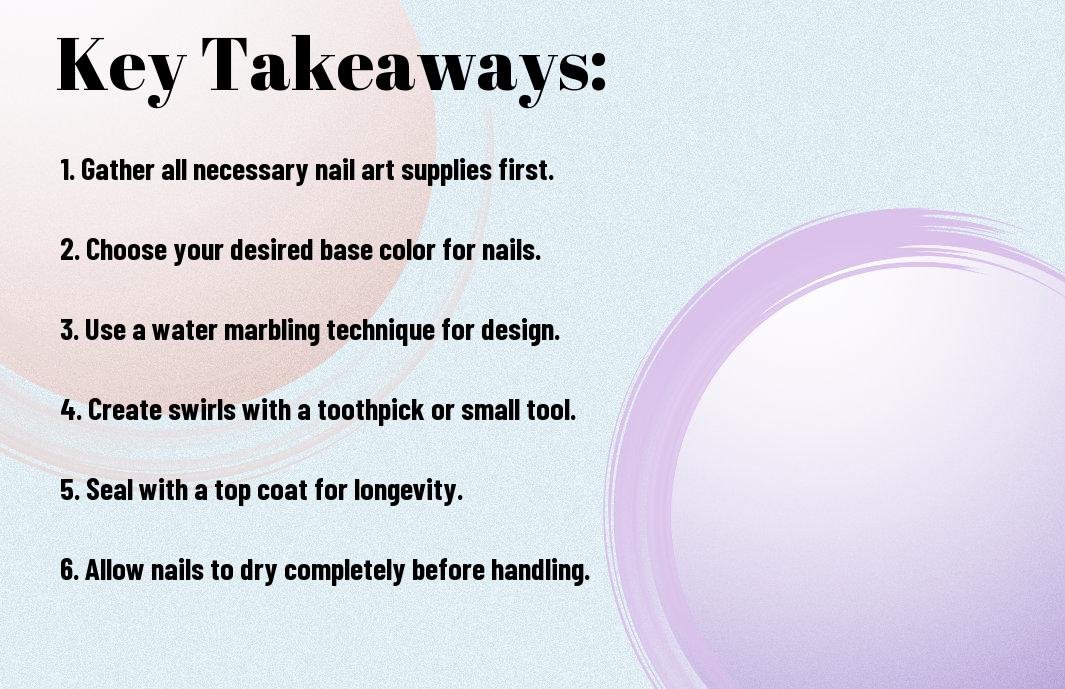
Key Takeaways:
- Choose Your Colors: Select 2-3 nail polish colors that will blend well together for the marble effect.
- Water Technique: Use a cup of room temperature water to create the marble pattern by dropping the nail polish onto the surface.
- Finish with Top Coat: Seal your design with a top coat to enhance shine and longevity.
Materials Needed
Before you explore creating stunning marble nail art, it’s vital to gather all the necessary materials. This will not only streamline the process but also help you achieve the best results. You’ll need specific nail polish colors, tools, and supplies to bring your marble nail art to life!
Nail Polish Colors
Materials play a vital role in achieving the perfect marble effect. Choose at least three contrasting nail polish colors that complement each other. Classic combinations include black, white, and a pop of color like pink or blue, but feel free to get creative with your selection!
Tools and Supplies
Among the vital items you’ll need are a small bowl of water, a toothpick or dotting tool, and a base coat and top coat for added durability. Additionally, a quick-drying top coat can help seal your design and prevent smudging.
In addition to those items, you might find it helpful to have small pieces of tape or a makeup brush to clean up any excess polish around your nails. Having cotton swabs and nail polish remover on hand is also advisable for easy cleanup of any mistakes. With these tools and supplies, you’re well on your way to mastering the marble nail art technique!

Step 1: Prepare Your Nails
Even the most beautiful marble nail art requires a well-prepared canvas. Start by ensuring your nails are clean and shaped, as this will enhance the overall look of your design. Neglecting this step can lead to an uneven finish, making it more challenging to achieve that flawless marble effect.
Clean and Shape
An necessary part of preparing your nails is cleaning and shaping them. Begin by removing any old polish and debris with a gentle nail polish remover. Then, shape your nails using a nail file to your desired length and style – whether square, oval, or almond. A well-groomed nail will serve as the ideal foundation for your marble art.
Apply Base Coat
By applying a base coat, you create a protective layer that helps the nail polish adhere better and prevents staining. This step is vital, as it allows your marble design to last longer while maintaining the vibrancy of the colors you choose. A base coat also smoothens out any imperfections on your nails, ensuring a flawless application of your marble nail art.
Consequently, applying the base coat is not just about protection; it also enhances the longevity and appearance of your nail art. Choose a high-quality base coat that suits your nail type, and apply a thin, even layer to each nail. Allow the base coat to dry completely before moving on to the next steps. This will ensure that the subsequent layers adhere effectively and that your masterpiece remains intact.
Step 2: Choose Your Colors
Once again, selecting the right colors is an imperative part of achieving stunning marble nail art. Think about the aesthetic you want to create, whether it be bold and vibrant or soft and serene. Choose contrasting colors to enhance the marble effect, or opt for shades within the same color family for a more subtle look. Your chosen colors should also reflect your personal style and complement your skin tone.
Color Selection Tips
The following tips may help you choose the perfect colors for your marble design:
- Consider a color wheel to find complementary shades.
- Test out colors on a small piece of paper.
- Think about the season or occasion you are painting your nails for.
- Don’t shy away from metallic or glittery finishes for added depth.
This approach will enhance your overall design and make your nail art truly pop.
Suggested Color Combinations
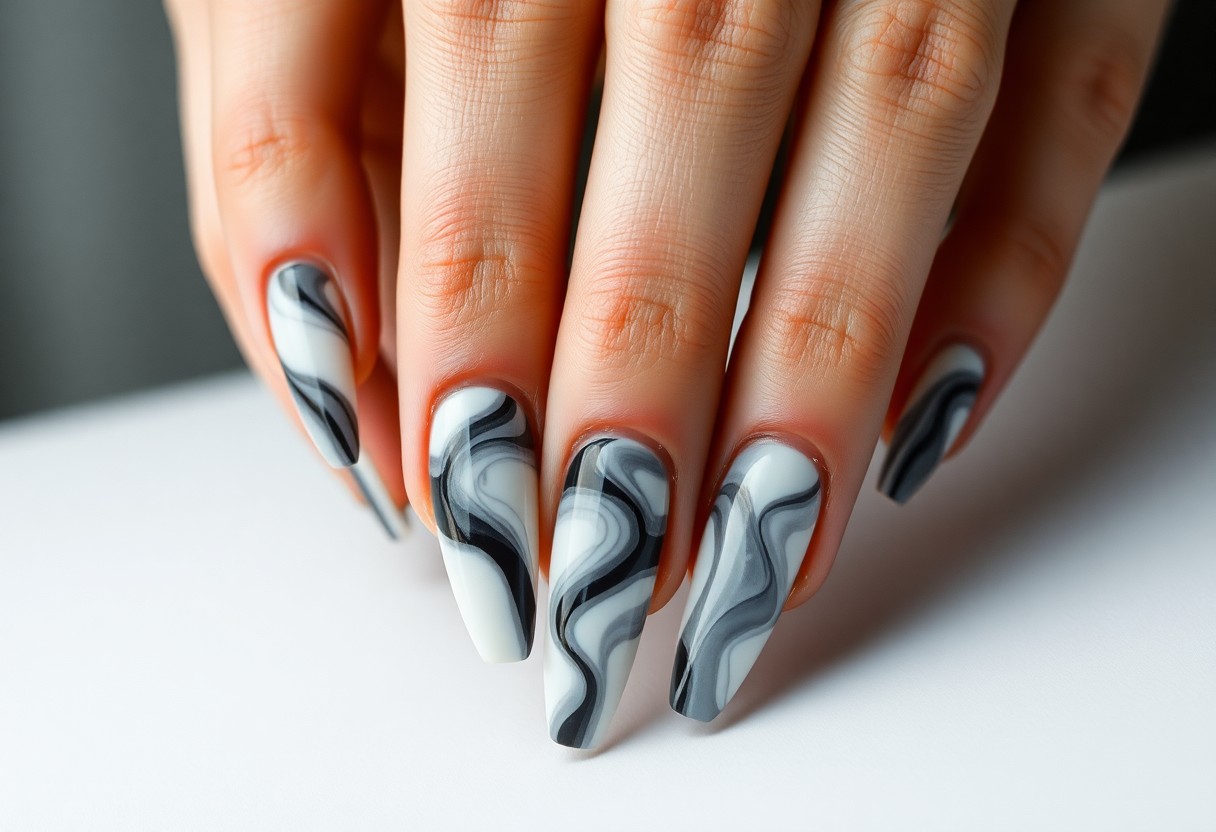
Bespoke combinations can elevate your nail art game. Some popular pairings include classic black and white for a timeless look, vibrant pink and gold for a glamorous flair, or deep blue and silver for a cool effect. You can also create a unique blend using earthy tones like taupe and olive green for a natural vibe.
Hence, experimenting with different combinations can lead you to discover your signature marble style. Consider the mood you want to convey, and don’t be afraid to mix unexpected hues. Finding your perfect combination can make a significant difference in the overall impact of your nail art, making it uniquely yours.
Step 3: Create the Marble Effect
Not all marble effects are created equal, and achieving that stunning swirl can be a game-changer for your nail art. For this step, you’ll focus on the actual creation of your marble pattern using the method of your choice, bringing together the colors you’ve chosen. Patience is key as you experiment with various techniques to find the perfect design that suits your style.
Water Marbling Technique
One effective method for achieving a beautiful marble look involves the water marbling technique. Start by filling a small cup with room-temperature water, then drop your chosen nail polishes onto the surface. Use a toothpick or a similar tool to swirl the colors together, creating a marbled effect. Dip your nail into the design, ensuring it captures the desired pattern and finish with a top coat to seal your work.
Alternative Techniques
Between the water marbling and other creative approaches, you can explore several alternative techniques to achieve a marbled effect on your nails. Some popular methods include the sponge technique, using a plastic bag, or even a paintbrush to swirl the colors directly on your nail.
In fact, these alternative techniques can provide unique results while also being more accessible for beginners. For instance, using a sponge allows you to dab colors together, creating a textured effect without the complexity of water marbling. The plastic bag technique involves applying polish onto a bag and dabbing it onto your nails, offering more control over the design. Experimenting with these methods can lead you to discover the best technique for your personal style and expertise level.
Step 4: Applying Top Coat
Many nail art enthusiasts overlook the significance of the top coat, but it plays a vital role in enhancing the final look of your marble nails. This clear polish not only adds a beautiful shine but also seals in your design, ensuring its longevity and preventing chipping. A properly applied top coat can elevate your marble nail art, making it appear professional and well-crafted.
Importance of Top Coat
Between the intricate designs and layers of polish, a good top coat serves as a protective barrier that keeps your nails looking fresh for longer. It also enhances the depth and vibrancy of your marble effect, making colors pop. Without it, your masterpiece may dull faster, losing that stunning look you worked hard to achieve.
Application Tips
Any successful top coat application starts with a gentle approach to avoid disturbing your marble design. Follow these imperative tips to ensure a flawless finish:
- Apply the top coat only after your design is completely dry.
- Use a clean brush to pick up a small amount of top coat.
- Apply a thin layer; thicker coats can lead to smudging.
- Seal the edges of your nails to prevent chipping.
Assume that you will need to reapply top coat every few days to maintain the shine and protection of your nail art.
And as you apply your top coat, keep in mind some additional tips for the best results. Start from the base of your nail and work your way to the tip, applying the polish smoothly in one stroke. Avoid overworking the top coat, as this can disturb the marble design underneath. Allow each layer to dry completely before adding more. This not only improves your overall outcome but also extends the life of your nail art:
- Choose a quick-drying top coat to save time.
- Avoid using oil-based removers between applications.
- Practice patience by allowing drying time between layers.
Assume that with proper care, your marble nail art can dazzle for weeks to come.
Step 5: Finishing Touches
All great marble nail art deserves a flawless finish. To seal your design, apply a clear top coat to protect your artwork and enhance the glossy appearance. For more tips, check out How to Create Your Own Marble Nail Art. Once dry, your nails will not only look stunning but also last longer.
Clean-Up Tips
With a little attention, you can make your nails look polished and professional. Use a small brush dipped in nail polish remover to tidy up any smudges around your cuticles. Follow these steps:
- Dip a brush into nail polish remover.
- Gently brush away excess polish.
- Repeat until nails are clean.
The end result will be tidy and beautifully marbled nails.
Nail Care After Art
Around the final touches, don’t forget to care for your nails. Applying cuticle oil can keep your nails nourished and healthy, while regular moisturizing helps maintain their strength. This ensures your artistry doesn’t just look good but also promotes nail health in the long run.
Another effective way to maintain nail health after your artistic session is by avoiding harsh cleaning products and excessive water exposure. Wearing gloves during chores can protect your nails while allowing your new marble design to shine. Regular hydration and a balanced diet will also contribute to stronger nails, ensuring that your beautiful nail art lasts as long as possible.
Conclusion
Conclusively, creating stunning marble nail art is an achievable process that requires just a few steps. By following the outlined techniques for preparation, design, and application, you can easily transform your nails into eye-catching works of art. Take your time and experiment with colors to find the perfect marble effect that complements your style. With practice and patience, you’ll elevate your nail art skills and impress others with your creativity. Enjoy the process and have fun personalizing your marble designs!
FAQ: How to Create Marble Nail Art in 5 Easy Steps
Q: What materials do I need to create marble nail art?
A: To create marble nail art, you will need the following materials: two or three nail polish colors of your choice, a base coat, a top coat, a small bowl of water, a toothpick or a dotting tool for design manipulation, and nail tape to protect your cuticles if desired. Ensure your workspace is covered with old newspapers or a plastic sheet for easy cleanup.
Q: How do I prepare my nails before starting the marble nail art?
A: It’s important to start with clean and dry nails. First, remove any old nail polish and shape your nails with a file. Next, apply a base coat to protect your nails and enhance polish adhesion. Let it dry completely to ensure a smooth finish. This preparation helps the marble effect to stand out better and makes the overall nail art last longer.
Q: What technique should I use to create the marble effect in the water?
A: To achieve the marble effect, drop your selected nail polish colors into the bowl of water one at a time. Start with one color, then add the next color, allowing them to spread slightly on the surface before adding the third. Use the toothpick or dotting tool to gently swirl and create your desired marble pattern. Make sure the colors blend well without becoming too muddled.
Q: How do I apply the marbled design to my nails?
A: Once your marble design is created in the water, dip your nail into the water at an angle. Ensure that your nail covers the desired area of the marble pattern. After dipping, lift your nail out of the water and clean up any excess polish around your nail with a cotton swab or a brush dipped in nail polish remover. Repeat this step for each nail, ensuring not to disturb the marble pattern too much.
Q: What steps should I follow after applying the marble nail art?
A: After applying the marble design, allow your nails to dry completely before applying a top coat. The top coat not only seals the design but also adds shine. It’s advisable to use a quick-dry top coat to speed up the drying process. Make sure to clean up any excess around your nails, and remove any nail tape if you used it before applying the top coat. Finally, allow your nails to dry thoroughly to enjoy your beautiful marble nail art!