Artistic expression is at your fingertips with the latest nail art trends that are set to dominate this year. From bold colors to intricate designs, you can elevate your nail game and showcase your unique style. To stay ahead, check out 30 Trending Nail Designs Everyone Will Obsess Over in …. Dive into this list of top trends to find inspiration that reflects your personality and creativity, ensuring your nails are always on point.
Key Takeaways:
- Minimalistic Designs are making waves, focusing on sleek lines and subtle colors for a chic look.
- Bold Colors dominate the season, with vibrant shades being paired creatively to stand out.
- Textured Finishes such as matte and glossy combinations provide a unique twist, making nail art more dynamic.
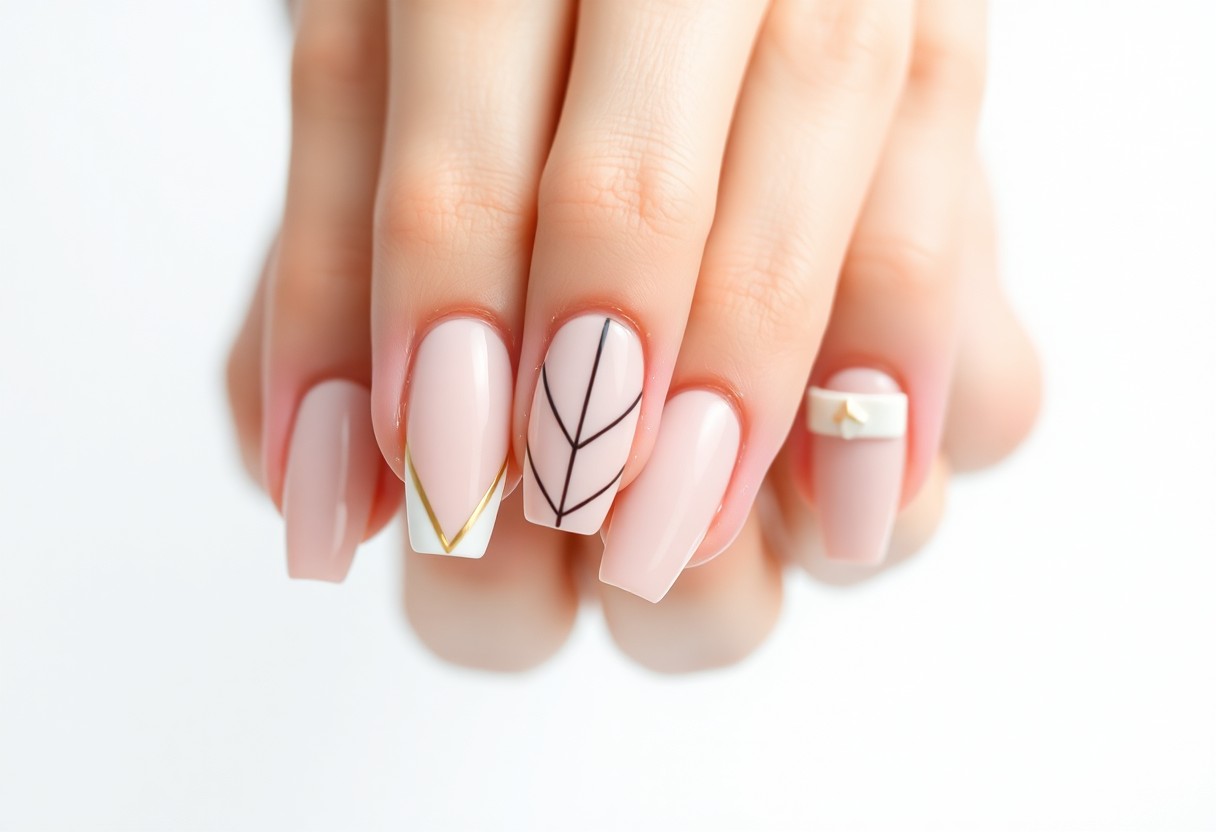
Minimalist Nail Designs
For nail enthusiasts who appreciate simplicity and elegance, minimalist nail designs are the way to go. These understated styles focus on clean lines, soft colors, and subtle patterns, allowing your nails to make a statement without overwhelming your look. By stripping away the excess, minimalist manicures highlight the natural beauty of your nails, making them perfect for any occasion.
Negative Space Art
Between bold colors and intricate patterns, negative space art stands out as a unique way to play with your manicures. This trend cleverly utilizes the natural nail as part of the design, incorporating strategic gaps and spaces that create a stunning visual appeal. By combining shapes, lines, and colors with exposed nail, you can achieve an eye-catching yet effortless look.
Monochrome Looks
Monochrome nail designs focus on a single color or varying shades of a specific hue. This approach allows you to express versatility while maintaining a chic and sophisticated aesthetic. Whether you opt for a bold red or soothing pastel, monochrome nails are known for their clean look, and they can easily be paired with any outfit for a polished finish.
Considering the popularity of monochrome looks, you can elevate your nail game by experimenting with different textures, finishes, and designs within the same color palette. Matte, glossy, or glitter finishes can dramatically change the overall effect, while nail art techniques such as ombre or gradient can add depth and dimension. Embrace your creativity and let your personality shine through with this timeless trend.
Bold Colors and Patterns
The nail art scene this year is all about expressing your individuality through bold colors and striking patterns. Bright, eye-catching shades combined with unique designs will elevate your nail game, making a statement wherever you go. Whether you’re at a casual gathering or a formal event, embracing these trends allows you to showcase your vibrant personality.
Vibrant Hues
On this year’s nail art agenda, vibrant hues dominate as you choose colors that really pop. Deep reds, electric blues, and lush greens are ideal for those looking to make a strong impression. Mixing and matching these striking shades can bring out your creative side, ensuring your nails reflect the boldness you desire.
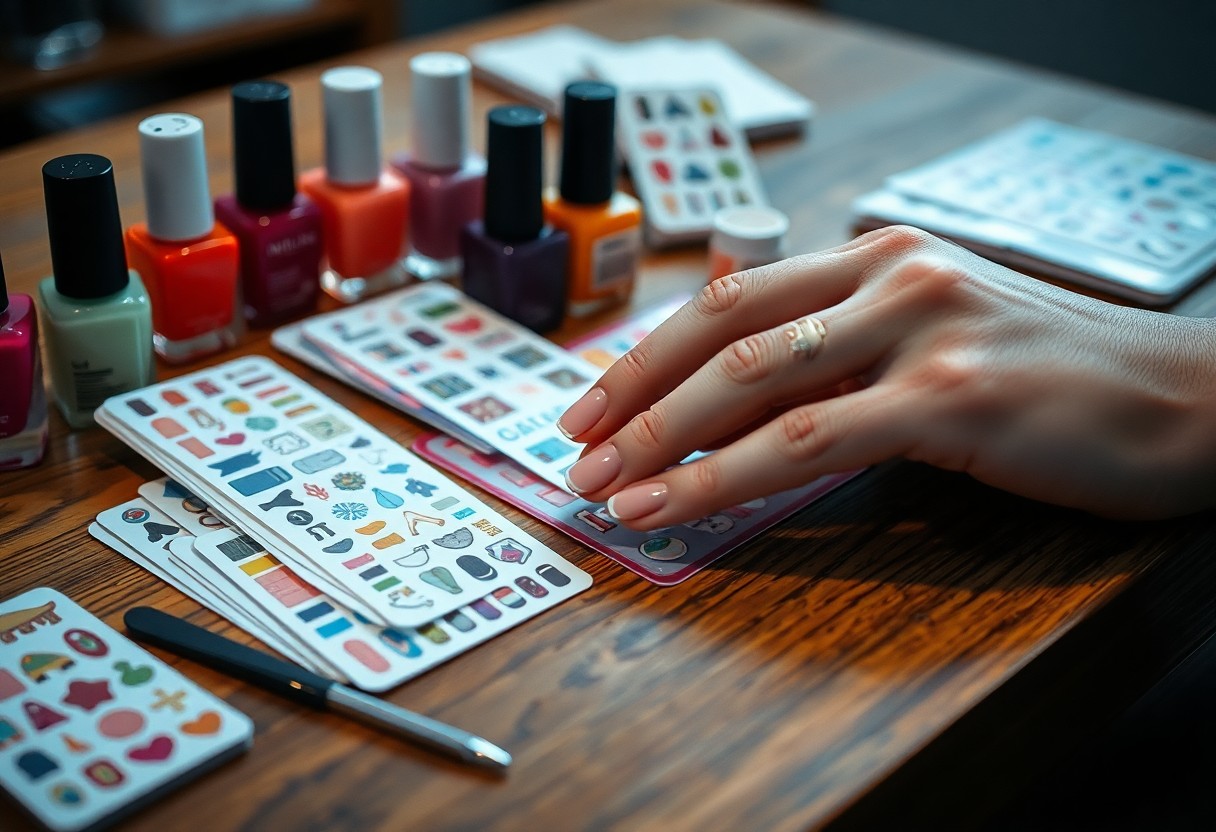
Graphic Prints
With graphic prints taking center stage, you can transform your nails into small canvases that display stunning artistry. Geometric shapes, bold stripes, and intricate illustrations add a modern touch and allow you to personalize your look even further.
Hence, incorporating graphic prints into your nail art repertoire opens up endless possibilities. From minimalistic designs to complex patterns, you can play with negative space and layering to create a unique aesthetic. Using stickers or nail stamps can also simplify the process for those new to nail art, while more experienced creators can look into hand-painting for a bespoke finish. Explore your creativity through graphic elements to ensure your nails are an extension of your personal style.
Textured Nail Techniques
Now is the perfect time to explore textured nail techniques, which can add depth and personality to your manicure. From chic matte finishes to playful embellishments, these innovative styles are here to make your nails stand out. Get ready to elevate your nail game with various textured methods that suit every occasion and preference.
Velvet and Flocking
Around the beauty world, velvet and flocking techniques are gaining popularity for their luxurious appearance. This method involves applying soft, textured fibers to your nails, creating a velvety finish that adds an extravagant touch. Perfect for special events or just to enjoy a touch of glamour in your daily life, these nails are sure to turn heads.
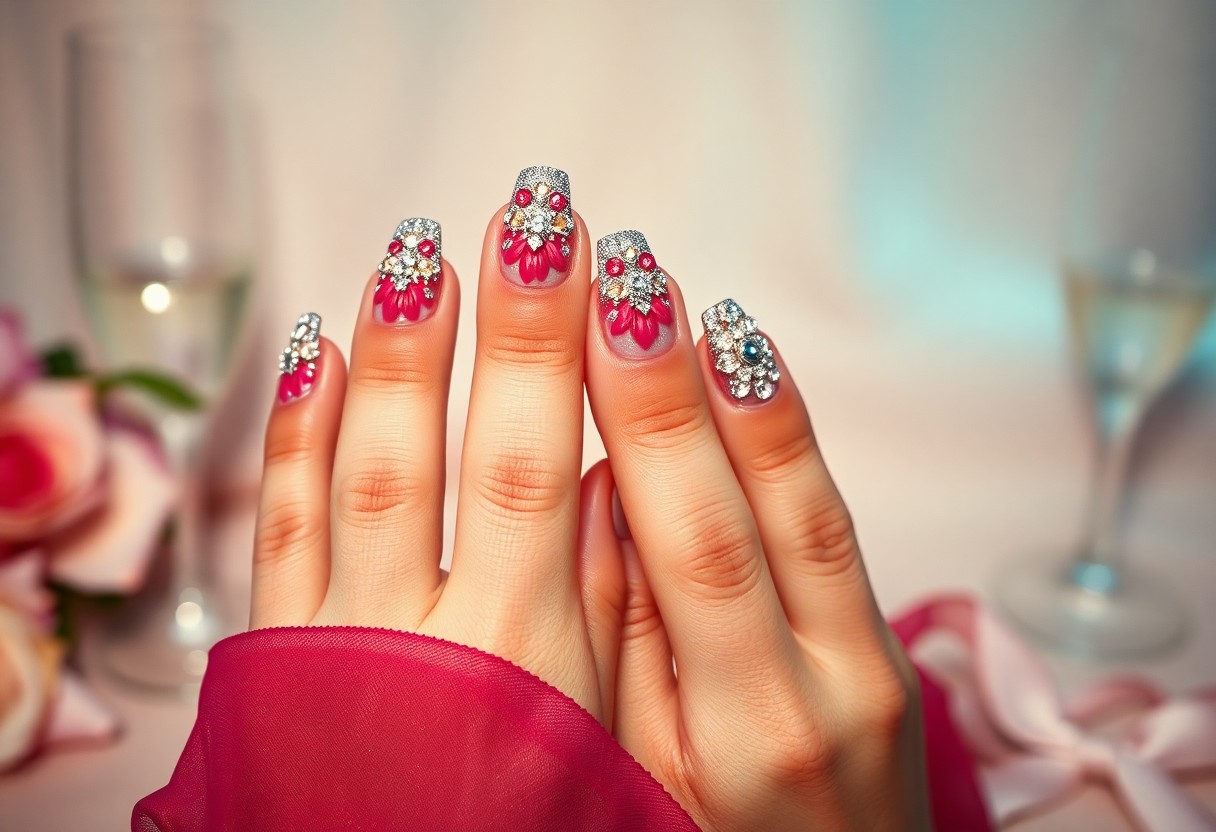
3D Nail Art
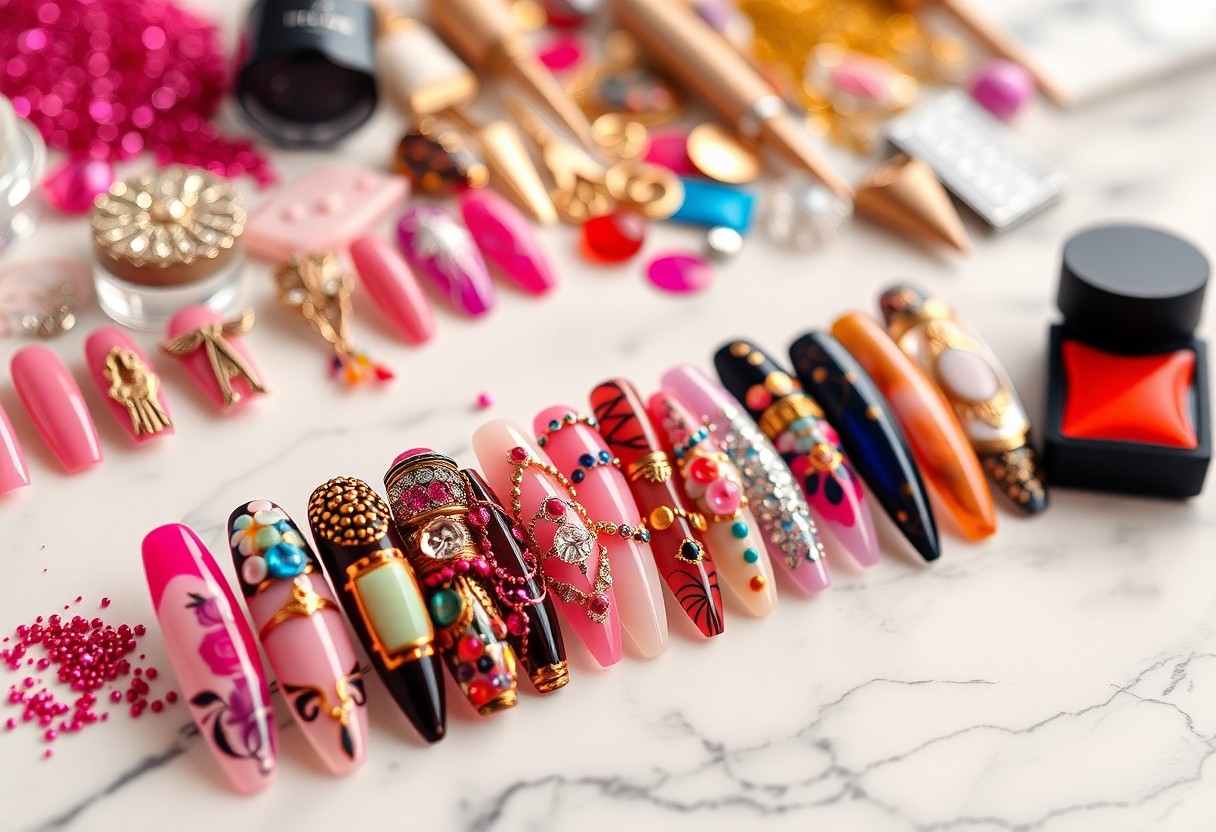
At the forefront of nail art trends, 3D nail art allows you to get creative like never before. From tiny sculptures and crystals to floral designs and themed embellishments, you can transform your nails into a true work of art. This style gives you the freedom to express your individuality and showcase your interests through stunning designs that jump off the nail. Whether you’re preparing for a special occasion or just want to make a statement, 3D nail art will take your manicure to the next level.
Another exciting aspect of 3D nail art is the versatility it offers. You can play with various textures, colors, and materials to create unique statements. Think of incorporating gems, beads, or even charms for a personalized touch. The options are endless, and you can easily curate designs that reflect different themes or seasons. With a little practice and creativity, 3D nail art can become your go-to technique for memorable and standout manicures.
Nature-Inspired Designs
After a long year filled with artificial and bold styles, nature-inspired designs offer a refreshing shift. These nail art trends focus on harnessing the beauty found in nature, making your nails a canvas for the serene and organic elements around us. Whether it’s the colors of a sunset, the intricate patterns of leaves, or the delicate details of flowers, these designs reflect the world’s natural vibrancy, allowing you to showcase your appreciation for the great outdoors in an elegant way.
Floral Patterns
For those who love the beauty of flowers, floral patterns are a perennial favorite. You can experiment with various styles, from oversized blooms to delicate vines, allowing your personality to shine through. These designs can be as simple or as intricate as you wish, providing endless opportunities for customization. Adding a glossy top coat will give your floral nails an exquisite finish, making them perfect for any occasion.
Natural Elements
Patterns inspired by natural elements are becoming increasingly popular, showcasing textures and colors that reflect the world around you. From sandy beiges reminiscent of a beach to earthy greens and browns representing lush forests, these designs resonate with those who appreciate a more grounded aesthetic. You can incorporate sparkling elements to mimic the shine of water or matte finishes for a more understated approach. These nature-infused nails can act as a subtle reminder of the beauty that surrounds you.
To create stunning natural element designs, you might consider incorporating textures like marble, ombre effects that reflect sky gradients, or even incorporate glitter for a bit of sparkle while maintaining a natural look. Tools such as sponges and dotting tools can help you achieve these effects with ease. Do not forget, the key is to blend colors that resonate with the seasons to create a cohesive and visually appealing design. Stay in tune with nature while allowing your creativity to flourish on your nails.
Metallic and Chrome Finishes
All nail enthusiasts are embracing the allure of metallic and chrome finishes, making them a must-have for your nail art repertoire this year. These finishes reflect light beautifully, adding a unique dimension to your manicure that can complement any outfit. Whether you prefer a subtle shimmer or eye-catching shine, metallic and chrome options are versatile, allowing you to express your personal style with ease.
Shiny Metallics
Against the backdrop of seasonal trends, shiny metallics are shining brighter than ever. You can choose from gold, silver, rose gold, and multicolored hues to create striking designs. These eye-catching shades not only enhance your nails but also add a touch of glamour to your overall look. Pair them with minimalist designs for a chic effect or layer them for more dramatic expressions.
Mirror Effects
Between the dazzling finishes, mirror effects stand out for their ability to evoke a high-fashion aesthetic. This trend features a reflective surface that resembles polished metal, creating an almost otherworldly appearance that captivates attention.
Consequently, achieving mirror effects involves specialized powders or gel techniques that promise a glass-like finish. By applying these products carefully, you can create a stunning array of designs, ranging from full-coverage applications to accents on specific nails. Experimenting with colorful base layers underneath the mirror finish can also result in a mesmerizing two-toned effect, elevating your nail art to new heights this year.
Seasonal Trends
Despite what you may think, nail art can evolve with the seasons, providing fresh opportunities to try new designs that reflect the changing atmosphere around you. Keeping up with seasonal trends allows you to express your personality and embrace current styles, ensuring your nails remain chic and relevant throughout the year.
Spring and Summer Styles
Seasonal trends during spring and summer invite vibrant colors and playful designs that mirror the warmth and energy of these seasons. Bright pastels, floral patterns, and tropical themes take center stage, allowing you to experiment with playful nail art that celebrates nature’s renewal.
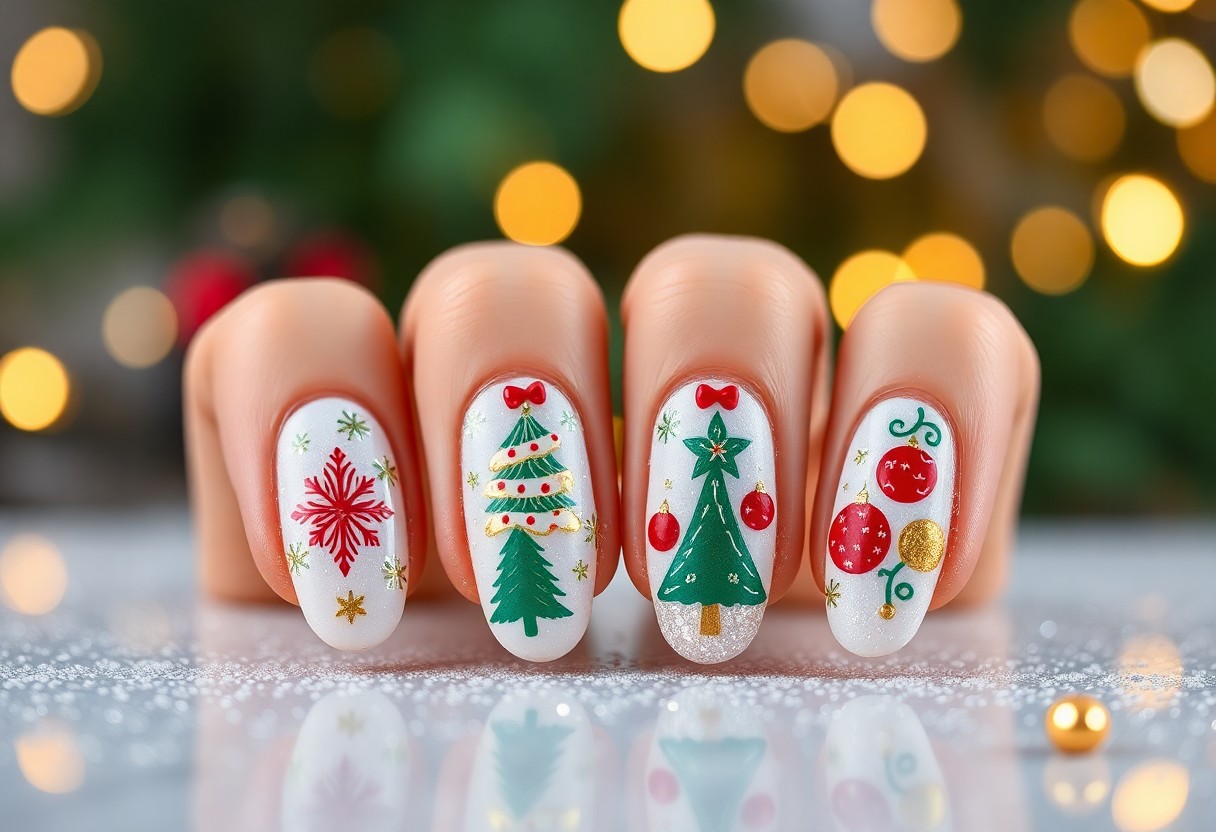
Fall and Winter Themes
To capture the essence of fall and winter, rich colors and cozy designs are key. Darker hues, metallic finishes, and festive motifs come alive, making your nail art a perfect complement to cooler weather and holiday celebrations.
Fall brings a shift in color palettes and designs, with earthy tones like rust, burgundy, and deep greens becoming popular choices. You might embrace cozy plaid patterns or incorporate symbols of the season, such as leaves or pumpkins, into your nail creations. Winter invites a festive spirit, with glitters, snowflakes, and holiday-themed designs standing out. Experimenting with textures and finishes such as matte or glossy topcoats can elevate your seasonal nail art, ensuring your nails reflect the beauty of these months.
Final Words
Presently, you are equipped with the top 10 nail art trends for this year, offering a unique way to express your personality and style. Whether you prefer minimalist designs or bold statements, these trends cater to various tastes and occasions. You can easily incorporate these ideas into your nail care routine, making your manicures not just a beauty regimen but a reflection of your creativity. Embrace these trends to keep your nail art fresh and exciting throughout the year.
FAQ
Q: What are the top nail art trends for [Year]?
A: The top nail art trends for [Year] include vibrant color combos, minimalist designs, 3D embellishments, abstract patterns, and eco-friendly nail art. This year, expect to see intricate details and unique finishes that reflect personal style.
Q: How can I achieve these nail art trends at home?
A: You can achieve these trends at home with the right tools and products. Invest in high-quality nail polish, striping tape for clean lines, and dotting tools for intricate designs. Numerous online tutorials can guide you through techniques for specific styles like ombre or watercolor effects.
Q: Are there specific colors that are trending for nail art in [Year]?
A: Yes, this year features a palette of earthy tones, pastel shades, and bold neons. Colors such as sage green, dusty pink, and cobalt blue are particularly popular, as well as metallics for a glamorous touch. Mixing and matching these colors can also lead to creative and trendy nail designs.
Q: Can I combine different nail art trends for a unique look?
A: Absolutely! Combining different nail art trends is a great way to express your creativity and make a personal statement. For example, you can merge minimalist designs with vibrant colors or mix 3D embellishments with abstract patterns. The key is to ensure that the designs complement each other without overwhelming the overall look.
Q: How long do nail art trends typically last, and when should I update my nail designs?
A: Nail art trends generally last for a few months to a year, with seasonal variations. Keeping an eye on beauty influencers and nail artists can help you stay updated. Updating your designs according to the season or special events can also keep your look fresh and in vogue throughout the year.