Over the past few years, nail foils have taken the manicure world by storm, offering a chic and unique way to elevate your nail art. In this guide, you will learn how to apply nail foils effectively and achieve a salon-quality finish at home. From choosing the right type of foil to mastering the application technique, you can transform your nails with expert finesse. For additional tips, check out these 5 Ways to Apply Nail Foils to take your skills to the next level.
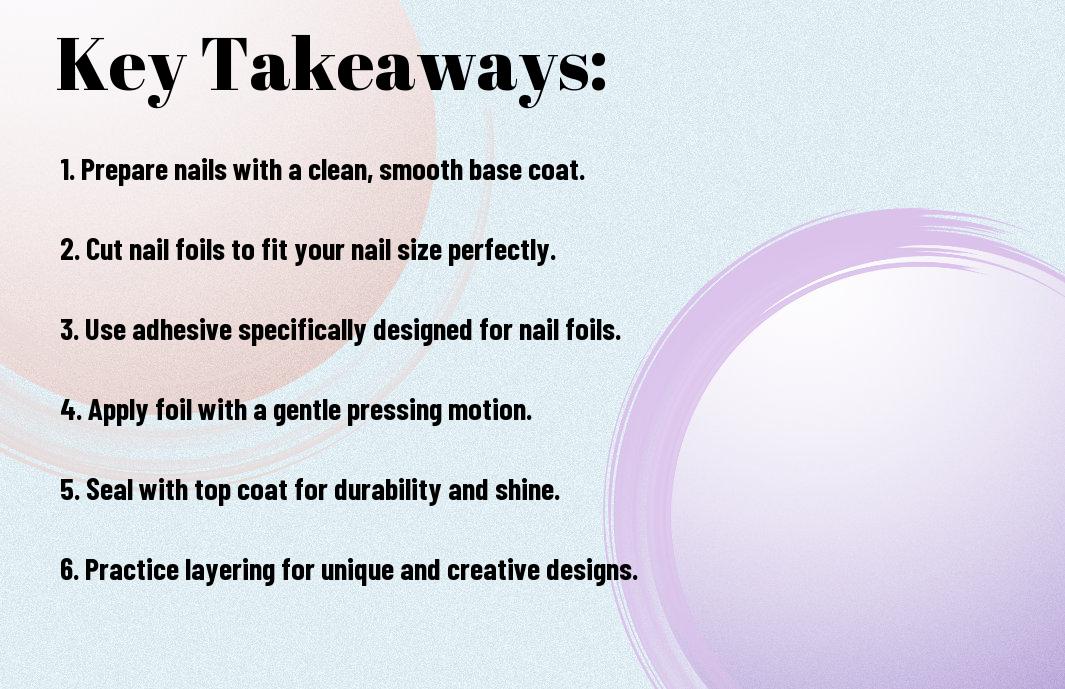
Key Takeaways:
- Preparation: Ensure your nails are clean and properly shaped before applying foils for optimal adhesion and appearance.
- Adhesive: Use a high-quality adhesive specifically designed for nail foils to achieve a flawless and long-lasting finish.
- Technique: Apply the foil with a gentle pressing motion, ensuring full contact with the adhesive for an even distribution of the design.
Understanding Nail Foils
A key element in achieving stunning nail art, nail foils offer a fun and trendy way to express your creativity. They can be applied over any base and are available in various styles, allowing you to customize your nails to match any occasion. With the right technique, you can achieve a professional-looking manicure that captures attention.
What Are Nail Foils?
Nail foils are thin, flexible sheets that feature a variety of designs and finishes, such as metallic, holographic, and patterned options. They adhere to your nails, creating captivating effects that can elevate your manicure, turning simple nail polish into intricate art. Their versatility makes them a popular choice among nail enthusiasts.
Types of Nail Foils
Against a backdrop of endless creativity, nail foils come in various forms, each catering to different artistic preferences. Below are some common types of nail foils:
| Type | Description |
| Transfer Foils | Highly reflective, these foils transfer designs directly onto your nails. |
| Water Decal Foils | Easy to apply, these foils use water for a seamless transfer. |
| Solid Color Foils | These provide a base color, which can be layered for added depth. |
| Patterned Foils | Designed with intricate prints, perfect for adding detail. |
| Metallic Foils | These offer a shiny finish that brings a glamorous touch to your nails. |
Knowing the variety of foils available can significantly enhance your nail art skills and creativity, enabling you to create unique and appealing designs tailored to your style.
Understanding the specific characteristics of each type of nail foil will enhance your application process. For instance, transfer foils require a special adhesive to properly bond with your nail, while water decals may need to be soaked before application. Below is a detailed breakdown of these types:
| Type | Application Method |
| Transfer Foils | Apply adhesive and press foil onto the nail. |
| Water Decal Foils | Soak in water, slide onto the nail, and seal. |
| Solid Color Foils | Apply over a wet base for blending. |
| Patterned Foils | Use adhesive to secure design onto the nail. |
| Metallic Foils | Adhere with top coat for a lasting shine. |
Knowing these methods will ensure you achieve a flawless finish and maximize your nail art potential.
Preparing Your Nails
If you want your nail foils to adhere flawlessly, it’s imperative to start with a clean and well-prepared nail surface. Begin by removing any old polish and ensuring your nails are free from oils and residues. This step sets the foundation for a long-lasting application, allowing the nail foil to stick effectively.
Nail Care Essentials
On your journey to perfect nail foils, make sure you have imperative nail care supplies, including a good quality nail file, buffer, cuticle oil, and a gentle cleanser. Investing in these tools will not only improve the application process but also keep your nails healthy and strong.
Cleaning and Buffing Techniques
Around your nails, you must focus on thorough cleaning and buffing to achieve a smooth base. Start by gently pushing back your cuticles and trimming any excess skin. Next, file your nails to your desired shape and gently buff the surface to remove any shine, which promotes better foil adhesion.
Preparing your nails through cleaning and buffing enhances the overall look and longevity of your nail foils. Use a nail cleanser to remove any remaining oils or dirt. After cleaning, use a buffer in a back-and-forth motion to create a slightly textured surface; this will help the adhesive stick better. By ensuring your nails are properly cleaned and buffed, you’ll achieve the ideal canvas for the beautiful nail foils you are about to apply.
Application Techniques
For a flawless nail foil application, mastering the right techniques is necessary. Start by preparing your nails properly, ensuring they are clean, dry, and ready for the adhesive. Using the right amount of product and the right pressure while applying the foil will elevate your results, giving your nails that professional finish. Experimenting with different techniques, such as layering or mixing patterns, can also customize your look and make it uniquely yours.
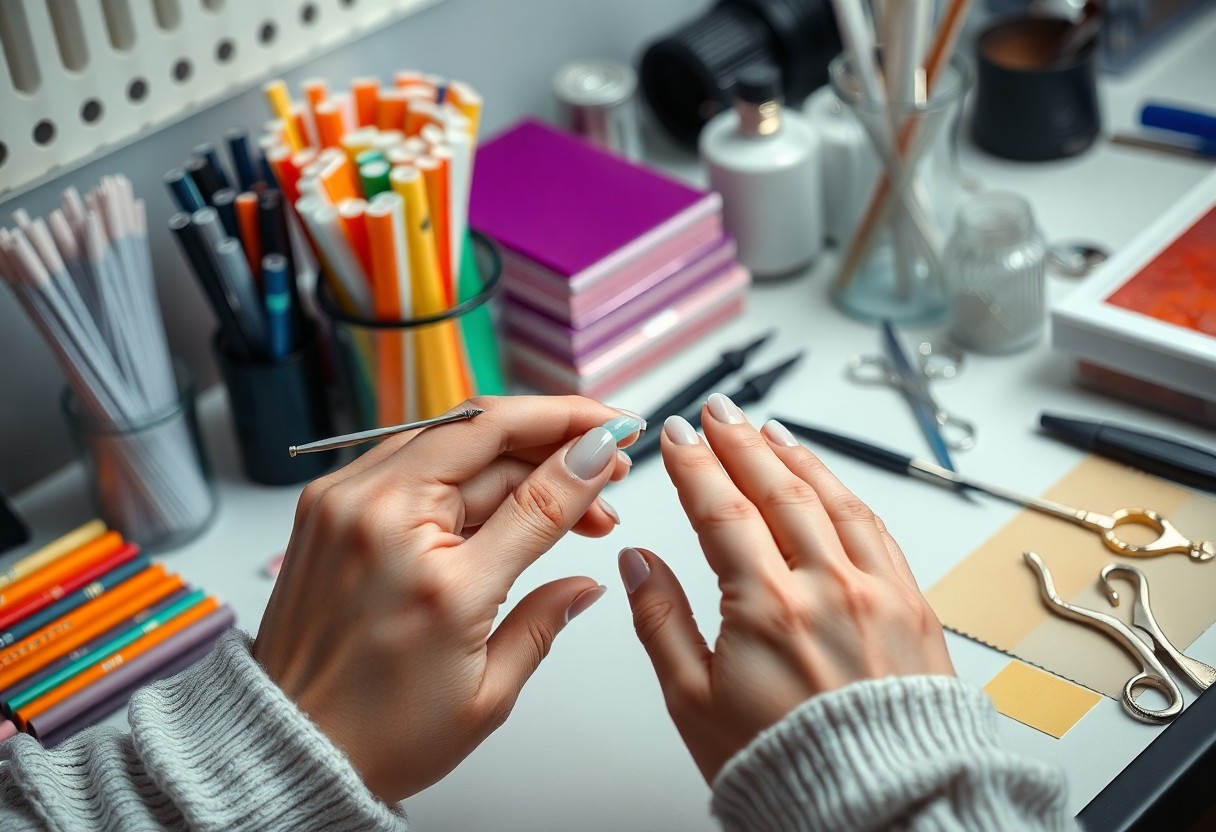
Tools You Need
Behind every great nail foil application is a set of necessary tools. You’ll need nail foils in your chosen designs, foil adhesive, a pair of tweezers for precise placement, a base coat, and a top coat to seal your design. Some enthusiasts also find a detail brush useful for touching up the edges. Having these tools at your fingertips will streamline your application process and help you achieve stunning results.
Step-by-Step Application Guide
On your journey to a professional-looking nail foil application, follow these straightforward steps:
Steps
| 1. Prepare your nails | Start with clean, filed nails. |
| 2. Apply a base coat | This ensures a smooth foundation. |
| 3. Use foil adhesive | Apply a thin layer to your nails. |
| 4. Wait for the adhesive to dry | It should be tacky, not wet. |
| 5. Apply the nail foil | Press it gently onto the adhesive. |
| 6. Seal with a top coat | Ensure your design lasts. |
For instance, when you reach the step of applying the foil, take a moment to find the right pressure. Pressing too hard may distort the design, while not enough pressure can lead to incomplete transfers. A gentle yet firm touch will help you achieve a beautiful finish. After applying the foil, sealing it with a top coat not only enhances the look but also protects it from chipping, ensuring your nail art remains vibrant longer.
Additional Tips
| Tip 1 | Experiment with different foils. |
| Tip 2 | Layer foils for a unique design. |
| Tip 3 | Practice makes perfect, take your time! |
Tips for a Flawless Finish
Keep your technique sharp by following these suggestions for a flawless look:
- Ensure your nails are clean and dry before application.
- Use a quality base coat to provide a solid foundation.
- Apply the foil while the top coat is still tacky for better adhesion.
- Seal your design with a high-quality top coat to enhance longevity.
Assume that paying attention to these details will elevate your nail game.
Common Mistakes to Avoid
On your journey to perfect nails, steer clear of these frequent pitfalls:
- Skipping the base coat can lead to poor adhesion.
- Overworking the foil can cause it to wrinkle.
- Not waiting for your top coat to dry properly before applying the foil.
- Using a low-quality foil that lacks vibrancy.
Maintaining Your Nail Foils
Foils can last longer with the right care routine:
Due to wear and tear from daily activities, it’s important to maintain your nail foils properly. Regularly apply cuticle oil to keep your nails hydrated and prevent peeling. Avoid excessive exposure to water and harsh chemicals, which can weaken the foil’s bond. Additionally, wear gloves while doing household chores. Schedule regular touch-ups to repair any chips or lifting, ensuring that your nails always look fresh and stunning.
DIY Nail Foil Designs
Unlike professional salons, you can personalize your nail foils at home to reflect your unique style. With just a few simple techniques and tools, you can create stunning designs that are sure to impress. Whether you opt for bold patterns or subtle accents, the possibilities are endless when you unleash your creativity on your nails.
Creative Design Ideas
The world of nail foils offers a vast array of design possibilities. You can try out abstract art, ombre gradients, or even geometric shapes using different foil colors and textures. Experiment with layering foils for a multidimensional look, or incorporate negative space for a modern twist. The key is to have fun and let your imagination guide you!
Combining Foils with Other Nail Art
Designs that blend nail foils with other nail art techniques can elevate your aesthetic. You can pair foils with classic polish, watercolor techniques, or even hand-painted details for a more dynamic look. This combination not only adds depth but also allows you to craft stunning, one-of-a-kind designs that showcase your personal flair.
Nail art is all about experimentation and expression. By mixing foils with traditional nail polish, you can create unique combinations that stand out. For example, applying a glossy finish over a matte base allows foils to shine with contrast, while hand-painted designs can act as a backdrop for a striking foil accent. Don’t hesitate to mix different styles and techniques; your nails are your canvas!
Troubleshooting Common Issues
Despite your best efforts, you may encounter some common issues while applying nail foils. Whether it’s difficulty with adherence or unsightly wrinkles, these problems can be easily resolved with a few tips and tricks. With practice, you’ll be able to achieve salon-quality results every time you use nail foils.
Foils Not Sticking
Among the most frustrating problems you might face is when your nail foils refuse to stick. This issue can often stem from insufficient adhesive or improper surface preparation. Ensure that your base coat is fully dried and that you are using a quality nail foil adhesive to enhance cling.
Fixing Wrinkles and Bubbles
To address any wrinkles or bubbles that form while applying nail foils, you should work slowly and carefully. Applying gentle pressure can help smooth out the foil onto your nail, ensuring a flawless finish. If you do encounter wrinkles, don’t panic—there are simple fixes to achieve a polished look.
A great way to fix wrinkles and bubbles is to use a clean orange stick or a cuticle pusher. Gently push the foil down from the center towards the edges, smoothing out any imperfections as you go. If you still see some stubborn bubbles, lightly press a warm cotton pad over the area to help reshape the foil and set it in place. This technique can help you achieve a smooth and professional result that showcases your creativity.
Conclusion
Presently, you have the tools and techniques to apply nail foils like a pro. By prepping your nails adequately, choosing the right adhesive, and mastering the application process, you can achieve stunning results in your nail art. Don’t forget to seal your design for longevity and practice for that flawless finish. With each application, you’ll gain confidence and creativity, elevating your nail game to new heights. Enjoy experimenting with different designs and colors to personalize your look!
FAQ
Q: What are nail foils and how do they work?
A: Nail foils are thin sheets of material that can be applied to the nails to create intricate designs and patterns. They work by being adhered to the nail surface using a special adhesive or top coat. When applied correctly, they can add a unique touch to your manicure, resembling art or metallic accents. There are various types of nail foils available, including holographic, metallic, and patterned designs.
Q: How do I prepare my nails before applying nail foils?
A: To prepare your nails for nail foils, first ensure that they are clean and dry. Start by removing any old nail polish and buffing the surface of your nails to create a smooth canvas. Following this, apply a base coat to protect your nails. Once the base coat is dry, you can apply a color nail polish if desired; this will provide a backdrop for the foils.
Q: What adhesive should I use for applying nail foils?
A: There are several types of adhesive specifically designed for nail foils. You can use nail foil glue, which is recommended as it ensures better adhesion and longevity. Alternatively, a sticky base coat can also work effectively. Whichever adhesive you choose, apply a thin layer to the nails and allow it to become tacky before adhering the foils.
Q: How do I apply nail foils without wrinkles or bubbles?
A: To apply nail foils smoothly, make sure your adhesive is properly set to a tacky, but not wet, state. Cut the foil into manageable pieces and gently press the foil onto the nail, starting from the center and working your way outwards to avoid trapping air. Using a small silicone tool or your fingertip, press down firmly but gently to smooth out any wrinkles or bubbles as you go.
Q: How can I seal nail foils for long-lasting wear?
A: To seal nail foils and ensure their longevity, apply a clear top coat over the entire nail after the foil application is complete. This will secure the foil in place and protect it from chipping or lifting. It’s best to use a non-wipe top coat to preserve the finish of the foils. Allow the top coat to dry completely for the best results.