You deserve salon-quality nails without leaving your home, and the right tools can make all the difference. In this blog post, we’ll explore the crucial nail care tools that every at-home manicure enthusiast should have. From clippers and files to buffers and cuticle pushers, you’ll gain insights into selecting the best options tailored to your needs. Say goodbye to nail care mishaps and hello to beautiful, healthy nails with these indispensable tools in your beauty arsenal.
Key Takeaways:
- Quality Clippers: Invest in a good pair of nail clippers for precise and clean cuts.
- File Selection: Choose the right nail file type, such as glass or emery, to avoid damaging your nails.
- Moisturizing Tools: Incorporate cuticle oils and hand creams to keep nails and skin hydrated.
Essential Nail Care Tools
To maintain beautiful and healthy nails at home, it’s important to equip yourself with a few important nail care tools. These tools can help you achieve salon-quality results without leaving the comfort of your home. From trimming and shaping to pushing back cuticles, having the right tools will enable you to keep your nails in top condition.
Nail Clippers
Nail clippers are a basic yet vital tool in your nail care kit. They come in various sizes, but a good quality pair designed for fingernails and toenails will provide clean cuts, preventing splits and tears. Regularly using nail clippers will help maintain neat and manageable nails, contributing to overall nail health.
Nail Files
Below, you’ll find a discussion about nail files, an important tool for shaping your nails. They smooth out rough edges and allow you to create the desired nail shape, whether you prefer square, round, or almond. A good nail file is a must-have for any nail care routine.
Indeed, using a nail file can greatly enhance the appearance and health of your nails. It’s important to choose the right grit that matches your nail type—for softer nails, opt for a finer grit, while harder nails may require a coarser file. Regular filing helps to reduce the risk of breakage and promotes strong, well-maintained nails.
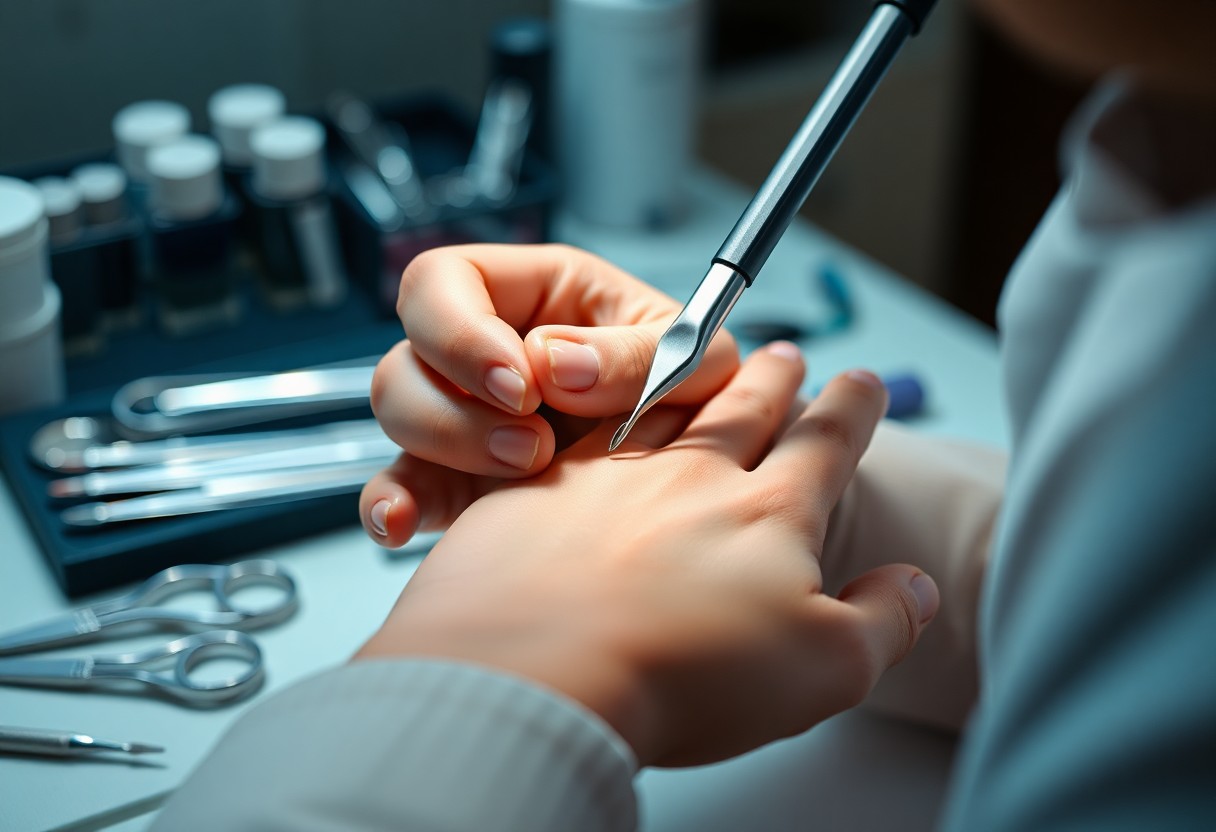
Cuticle Pushers
Care for your cuticles with a reliable cuticle pusher. This tool aids in gently pushing back the cuticle, which can promote healthier nail growth and enhance the overall appearance of your nails. A proper cuticle care routine helps prevent hangnails and maintains a clean look.
Another important point is that using a cuticle pusher improves your manicure’s longevity. By pushing back cuticles, you’re creating a clean canvas for nail polish application. It’s best to use a pusher that suits your hand size and comfort, ensuring that you can handle it with precision for the best results.
Specialized Nail Care Accessories
Some nail care tools go beyond the basics to provide a more refined experience. Specialized nail care accessories such as buffers and nail brushes are designed to enhance the health and appearance of your nails. These tools help you achieve a professional-looking manicure from the comfort of your home, ensuring your nails remain healthy and well-groomed.
Buffers
After prepping your nails, you can use a buffer to smooth the surface and add shine. Buffers work by gently removing any rough spots and imperfections, creating a polished look without the need for polish. You’ll find varying grits, so choose one that suits your nail type to avoid damage while achieving a glossy finish.
Nail Brushes
To maintain cleanliness and precision during your nail care routine, nail brushes are important. These brushes effectively remove dirt and debris from your nails and cuticles, helping you maintain a neat appearance. They also come in various shapes and sizes, allowing you to choose one that fits comfortably in your hand, ensuring an effortless cleaning experience.
Buffers are wonderful tools for enhancing not just the look but also the health of your nails. By using a buffer regularly, you can improve nail texture and luster, providing a clean, polished appearance. Incorporating this tool into your nail care routine helps you avoid rough edges and maintains the overall integrity of your nails, making them look vibrant and well-kept.
Moisturizing and Treatment Products
Despite your best efforts at grooming, your nails and hands need extra attention. Incorporating moisturizing and treatment products into your nail care routine will help keep your nails healthy and resilient. These products not only enhance the appearance of your nails but also nourish the surrounding skin, ensuring your hands look their best. Investing in quality moisturizers is key to maintaining hydration and preventing damage from environmental factors.
Cuticle Oils
To keep your cuticles soft and healthy, cuticle oils are your best friend. These oils penetrate deeply, moisturizing the cuticles and preventing dryness and cracking. Regular application will not only promote the growth of stronger nails but also enhance the overall appearance of your manicure.
Hand Creams
One way to ensure your hands stay soft and hydrated is by using hand creams. The right hand cream will provide important moisture, especially after washing your hands or using alcohol-based sanitizers that can strip away natural oils.
Even the best hand creams contain ingredients like glycerin, shea butter, and important oils that offer hydration and nourishment. Applying hand cream regularly will prevent dryness and keep your hands looking youthful. For optimal results, consider using a thicker cream at night to allow for deep penetration while you sleep, giving you smooth, rejuvenated hands by morning.
Sanitization and Hygiene Tools
Now that you’re ready to enhance your nail care routine at home, it’s important to prioritize sanitization and hygiene tools. These tools ensure that your equipment stays clean and safe for use, preventing any potential infections or irritations. By maintaining a high standard of cleanliness, you can enjoy beautiful nails without the worry of harmful bacteria or germs compromising your health.
Sterilizers
An effective way to sanitize your nail tools is by using sterilizers. These devices employ heat or ultraviolet light to eliminate bacteria, ensuring your tools are safe for your skin. Investing in a reliable sterilizer protects your nails and enhances the longevity of your tools, making it an excellent addition to your home nail care arsenal.
Disinfectants
Across the spectrum of nail care, disinfectants play a vital role in maintaining hygiene. They are designed to kill germs and bacteria on various surfaces, including your nail tools. By using disinfectants, you can ensure that your implements are safe to use before each session, reducing the risk of infections.
It is necessary to apply disinfectants properly and frequently, especially between clients or sessions. Look for hospital-grade disinfectants that are specifically formulated for nail tools, as these will provide the highest level of safety. Follow the instructions closely, allowing the products to sit for the recommended time to effectively kill any harmful pathogens. With the right disinfectants in your toolkit, you can confidently care for your nails at home while prioritizing hygiene.
Storage and Organization Solutions
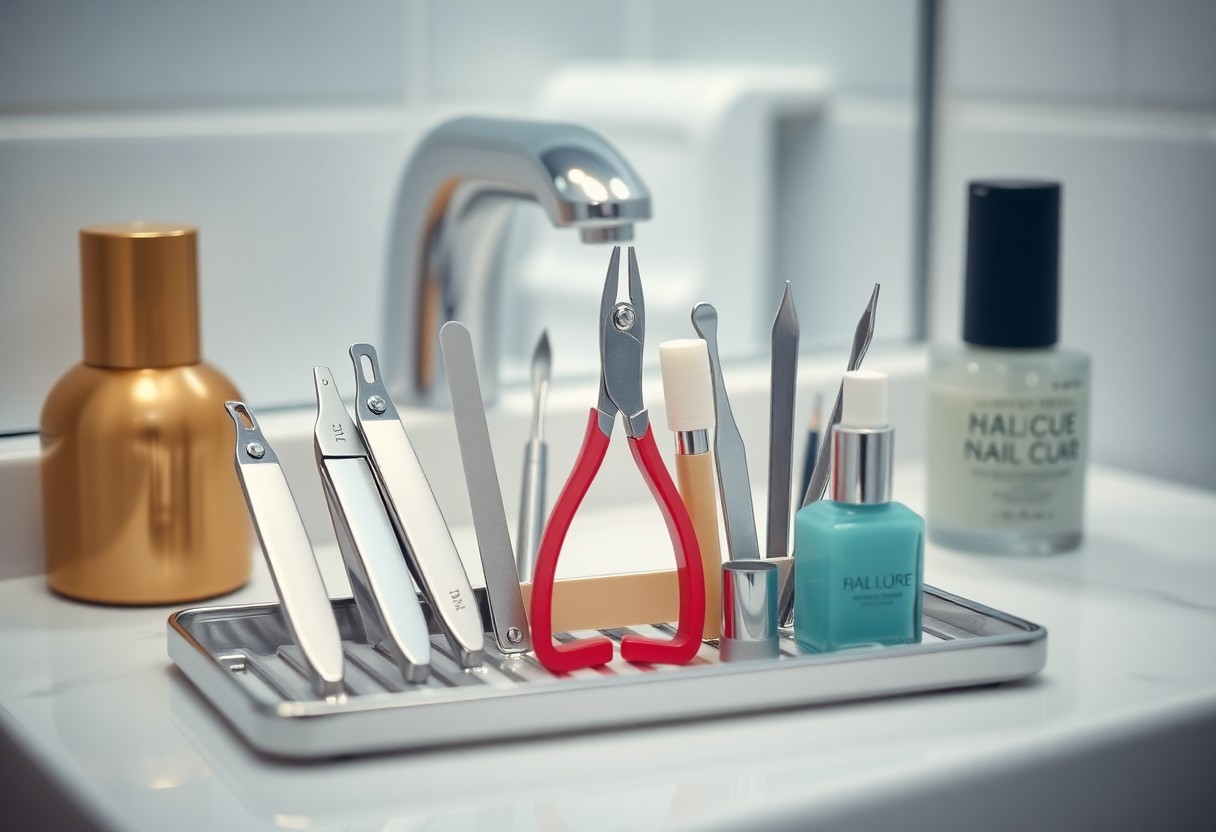
Once again, organizing your nail care tools can vastly improve your efficiency and enjoyment during self-pampering sessions. Investing in proper storage solutions ensures that you can quickly find what you need without digging through clutter. Consider using a dedicated drawer, shelf, or a portable case to keep your tools accessible and tidy. With the right setup, you can maintain not only the longevity of your tools but also the overall aesthetic of your nail care space.
Nail Tool Kits
To streamline your nail care routine, investing in nail tool kits can be a smart choice. These kits often include necessary tools like clippers, buffers, and cuticle pushers, organized within a compact case. This makes it easy to grab everything you need in one go, ensuring you don’t miss any important steps in your nail maintenance regimen.
Organizers
To keep your nail care tools in optimal condition, using organizers is key. From multi-compartment storage boxes to stylish racks, the options are plenty, allowing you to choose based on your space and preferences. Organizers help you categorize tools and products, making it easy to locate different items. You may opt for clear containers for visibility or chic, decorative options that fit your personal style.
Nail organizers come in various shapes and sizes, catering to different storage needs and aesthetic choices. You can find stackable options that save space or wall-mounted organizers that free up your countertop. Consider using small bins for polishes and larger compartments for tools, which provides a simple yet effective way to keep your nail care necessarys at your fingertips. Investing in a well-organized system will not only enhance your efficiency but also elevate your overall nail care experience.
Tips for Effective Nail Care at Home
Your nail care routine can significantly improve your nails’ health and appearance. To maximize results, consider these tips:
- Keep your tools clean
- Moisturize regularly
- Use gloves when doing chores
- File your nails properly
- Invest in quality tools, like Nail Care Tools: Expert Manicure & Pedicure Tools
Thou should establish a consistent regimen to maintain beautiful nails.
Techniques for Use
Techniques for home nail care include proper filing, shaping, and buffing of your nails. Use a fine-grit file to shape your nails and buff their surface gently to promote shine. For cuticle care, apply cuticle oil and push back your cuticles with a wooden stick. Additionally, adopt a systematic approach, ensuring that you don’t apply too much pressure, which could lead to injury.
Frequency of Maintenance
For maintaining your nails, setting a regular schedule is vital. Aim to file, shape, and moisturize your nails at least once a week. By doing so, you can catch any issues early, like splits or tears, before they become problematic.
Effective maintenance not only enhances your nails’ appearance but also strengthens them over time. Consistency builds habits, making it easier to notice changes. Appoint yourself a weekly nail care day and you’ll find it becomes a rewarding ritual rather than a chore.
Conclusion
Drawing together the vital nail care tools for home use can transform your manicure routine into a salon-like experience. By investing in quality nail clippers, buffers, cuticle pushers, and moisturizers, you enhance the health and appearance of your nails. Incorporating these tools into your regimen empowers you to maintain beautiful nails effortlessly. With the right products at your fingertips, you can achieve professional results while enjoying the convenience of home care.
FAQ
Q: What are the important nail care tools for home use?
A: The important nail care tools for home use include a good quality nail clipper, a set of nail files, cuticle nippers, a buffer, and a nail brush. These tools help maintain nail hygiene, promote healthy nail growth, and allow for personal grooming. Additionally, a moisturizing cuticle oil and a base coat can enhance the overall appearance of your nails.
Q: How do I properly use a nail clipper and file?
A: To use a nail clipper, start by ensuring your nails are clean and dry. Clip straight across to avoid ingrown nails, and then gently round the edges with a nail file. When filing, move the file in one direction instead of a back-and-forth motion to prevent splitting. Filing should be done after clipping to refine the shape and smooth out any rough edges.
Q: What is the purpose of using a nail buffer?
A: A nail buffer is used to smooth the surface of the nails, enhancing their shine and overall appearance. Buffing can also help remove ridges and imperfections. It is recommended to use a buffer sparingly—about once a month—to avoid thinning the nails. Always follow up with a moisturizer or cuticle oil after buffing for best results.
Q: How often should I do my nail care routine at home?
A: It is advisable to do your nail care routine every two weeks. This includes clipping, filing, and moisturizing your nails and cuticles. However, basic maintenance such as cleaning and moisturizing can be done weekly. This routine helps promote healthy nails and allows for timely grooming without causing damage.
Q: What should I look for when choosing nail care tools?
A: When choosing nail care tools, prioritize quality over quantity. Look for tools made from durable materials such as stainless steel, as they are more hygienic and long-lasting. Ensure that the tools have comfortable grips for ease of use. Additionally, consider whether the tools suit your specific needs, such as the type of nail and cuticle care you wish to perform.