Rhinestones can transform your nail designs into eye-catching masterpieces that stand out. By incorporating these sparkling embellishments, you can elevate your manicure and showcase your unique style. In this post, you’ll learn practical tips and techniques to effectively add rhinestones to your nails, ensuring they stay in place and look fabulous. For a step-by-step guide, check out How to Attach Rhinestones to Nails: 13 Steps (with Pictures). Get ready to shine with your stunning nail art!
Key Takeaways:
- Choose the right size: Select rhinestones that complement the nail design and the size of the nails for a balanced look.
- Adhesive options: Use a strong nail adhesive or gel to securely attach rhinestones, ensuring they last longer without easily falling off.
- Placement techniques: Experiment with different placements, like accent nails or patterns, to enhance your overall nail design creativity.

Choosing the Right Rhinestones
For creating stunning nail designs, selecting the right rhinestones is vital. The variety available in terms of colors, sizes, and finishes allows you to personalize your look. Consider the overall aesthetic you want to achieve and how the rhinestones will complement your base colors and patterns. Your choice can elevate a simple design into a dazzling statement piece.
Types of Rhinestones
With different types of rhinestones on the market, you can choose options that best fit your style. Here are some popular types:
- Glass rhinestones
- Acrylic rhinestones
- Crystal rhinestones
- Flatback rhinestones
- Self-adhesive rhinestones
This makes it easy to find the perfect option for your nail art project.
| Type | Characteristics |
| Glass | Brilliant shine, durable |
| Acrylic | Lightweight, budget-friendly |
| Crystal | High-quality, premium shine |
| Flatback | Easy to apply, versatile |
| Self-adhesive | No glue needed, convenient |
Sizing Considerations
About choosing the right size of rhinestones, it is important to consider the scale of your nail design. Going for oversized stones can create a bold statement, while smaller options can add subtle elegance. Evaluate how the size aligns with the rest of your nail art to achieve a balanced look.
Rhinestones come in various sizes typically measured in millimeters. For nails, popular sizes range from 1mm to 5mm, depending on the detail you wish to portray. Make sure to assess your nail shape and design style to ensure that the rhinestones you choose enhance your overall look rather than overpower it. Mixing different sizes can also create an eye-catching effect, helping you to achieve the perfect design.
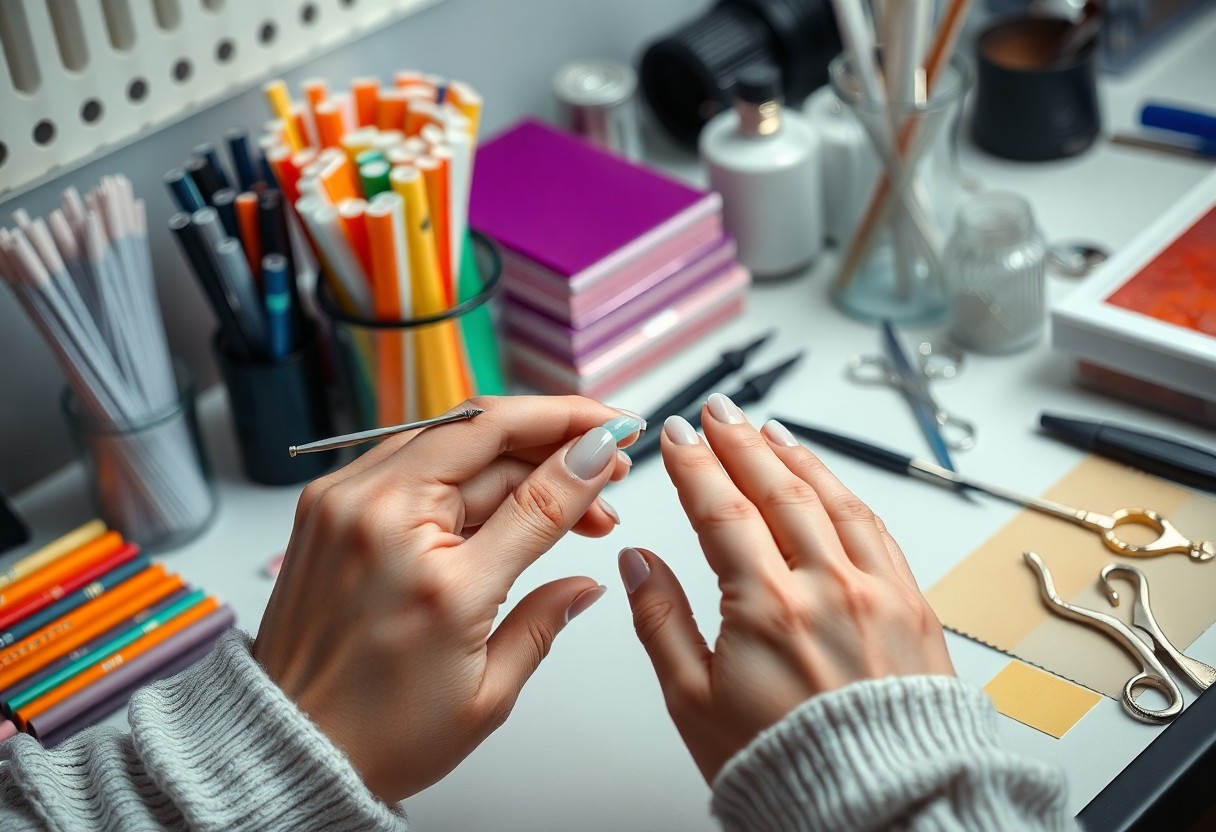
Preparing Your Nails
While getting your nails ready for rhinestone embellishments, it’s necessary to ensure they are clean and well-maintained. Start with removing any previous nail polish and gently push back the cuticles. Trim and file your nails to your desired shape, ensuring they are smooth and even. This preparation not only gives a polished look but also provides a clean canvas for the rhinestones to adhere to, enhancing the overall outcome of your nail design.
Nail Care Basics
By focusing on nail care basics, you lay the foundation for a great rhinestone design. Keep your nails well-hydrated by applying cuticle oil regularly, as this promotes healthy growth and strengthens your nails. Additionally, using a gentle scrub can help remove dead skin around the nails, ensuring a fresh appearance.
Selecting a Base Color
Selecting your base color is an important step in nail design. Choose a shade that complements the rhinestones you plan to use, as this will enhance the overall look of your nails. A neutral color can provide a chic backdrop, while bold shades can make your rhinestones pop.
At the same time, consider your personal style and the occasion when choosing your base color. Lighter shades such as pastels or whites create an elegant look, making them ideal for special events. Conversely, vibrant colors like reds or blues can add a fun and playful touch. Test a few swatches on your nails to ensure you’re happy with your color choice before proceeding with the rhinestones.
Tools and Materials Needed
Unlike other nail art techniques, adding rhinestones requires specific tools and materials to achieve the best results. You will need quality rhinestones in various sizes and shapes, a reliable adhesive, and nail tools like a picker or dotting tool to help place the stones precisely. Additionally, consider having a clean-up brush and a top coat to secure your design and provide a professional finish.
Essential Tools
At the very least, you will need a rhinestone picker tool, which makes it easier to handle small gems, and a dotting tool for precise placement. Nail tweezers can also be helpful to pick up and position your rhinestones accurately without any mess. A clean-up brush is useful for tidying up any excess adhesive around the rhinestones.
Recommended Adhesives
Any strong adhesive that can hold your rhinestones in place is suitable for nail designs. Some popular choices include nail glue, gel top coat, or clear-drying craft glue. Each type offers unique benefits, allowing for flexibility in your designs.
For instance, nail glue provides a strong hold and is specifically formulated for use on nails, ensuring your rhinestones stay in place longer. Gel top coat not only attaches rhinestones but also adds a glossy finish to your designs. Clear-drying craft glue is a great option if you’re looking for something more accessible, but ensure it is safe for use on nails to avoid any damage. Choose the adhesive that best fits your crafting style and the durability you desire.
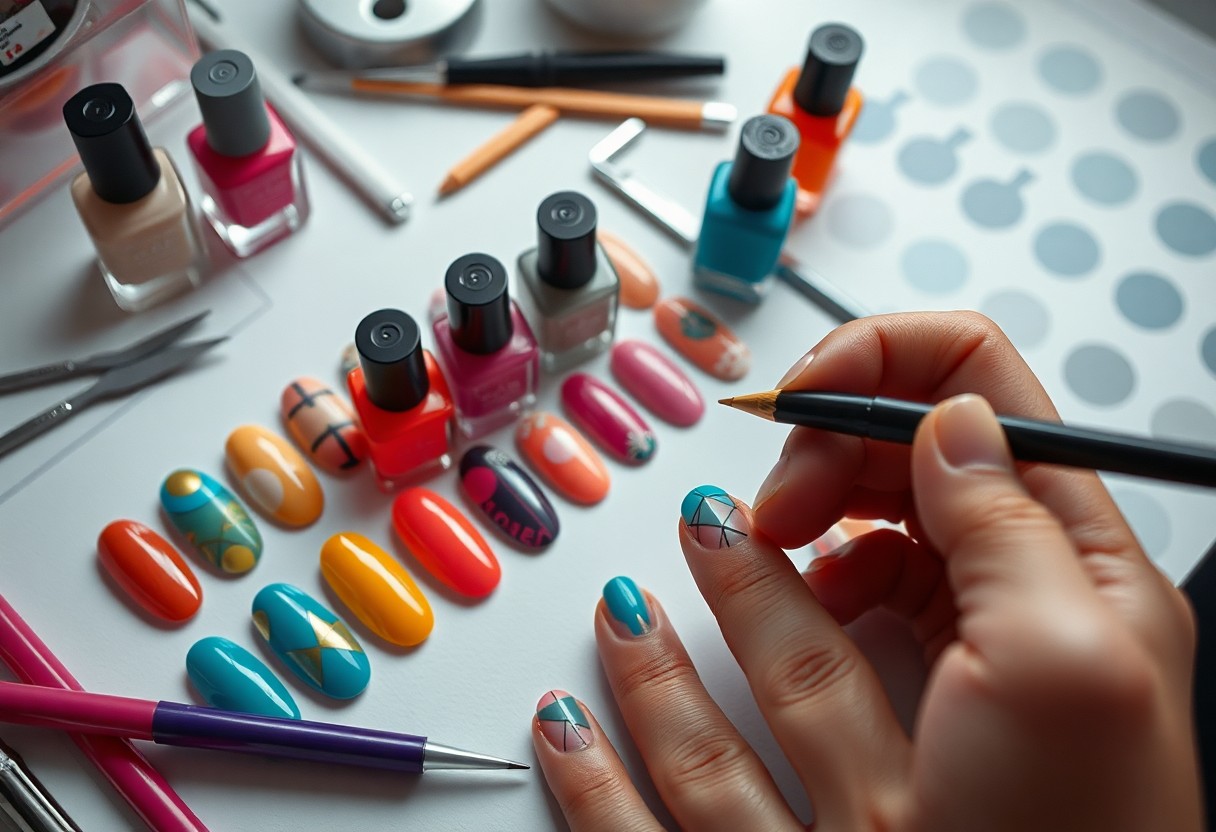
Techniques for Applying Rhinestones
All nail designs can benefit from the strategic application of rhinestones. Whether you want a simple accent or an intricate pattern, understanding these techniques will help elevate your nail game. Choose the method that suits your style and skill level, and let your creativity shine by embedding these sparkling gems into your manicures.
Simple Placement Methods
Along with traditional nail polish, you can easily incorporate rhinestones into your designs using straightforward placement methods. Start by selecting a nail glue or a gel base coat, apply a tiny dot onto your nail, and carefully place each rhinestone where you want it. Use a toothpick or rhinestone picker for precision, and finish with a top coat to secure your design.
Advanced Design Techniques
Techniques for advanced design allow you to create stunning, eye-catching patterns using rhinestones. You can achieve elaborate artistry by employing tools and methods that require more skill but yield beautiful results. Consider trying out the following techniques:
|
With these advanced techniques, you can craft unique nail art that captures attention. Combining your skills with creativity opens up a world of possibilities in rhinestone design. You can start by selecting a geometric shape, carefully mapping out your design on paper, and then translating it onto your nails with rhinestones. This strategic approach makes the process manageable and enjoyable.
|
Aftercare for Rhinestone Nails
Not properly caring for your rhinestone nails can lead to premature peeling and loss of your dazzling accents. To extend the life of your design, avoid exposing your nails to excessive water and harsh chemicals. Use gloves when doing dishes or cleaning, and be gentle when you wash your hands. Regularly apply a nourishing cuticle oil to keep your nails and the surrounding skin healthy and hydrated.
Maintaining Your Design
On a daily basis, be mindful of how you interact with surfaces. Avoid scraping your nails against hard objects and opt for a light touch when typing or using your phone. This attention will help maintain the integrity of your rhinestone accents, ensuring that they stay sparkling for longer.
Removing Rhinestones Safely
By taking the right approach, you can safely remove rhinestones without damaging your nails. Begin by softening the adhesive used for the rhinestones. You can do this with a generous application of acetone or a special nail polish remover designed for rhinestone removal.
In fact, be sure to soak a cotton ball in acetone and place it over the rhinestones for a few minutes to allow the glue to loosen. Afterward, gently lift the rhinestones with a wooden stick or cuticle pusher. Avoid pulling or yanking, as this can cause damage to your natural nail. Cleanse your nails afterward and apply a nourishing treatment to restore moisture and health to your nails and cuticles.
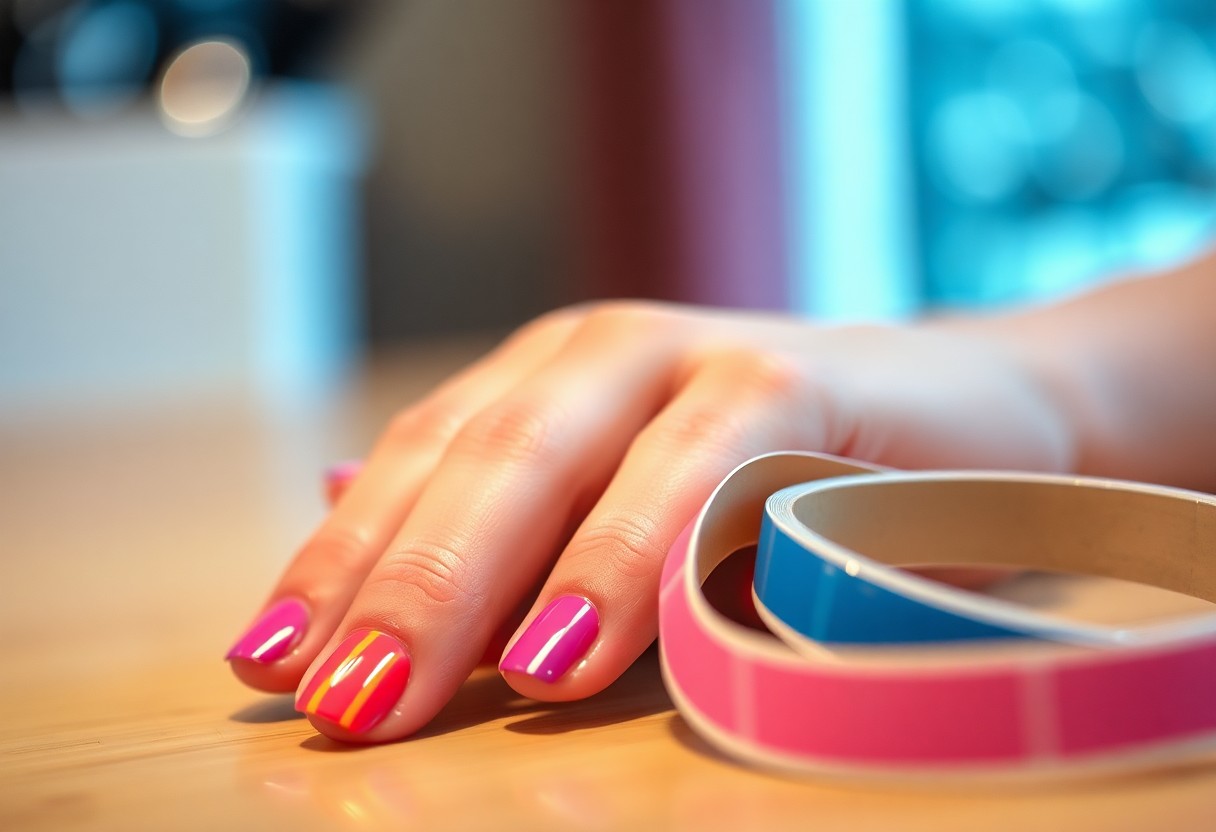
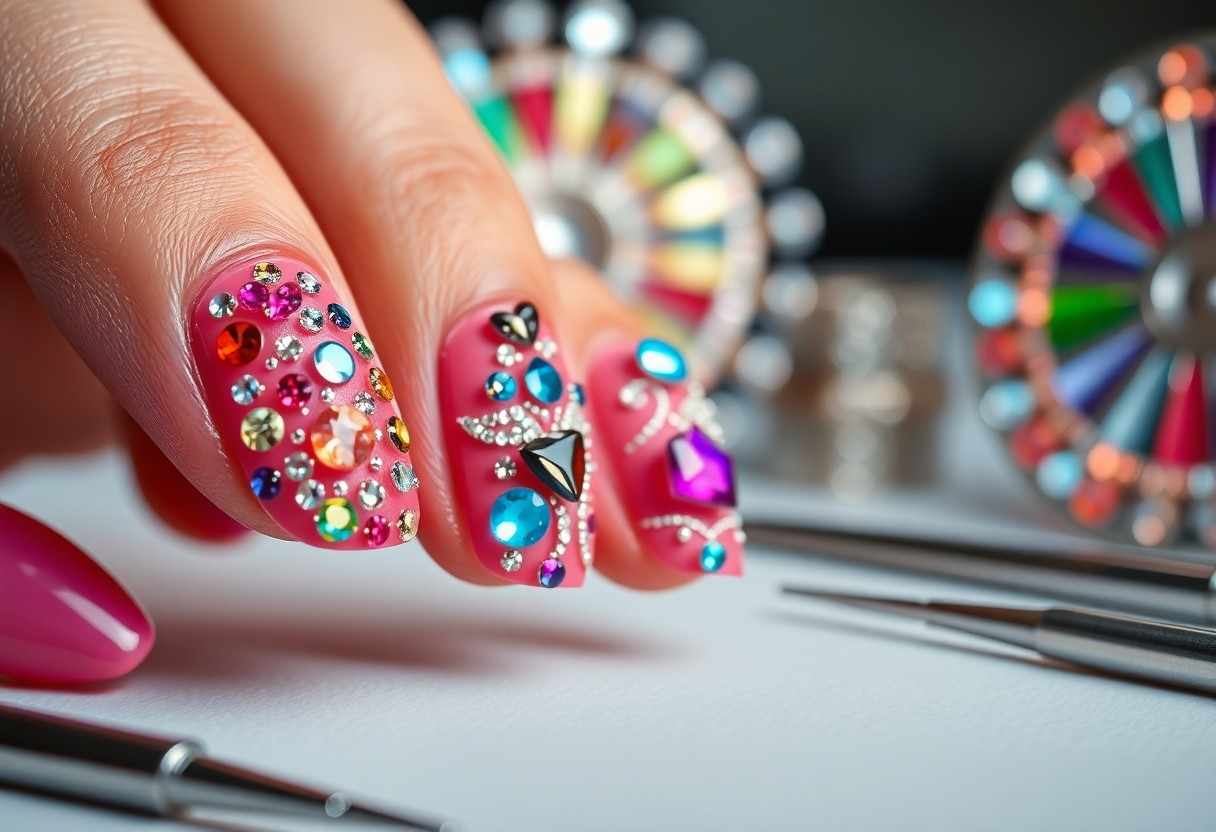
Creative Design Ideas
Once again, let your imagination run wild with rhinestone nail designs! Combine various shapes and sizes of rhinestones to create stunning patterns or incorporate them into intricate nail art. You can embellish the tips of your nails or create unique designs using negative space. The key is to blend rhinestones with your chosen colors and styles to achieve an overall cohesive look that truly reflects your personality.
Themed Nail Designs
On your journey to fabulous nail art, consider adopting themed designs that resonate with your personality or current occasions. Whether you’re celebrating a holiday, a special event, or just expressing yourself, using rhinestones as accents can elevate your nail art game. Choose colors and shapes of rhinestones that complement your theme for a polished, chic effect.
Mixing and Matching Rhinestones
One of the most exciting aspects of nail design is the ability to mix and match rhinestones. You can create a playful look by combining different colors, sizes, and shapes. This allows you to express your unique style and creativity while ensuring your nail design stands out.
Further, mixing and matching rhinestones opens up endless possibilities for your nail designs. Experiment with contrasting colors and textures to create dynamic patterns. Pair larger stones with smaller ones for an eye-catching effect, or use similar shades for a more subtle approach. Don’t hesitate to explore various placements, layering rhinestones in a gradient or clustering them together for added drama. Your nails can be a canvas for your artistic flair, letting your creativity shine through with every design you create.
Summing up
Now that you’ve learned the steps to add rhinestones to your nail designs, you can elevate your nail game with stunning embellishments. Whether you choose to apply a few strategically placed stones or create intricate patterns, the key is to ensure they are securely fixed with the right adhesive. Practice will make perfect, and soon you’ll find yourself experimenting with different sizes and colors to match your personal style. Enjoy the creativity and make your nails truly stand out!
FAQ
Q: What types of rhinestones are best for nail designs?
A: When identifying rhinestones for nail designs, consider the type of adhesive you will be using. Flat-back rhinestones are ideal as they sit well on the nail surface. Crystal or glass rhinestones provide a more glamorous look, while acrylic rhinestones are lighter and can be easier to work with. Additionally, ensure to choose a size that complements the design – smaller sizes for intricate patterns and larger stones as focal points.
Q: How do I properly apply rhinestones to my nails?
A: To apply rhinestones, first, create your desired nail design and allow the base coat to dry completely. Use a dotting tool or a toothpick dipped in nail glue to pick up the rhinestone. Place it gently onto the nail where you want it to stick. Make sure to press down slightly to secure a stronger bond. Once you’ve applied all rhinestones, seal the design with a top coat to protect them and enhance their shine.
Q: Can I use regular nail polish with rhinestones?
A: Yes, you can use regular nail polish with rhinestones. However, for better adhesion and a long-lasting effect, it’s recommended to use a nail glue designed specifically for embellishments. After painting your nails with regular polish, allow it to dry before adding rhinestones to ensure they adhere well. Once you’ve finished your design, apply a top coat to protect both the polish and the rhinestones.
Q: How do I remove rhinestones from my nails without damaging the polish?
A: To safely remove rhinestones, soak a cotton ball in acetone nail polish remover and press it against your nail for a few seconds to loosen the adhesive. Gently peel the rhinestone off using a pair of tweezers or your fingers. If residue is left, you can use a small amount of remover on a cotton swab to clean it up. Be gentle to avoid damaging the underlying nail polish.
Q: Are rhinestones safe to use on natural nails?
A: Yes, rhinestones are safe to use on natural nails if applied correctly. It’s important to apply them using a safe adhesive and avoid excessive pressure when attaching them. Always ensure that you follow up with a top coat to seal the rhinestones and protect your natural nails. If you experience any adverse reactions or discomfort, remove them immediately and consult with a nail professional.