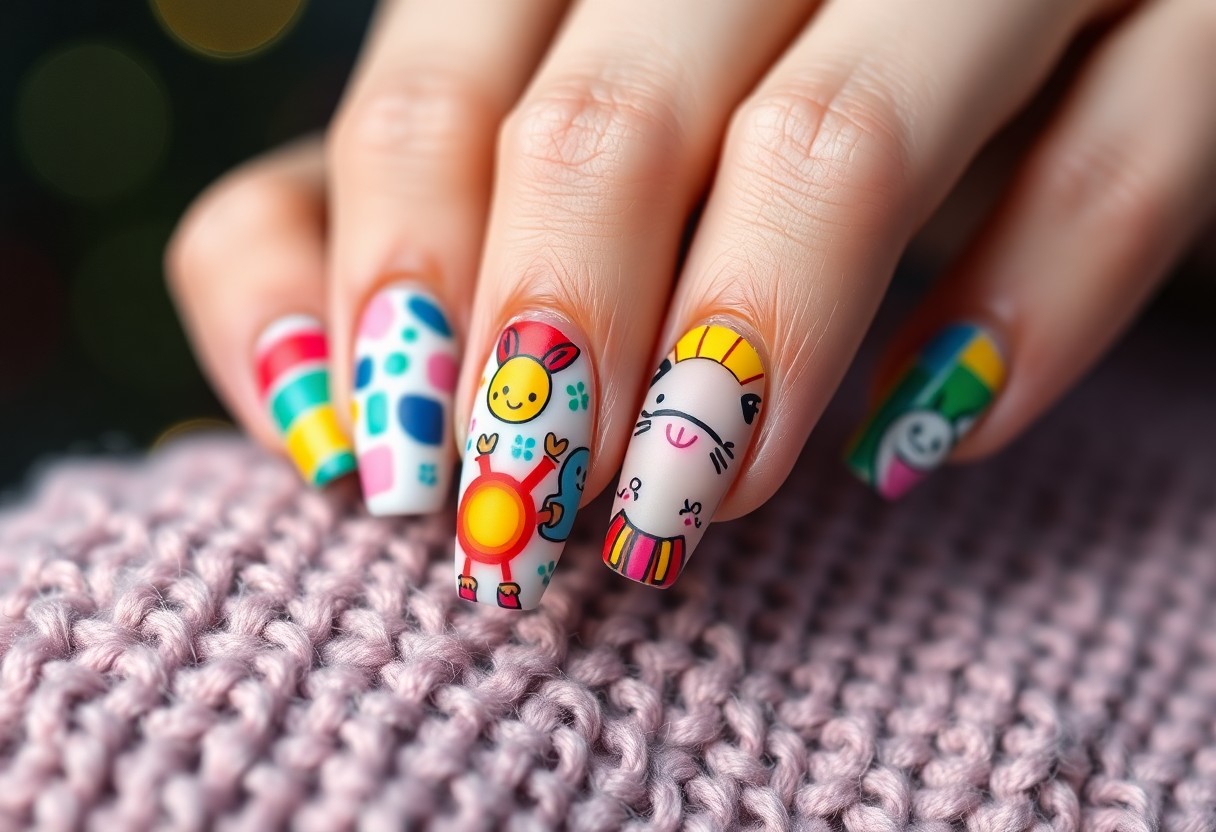
Designs featuring your favorite cartoon characters are a fantastic way to express your personality and creativity through nail art. By incorporating whimsical elements and vibrant colors, you can transform your nails into a canvas that showcases your unique tastes. Whether you prefer classic cartoons or the latest animated releases, this post will guide you through various techniques and ideas to create playful and eye-catching nail art that celebrates your love for animation.
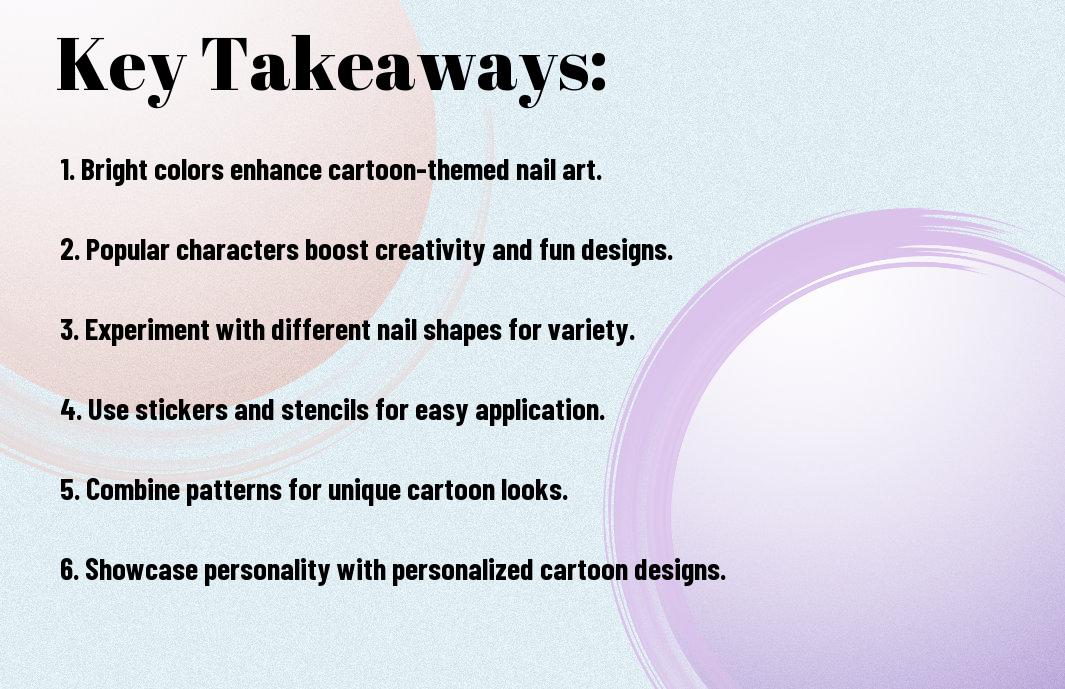
Key Takeaways:
- Creativity: Cartoon-inspired nail art allows for endless creative possibilities, enabling individuals to express their personality through vibrant and playful designs.
- Techniques: Various techniques such as painting, stamping, or using decals can be employed to achieve intricate cartoon designs, making it accessible for both beginners and advanced nail artists.
- Theme Variety: From classic cartoon characters to modern animated films, there is a wide range of themes to choose from, ensuring that everyone can find a design that resonates with their preferences.
Popular Cartoon Characters for Nail Art
The world of cartoon-inspired nail art offers endless possibilities for expressing your personality and creativity. By incorporating your favorite characters, you can easily achieve fun and eye-catching designs that showcase your unique style. Whether you lean towards classic cartoons or more modern favorites, there’s bound to be a character that resonates with you and elevates your nail art game.
Classic Cartoons
One of the most beloved styles for nail art features classic cartoons that many grew up watching. Characters like Mickey Mouse, Bugs Bunny, and the Flintstones can easily add a nostalgic charm to your nails. These designs can be both playful and sophisticated, making them ideal for any occasion.
Modern Favorites
Around the world of nail art, modern cartoons have introduced a fresh wave of creativity and whimsy. Characters from shows like Adventure Time, Steven Universe, and the various animated Marvel series appeal to a younger audience and encourage bold designs. You can experiment with colors and shapes that reflect these contemporary characters’ unique traits.
This modern style allows for endless customization, enabling you to mix and match elements from your favorite shows. Using vibrant colors, intricate details, and even character quotes can transform your nails into miniature art pieces. By staying updated on current trends, you can ensure that your nail art remains fresh and relevant, all while expressing your love for today’s most popular cartoons.
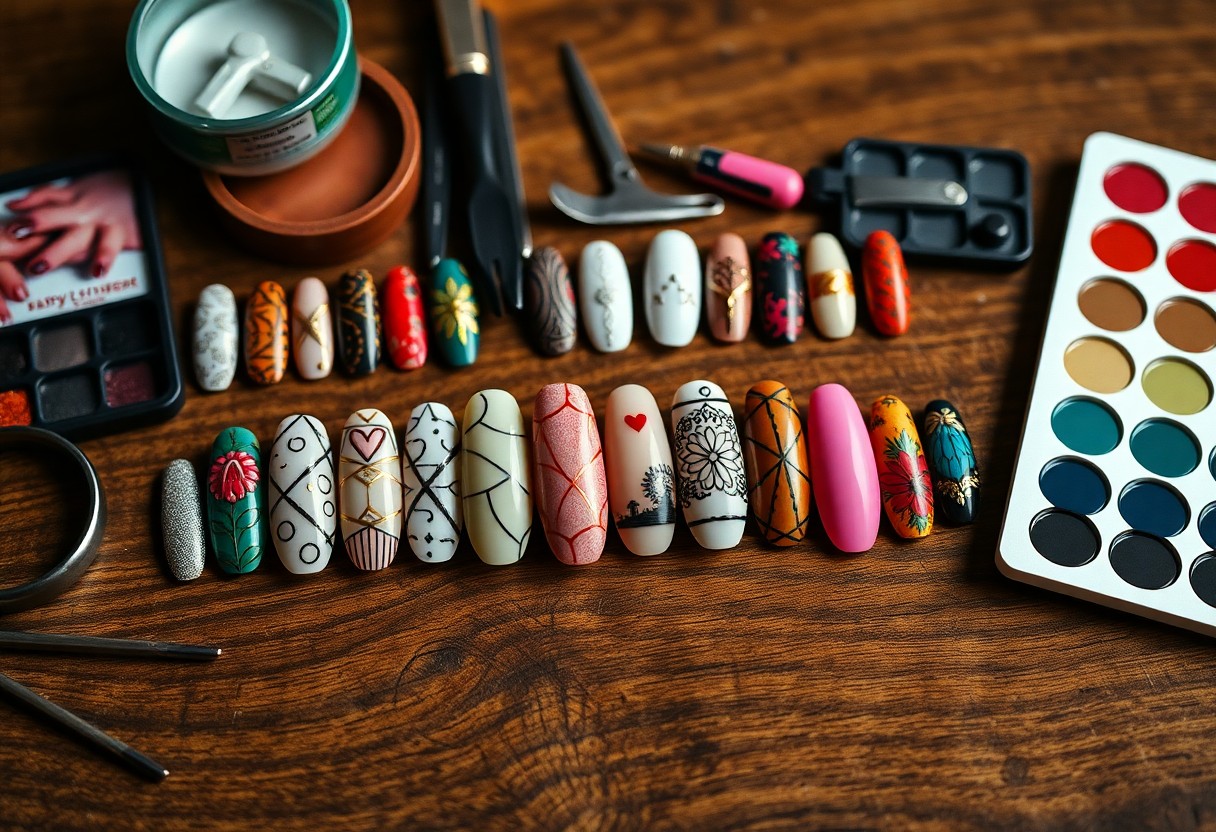
Tools and Materials Needed
Clearly, to create stunning cartoon-inspired nail art, you will need a selection of imperative tools and materials. Gathering these items beforehand ensures you can easily execute your designs without interruptions. From nail polishes to specialized tools, having everything ready will enhance your creative process and make your nail art journey enjoyable.
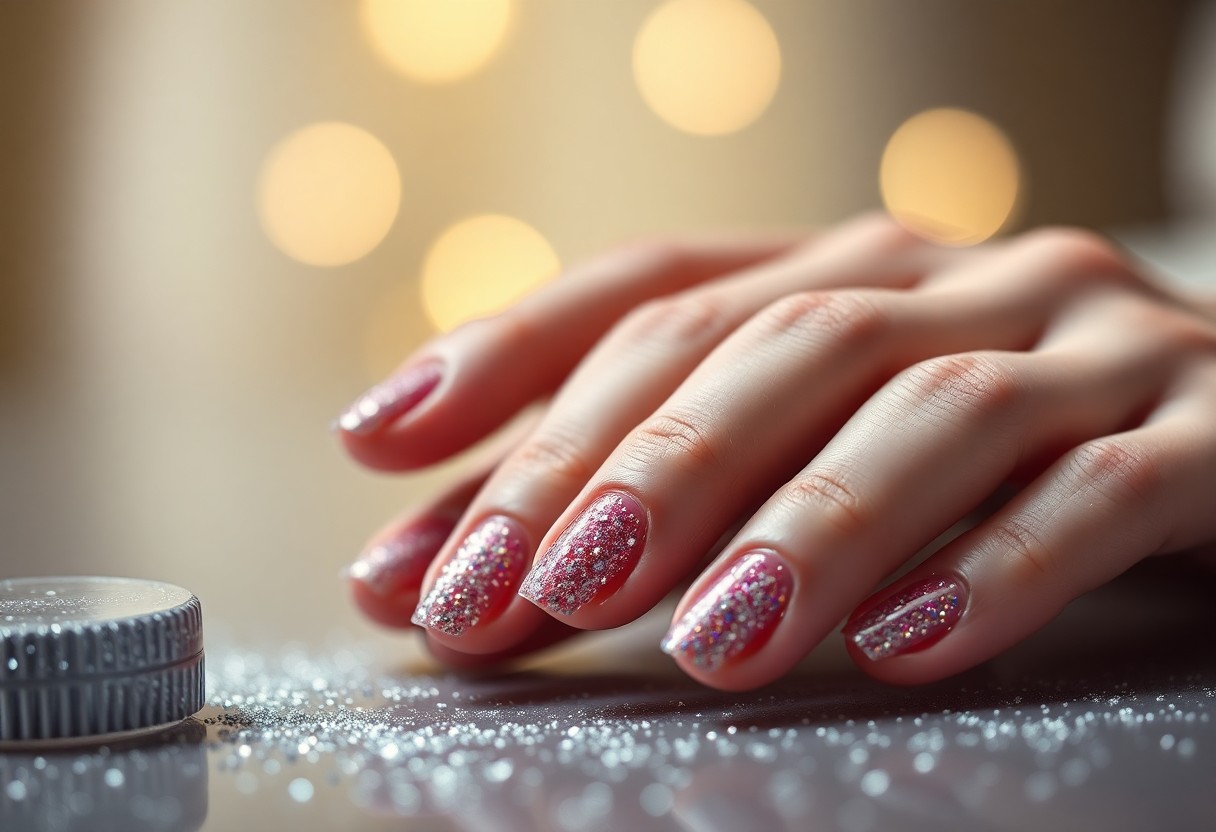
Nail Polishes
Nail polishes are a fundamental aspect of your nail art arsenal. Opt for a variety of colors that represent your favorite cartoons, ensuring a bright and vibrant palette to bring your designs to life. Moreover, consider investing in both standard and gel formulas to achieve the desired durability and finish.
Nail Art Tools
With the right nail art tools, you can elevate your designs to new heights. Basic tools like dotting tools, striping brushes, and nail art pens will give you the precision needed to create intricate patterns and characters. Additionally, tools such as sponges for ombre effects and tape for clean lines can significantly enhance your creativity.
Materials like nail art brushes come in various shapes and sizes, allowing you to experiment with different techniques. A fine detail brush is excellent for outlining characters, while a flat brush is perfect for filling in larger areas. You might also want to have some nail tape or stencils on hand, as they can help you achieve sharper lines and more professional-looking designs. Investing in high-quality tools will not only improve your results but also make the application process smoother and more enjoyable.
Step-by-Step Techniques
Keep your creativity flowing by using these step-by-step techniques to achieve fun cartoon-inspired nail art designs. For more inspiration, check out 180 Cartoon Nail Art ideas in 2024. Whether you’re a beginner or a seasoned nail art aficionado, these methods will guide you towards vibrant, eye-catching results.
| Technique | Description |
|---|---|
| Freehand Painting | Create original designs directly on your nails with polish and a fine brush. |
| Decal Application | Use pre-made decals for easy, detailed illustrations on your nails. |
Freehand Painting
Against the backdrop of your nails, freehand painting allows you to express your unique style. Utilizing a thin nail art brush, you can sketch cartoon characters and patterns directly onto your nail surface. This approach requires practice but offers incredible customization for your designs; start with simple shapes and progress to more intricate details as your skills improve.
Decal Application
Freehand designs may seem tough, but decal application offers an easier alternative. This technique involves applying ready-made designs on your nails, allowing you to achieve professional-looking art without the intense pressure of painting. Simply cut out your decals, apply them to your dried nail polish, and seal them with a topcoat for durability and shine.
But don’t underestimate the impact of decals. They come in various designs and sizes, making them ideal for creating intricate cartoon imagery with minimal effort. You can even mix and match decals for a playful, personalized effect. Plus, this method is perfect for those who want fun nail art but may not have the time or skills for freehand painting. Integrating decals into your nail art routine can open doors to endless creative possibilities.
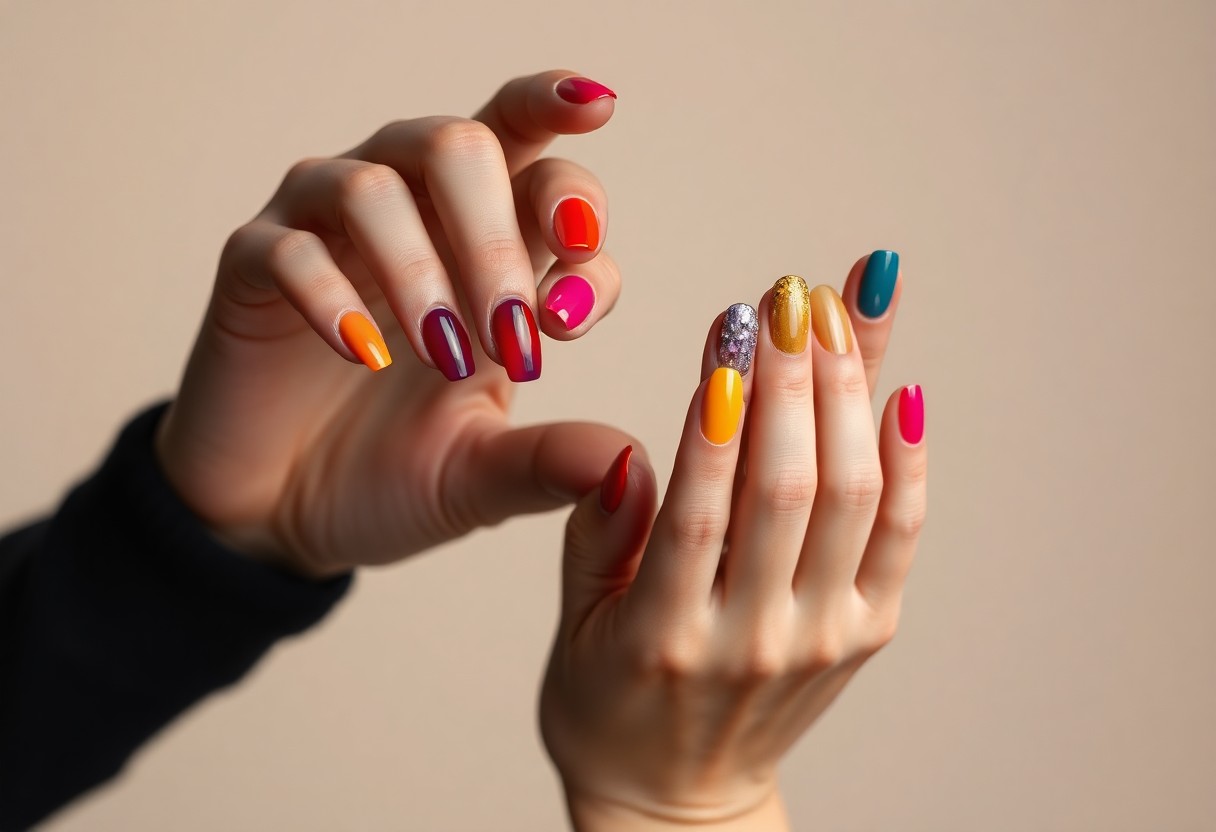
Color Schemes and Patterns
To create captivating cartoon-inspired nail art, selecting the right color schemes and patterns is crucial. Bright and playful hues reminiscent of your favorite animated characters can infuse life into your designs. Experiment with bold combinations and pastel tones to achieve a fun aesthetic that resonates with the spirit of cartoons. Don’t shy away from mixing colors to catch the eye and spark joy in your nail art creations.
Complementary Colors
Before plunging into your nail art project, it’s helpful to understand complementary colors. These color pairs, such as blue and orange or purple and yellow, create striking contrasts that can make your designs pop. Using complementary colors in your nail art not only enhances aesthetic appeal but also draws attention to your creative patterns, ensuring that your designs stand out.
Themed Patterns
One way to add a unique touch to your nail art is through themed patterns. Whether you opt for polka dots, stripes, or iconic symbols from your favorite cartoons, these patterns can convey a distinct narrative. From classic motifs like comic book speech bubbles to playful character silhouettes, themed patterns allow you to express your personality and interests in a vibrant way.
Plus, they can be easily customized to match any occasion or mood, whether you’re sporting a festive design for a holiday or a whimsical pattern for everyday wear. By combining various themed elements, you ensure that your nails are not only stylish but also a true reflection of your love for cartoons. Be adventurous and let your imagination run wild with these patterns, turning your nails into a canvas of joyful expression.
Maintenance and Longevity
Now that you have your stunning cartoon-inspired nail art, it’s crucial to focus on maintenance to ensure it lasts as long as possible. Regular upkeep not only enhances the appearance but also protects your nails. Consider engaging in practices that promote longevity, such as avoiding harsh chemicals and using gentle cleansers when washing your hands. Implementing a few simple maintenance habits will keep your colorful designs looking fresh and vibrant.
Top Coats and Finishing Touches
Around the world of nail art, top coats play a vital role in achieving a glossy finish and prolonged wear. They not only enhance your designs but also provide a protective layer that minimizes chipping and fading. Opt for high-quality top coats that dry quickly and add that extra shine, ensuring your cartoon-themed nails stand out for days.
Care Tips for Nail Art
Nail art requires special care to preserve its beauty and integrity. Follow these crucial tips to maintain your designs and ensure they last longer:
- Keep your hands moisturized to prevent peeling.
- Avoid soaking your nails in water for long periods.
- Use gloves when doing household chores to protect your nails.
- Touch up any chipped areas promptly to prevent further damage.
The effort you invest in taking care of your nail art pays off in the long run, giving you beautiful and vibrant designs that last.
To enhance your nail art care routine, here are some additional tips you might find helpful:
- Apply a new layer of top coat every few days for extra protection.
- Store your nail polish in a cool, dry place to maintain its quality.
- Regularly clean your nails to prevent residue buildup.
- Be gentle when removing polish to avoid damage.
The right care makes all the difference in maintaining your eye-catching nail art designs.
Inspiration and Resources
Once again, tapping into your favorite cartoons can spark your creativity to create unique nail art designs. Whether you’re drawn to the nostalgia of classic characters or the vibrant styles of modern animation, the world of cartoons offers endless inspiration. Explore various resources like books, art websites, and merchandise to find colors, motifs, and characters that resonate with you. This exploration will not only enhance your design skills but also allow you to express your personality through your nail art.
Online Tutorials
Between the wealth of online tutorials available, you can easily find step-by-step guides that cater to various skill levels. Websites like YouTube and Instagram feature talented nail artists who share their techniques for creating cartoon-inspired looks. By following these tutorials, you can learn about different color combinations, patterns, and application methods that will enhance your nail art game.
Social Media Trends
Beside online tutorials, social media platforms like Instagram and TikTok provide current trends and innovative ideas in nail art. You can hop on these trends to keep your designs fresh and engaging, tracking popular styles that emerge within the vibrant nail art community.
Indeed, keeping an eye on social media trends allows you to stay updated with the latest nail art techniques. For instance, platforms often showcase seasonal trends or viral challenges, encouraging you to try new styles or share your takes on popular designs. Engaging with fellow nail art enthusiasts through comments and hashtags can also offer further inspiration, motivating you to unlock your creativity with a fun twist on classic cartoon characters.
To wrap up
Ultimately, cartoon-inspired nail art offers a playful way to express your personality and creativity. By incorporating beloved characters and vibrant designs, you can elevate your manicure beyond the ordinary and make a fun statement. Whether you opt for a subtle nod to your favorite cartoon or a full-on themed design, the possibilities are endless. Embrace your artistic side and get inspired to create nail art that reflects your interests—it’s a fantastic way to showcase who you are while enjoying the artistry of nail design.
FAQ
Q: What are cartoon-inspired nail art designs?
A: Cartoon-inspired nail art designs are creative nail art styles that take inspiration from beloved animated characters or cartoon themes. These designs can include popular figures from television shows, movies, or comic strips, featuring vibrant colors, playful motifs, and imaginative concepts. They allow individuals to express their personality and love for cartoons through intricate and fun nail art detailing, which can range from subtle accents to full character illustrations on the nails.
Q: How can I create cartoon-inspired nail art at home?
A: To create cartoon-inspired nail art at home, you will need basic nail art supplies such as nail polish, a base coat, a top coat, fine nail brushes, dotting tools, and nail art stickers or decals if desired. Start by applying a base coat to protect your nails. Then, paint a base color that complements your design. Using fine brushes or dotting tools, add characters or designs inspired by cartoons with contrasting colors. If you’re unsure about freehanding, you can use nail stickers or temporary tattoos for easy application. Finish with a top coat to seal your design and add shine!
Q: Where can I find inspiration for my cartoon-inspired nail art?
A: Inspiration for cartoon-inspired nail art can be found in various places. You can browse social media platforms like Instagram, Pinterest, or TikTok, where many nail artists showcase their work. Online nail art communities and forums are also great resources for discovering new design ideas. Additionally, you can draw directly from your favorite cartoons by exploring character images or episodes. Consider keeping a visual mood board of designs you like for future nail art projects!