With the right techniques, you can elevate your nail art game by mastering the use of nail striping tape. This versatile tool allows you to create neat, precise lines and intricate designs, adding a professional touch to your manicure. In this guide, you’ll learn how to effectively apply nail striping tape, along with tips for achieving flawless results every time. Get ready to transform your nails into stunning works of art that showcase your creativity and style.
Key Takeaways:
- Preparation: Begin by ensuring your nails are clean and dry. This step is important for the tape to adhere properly and to achieve clean lines.
- Application: Carefully apply the striping tape on your nails in the desired pattern before painting; the tape will act as a guide to create sharp and defined lines.
- Finish: Allow your nail polish to dry fully before removing the tape to avoid smudging, creating a polished and professional look.
Understanding Nail Striping Tape
While exploring nail art, it’s necessary to understand the tools you use, including nail striping tape. This versatile tape is designed to help you achieve precise and defined nail designs, creating sharp lines and stunning patterns on your manicured nails. Whether you’re a beginner or an experienced nail artist, mastering the use of nail striping tape will elevate your nail art game significantly.
What is Nail Striping Tape?
Any nail enthusiast should know that nail striping tape is a thin adhesive tape used for creating lines and patterns on your nails. This tape is typically made from plastic or vinyl, making it easy to apply and remove without damaging your nails. It allows for intricate designs such as stripes, chevrons, and geometric shapes, facilitating your creativity.
Types of Nail Striping Tape
At your disposal are various types of nail striping tape, each serving different creative purposes. Here’s a summary of the most popular types of tape you’ll encounter:
| Type | Features |
|---|---|
| Standard Tape | Widely used for basic lines and shapes |
| Metallic Tape | Shiny finish enhances visual appeal |
| Matte Tape | Offers a subtle, sophisticated look |
| Glitter Tape | Adds sparkle to your designs |
| Washable Tape | Reusable tape for multiple applications |
Types of nail striping tape cater to various styles and preferences. The choice you make can affect the final look of your nail art, so consider these options:
- Standard Tape: Perfect for beginners.
- Metallic Tape: Great for festive looks.
- Matte Tape: Chic and subtle finish.
- Glitter Tape: Perfect for adding glam.
- Washable Tape: Economical choice for frequent use.
Thou can experiment with different types of nail striping tape to find what suits your style best!
Preparing Your Nails
One of the most important steps for achieving perfect lines with nail striping tape is to prepare your nails properly. Start by removing any old polish and gently push back your cuticles, ensuring a smooth surface for the tape to adhere to. If needed, file your nails to your desired shape and length. After filing, wash your hands to eliminate any dust. Finally, dry your nails thoroughly to ensure the best results with your nail art.
Nail Care Essentials
An effective nail care routine sets the foundation for beautiful nail art. Begin by moisturizing your hands and cuticles regularly to keep them healthy. Applying a nourishing cuticle oil is also beneficial, as it prevents dryness and brittleness. Regular nail trims will ensure your nails remain strong and in perfect shape for your designs.
Choosing the Right Base Coat
Careful selection of a base coat is important for a flawless nail art application. A good base coat not only protects your natural nails from staining but also provides a smooth surface for the nail striping tape. It helps the tape stick better and ensures that your nail polish lasts longer.
Even if you’re working with a glittery polish or a deep shade, a solid base coat can help prevent any unwanted discoloration. Look for a base coat that suits your nail type; for instance, if you have brittle nails, choose a strengthening formula. Applying a layer of base coat ensures that your nail art adheres smoothly without any lifting, allowing your designs to stand out beautifully.
Techniques for Applying Nail Striping Tape
For achieving stunning nail art, mastering the techniques of applying nail striping tape is key. Start by ensuring your nails are clean and dried properly to allow the tape to adhere effectively. Use a base coat as a foundation, and let it dry completely before applying the tape. You can achieve sharp, precise lines by firmly pressing down on the tape to avoid any gaps or paint seepage. Don’t hesitate to practice different angles and placements to find what works best for your design.
Basic Stripes
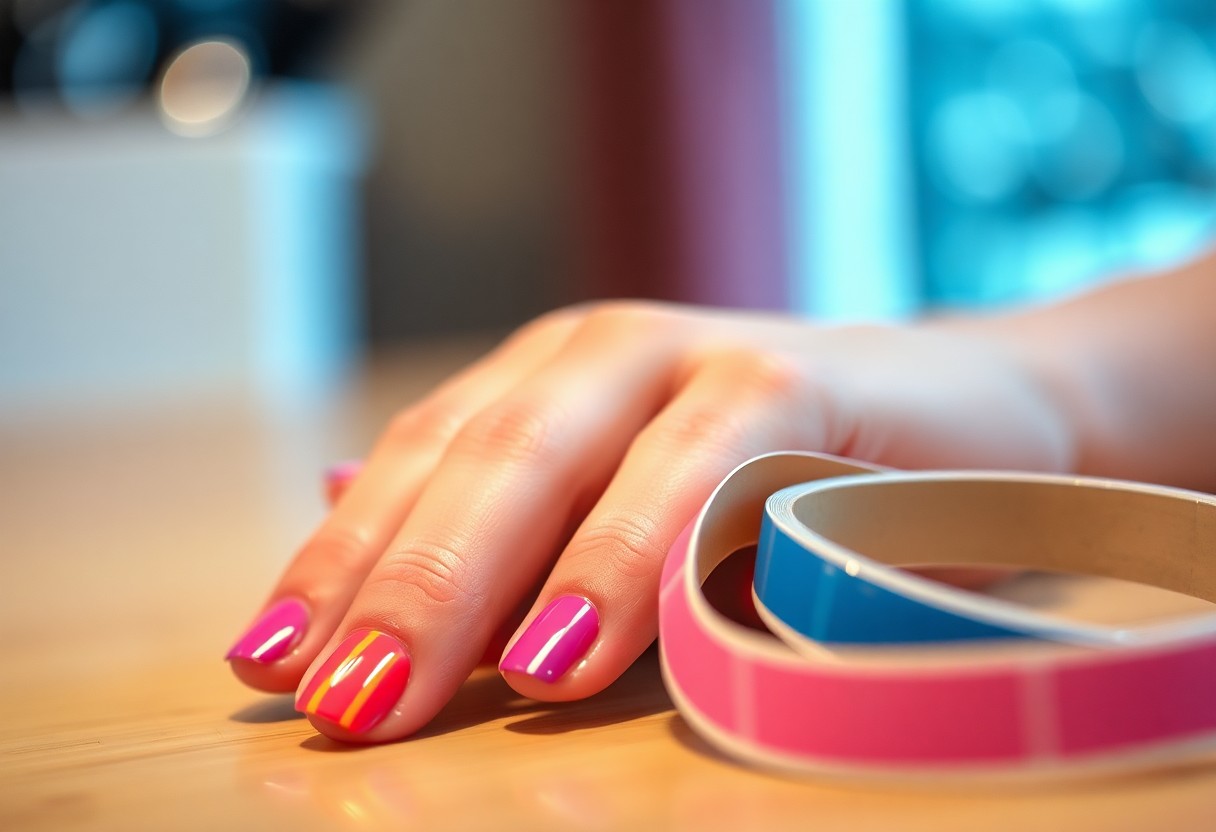
After selecting your base color, apply nail striping tape in straight lines over your nails. Use scissors to cut the tape to the desired length, ensuring the edges are sharp for clean lines. Paint over the exposed areas with a contrasting color and gently peel off the tape while the polish is still wet to prevent smudging. This technique will give you professional-looking stripes that elevate your manicure.
Creative Designs
One exciting way to enhance your nail art is by incorporating creative designs using nail striping tape. Layer the tape in different configurations to create geometric patterns, chevrons, or crisscross designs. You can even use multiple colors in one design, which adds depth and visual interest. Don’t hesitate to explore new shapes or combinations; the possibilities are endless!
Plus, experimenting with negative space techniques can yield beautiful results. By leaving some areas of your nails bare while taping off others, you create a striking contrast between the painted and unpainted sections. This method not only showcases your creativity but also gives your manicure a modern twist. Use metallic or matte finishes for an even more dynamic look, and let your imagination guide you as you decorate your nails with unique artistry!
Tips for Achieving Precision
All you need for flawless lines is a steady hand and these helpful tips:
- Use high-quality striping tape for better adherence.
- Ensure your base coat is completely dry before applying tape.
- Press the tape down firmly to avoid bleeding.
- Pull the tape off at an angle to maintain clean edges.
Knowing these techniques will elevate your nail art skills. For AMAZING Tips For Nail Designs With Striping Tape, check out this video!
Common Mistakes to Avoid
One common mistake is applying the striping tape too early, which can lead to smudged lines. Make sure you allow your base polish ample time to dry. Additionally, using low-quality tape or not pressing it down firmly enough can cause bleed-through, ruining your design.
Tools to Enhance Your Technique
Tools that assist in your nail art can make a significant difference in the outcome of your designs.
The right tools, like a precision tweezers for applying striping tape and a dotting tool for adding details, will improve your overall technique. Consider investing in striping brushes for additional designs and a quick-dry topcoat to seal everything in place. These enhancements will not only make your nails look professional but also streamline the process, leaving you with beautiful, precise lines every time.
Removing Nail Striping Tape
To achieve the best results when removing nail striping tape, wait until your nail polish is completely dry. If you peel it off too early, you risk smudging your design. Gently lift one edge of the tape and slowly pull it away from your nail at a 45-degree angle to ensure clean lines and prevent any damage to your nail art.
Best Practices for Removal
Across your nail design, take your time when removing the tape to avoid disrupting your artwork. Use a pair of tweezers to assist in lifting the tape if you find it difficult to peel by hand. This will help you achieve a cleaner, more polished finish.
Finishing Touches
Around the edges of your nail, apply a topcoat to seal your design and enhance the shine. This not only adds longevity to your nail art but also creates a professional look. Be sure to apply the topcoat gently to avoid smudging the lines created by the striping tape.
This final step is necessary for achieving a flawless appearance. By applying a topcoat, you not only protect your intricate nail art but also unify the colors and designs. Consider using a quick-drying topcoat for convenience, allowing you to enjoy your beautiful nails without long waiting times. Thoughtfully finish your design with careful application, and you’ll step out with confidence and style.
Experimenting with Nail Art Designs
Your nails are a canvas, and experimenting with different designs can lead to stunning results. By incorporating nail striping tape, you can create various patterns, textures, and styles that suit your personality. Start with simple designs and gradually move towards more complex ones as you gain confidence and skill. With a little practice, your nail art will not only look flawless but will also showcase your creativity.
Popular Patterns to Try
Beside geometric shapes, you can explore stripes, chevrons, and negative space designs. These patterns provide a striking visual effect and are ideal for practicing your taping technique. Experiment with various color combinations to make your artwork pop!
Advanced Techniques
With nail striping tape, you can elevate your nail art to an advanced level. Try these techniques to create intricate designs:
|
Nail art can become a sophisticated hobby, allowing you to impress others with elegant designs. From creating stunning ombre effects to incorporating 3D elements, you can seamlessly blend techniques:
|
To wrap up
Considering all points, using nail striping tape is an effective way to achieve perfect lines on your manicure. By meticulously applying the tape, ensuring it adheres well, and removing it at the right moment, you can elevate your nail art to a professional level. Experimenting with different patterns and color combinations can also enhance your creativity. Keep practicing, and soon you’ll master this technique, resulting in eye-catching designs that reflect your personal style.
FAQ
Q: What is nail striping tape and how is it used?
A: Nail striping tape is a thin, adhesive tape used in nail art to create precise lines and designs. It can be applied to the nail before painting to create clean edges and patterns. To use it, simply cut a piece of tape to the desired length, stick it on the nail in the desired design, paint over it, and then remove the tape to reveal straight lines.
Q: How can I achieve straight lines using nail striping tape?
A: To achieve straight lines, begin by applying the nail striping tape with precision. Use tweezers to help you place the tape accurately. Make sure the tape adheres well to the nail, smoothing out any bubbles or creases. After applying your polish over the tape, allow it to dry briefly before carefully peeling the tape off at a 45-degree angle for the best results.
Q: Can I use nail striping tape on nail polish that is already dry?
A: Yes, you can use nail striping tape on dry nail polish. In fact, applying it to a dry base color can create defined designs. Just ensure that the base coat is completely dry before placing the tape on it to avoid pulling up the color underneath when you remove the tape. This technique is excellent for creating multiple layers of designs on your nails.
Q: How do I prevent the nail striping tape from lifting while painting?
A: To prevent the striping tape from lifting during the painting process, ensure the adhesive surface of the tape is pressed down firmly on the nail. Applying clear top coat over the edges of the tape before painting can help seal it in place. Additionally, use a light hand when painting over the tape to avoid displacing it.
Q: Are there any tips for cleaning up after using nail striping tape?
A: After using nail striping tape, it’s common to have some excess polish around the edges. To clean up, use a small brush dipped in nail polish remover or a cleanup pen to carefully remove any smudged polish around the design. For the best results, wait until the polish is completely dry before cleaning to avoid disturbing the design.